first

May 20, 2015
At Home with Friends

2 comments

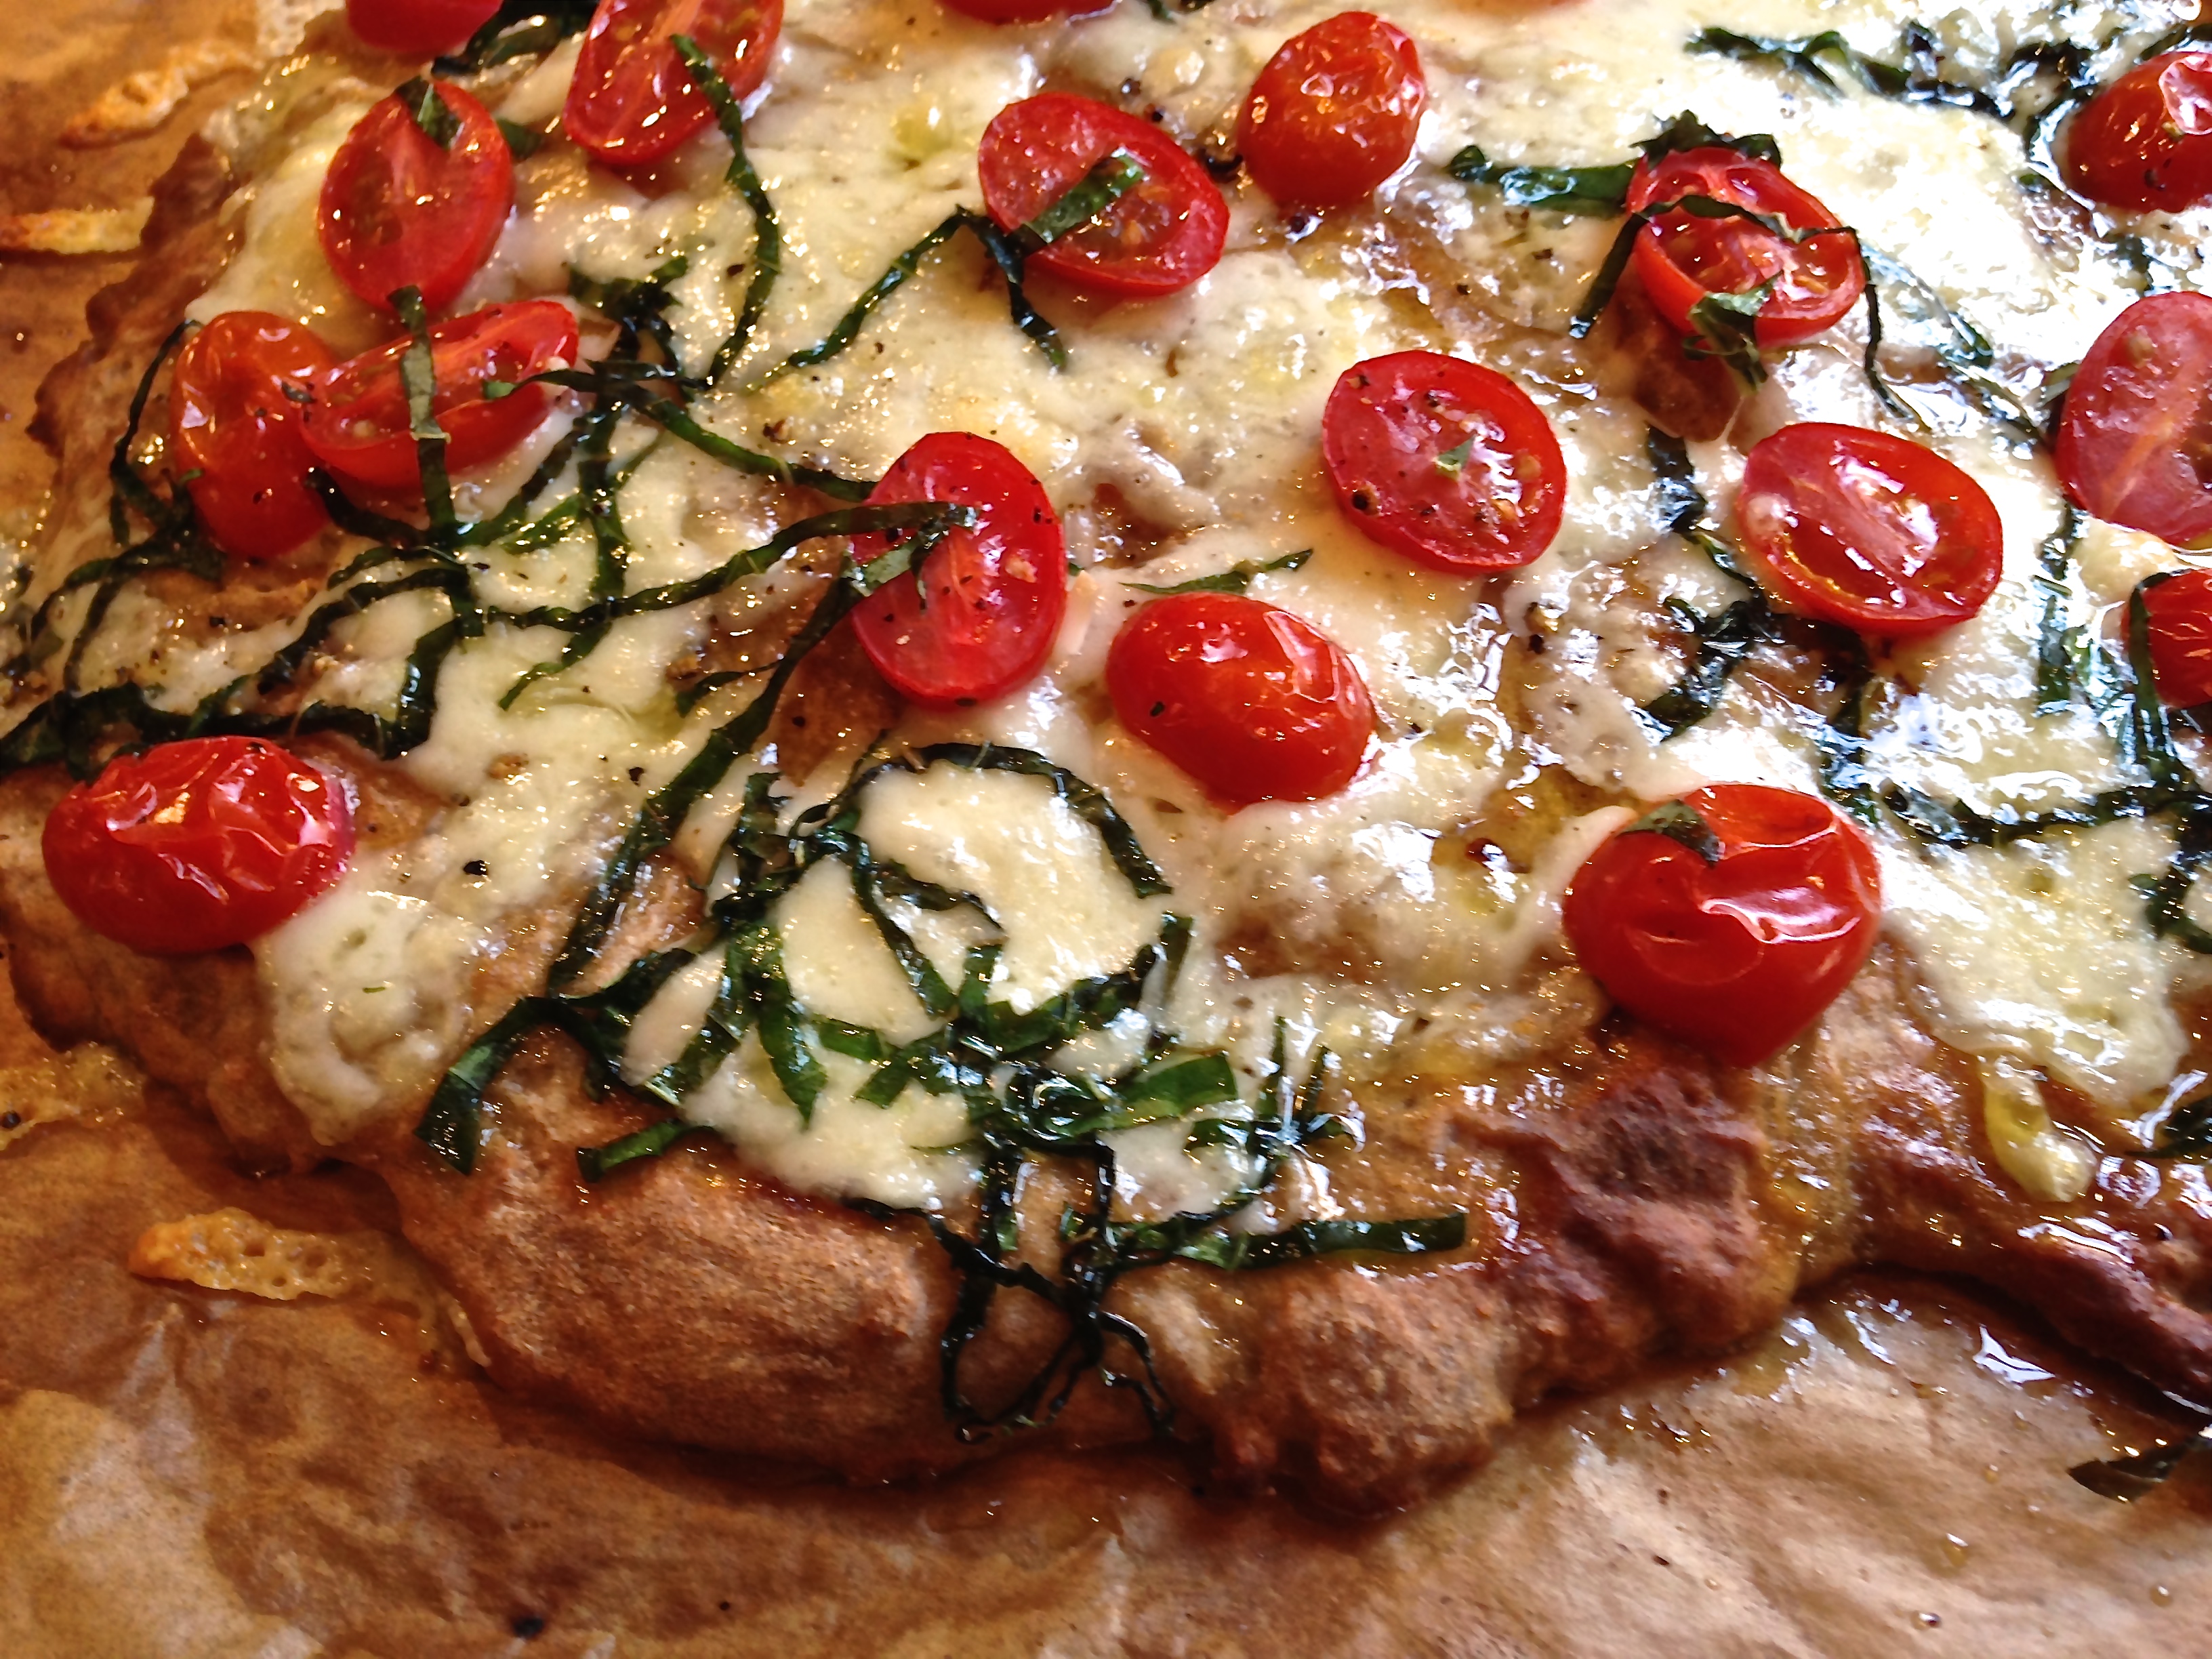
Basil, Fontina & Sugar Plum Tomato Pizza

If you read my recipe for White Pizza, you know how easy it is to make great pizza at home. The question now becomes what type of ingredients will you use for toppings. The choices are limitless!

This is totally different from the White Pizza and different from a typical cheese and tomato pizza.

Most cheese and tomato pizzas have tomato sauce on the bottom and cheese on top. This has cheese on the bottom and tomatoes and basil on top. If your guests are more the traditional pizza types, try this one!

BASIL, FONTINA, CHERRY TOMATO PIZZA
EVENT: DING-DONG! The Termites Are Gone!
YIELD: 1 Roughly 13 X 16” Pizza = 8 Servings

Ingredients
1 pound pizza dough (thawed if frozen) at room temperature
1 ¼ cup freshly grated fontina cheese *
2 tablespoons shredded fresh basil
20 tiny sugar plum or cherry tomatoes, halved or sliced
¼ teaspoon sea salt
1 tablespoon olive oil
Fresh pepper to taste

Equipment
Large baking sheet
Parchment paper

Directions
1. Place rack on lowest shelf of the oven. Put heavy baking sheet (14 X 17”) on the lowest rack. Preheat oven to 500 degrees — with baking sheet in the oven.

2. Stretch out dough on a lightly floured surface and transfer to a tray lined with parchment paper. Prick the dough all over with a fork.

3. Slide dough on parchment sheet, onto hot baking sheet.

4. Bake until top is puffed and golden, approximately 6 minutes.

5. Carefully remove entire pan from oven. Pan is very hot!

6. If there are any large bubbles, prick with a fork and gently push down.

7. Sprinkle cheese evenly over pizza. Top with cherry tomatoes.

8. Sprinkle fresh basil evenly over pizza.

9. Sprinkle sea salt on pizza, especially around edges.

10. Drizzle with olive oil.

11. Bake approximately 6 minutes until cheese is bubbly and melted.

12. Remove from oven.

13. Top with fresh ground pepper.

14. Make sure you take a piece just to taste test because it will all be gone.

* A NOTE: I buy the fontina cheese at Costco.

May 18, 2015
At Home with Friends

4 comments

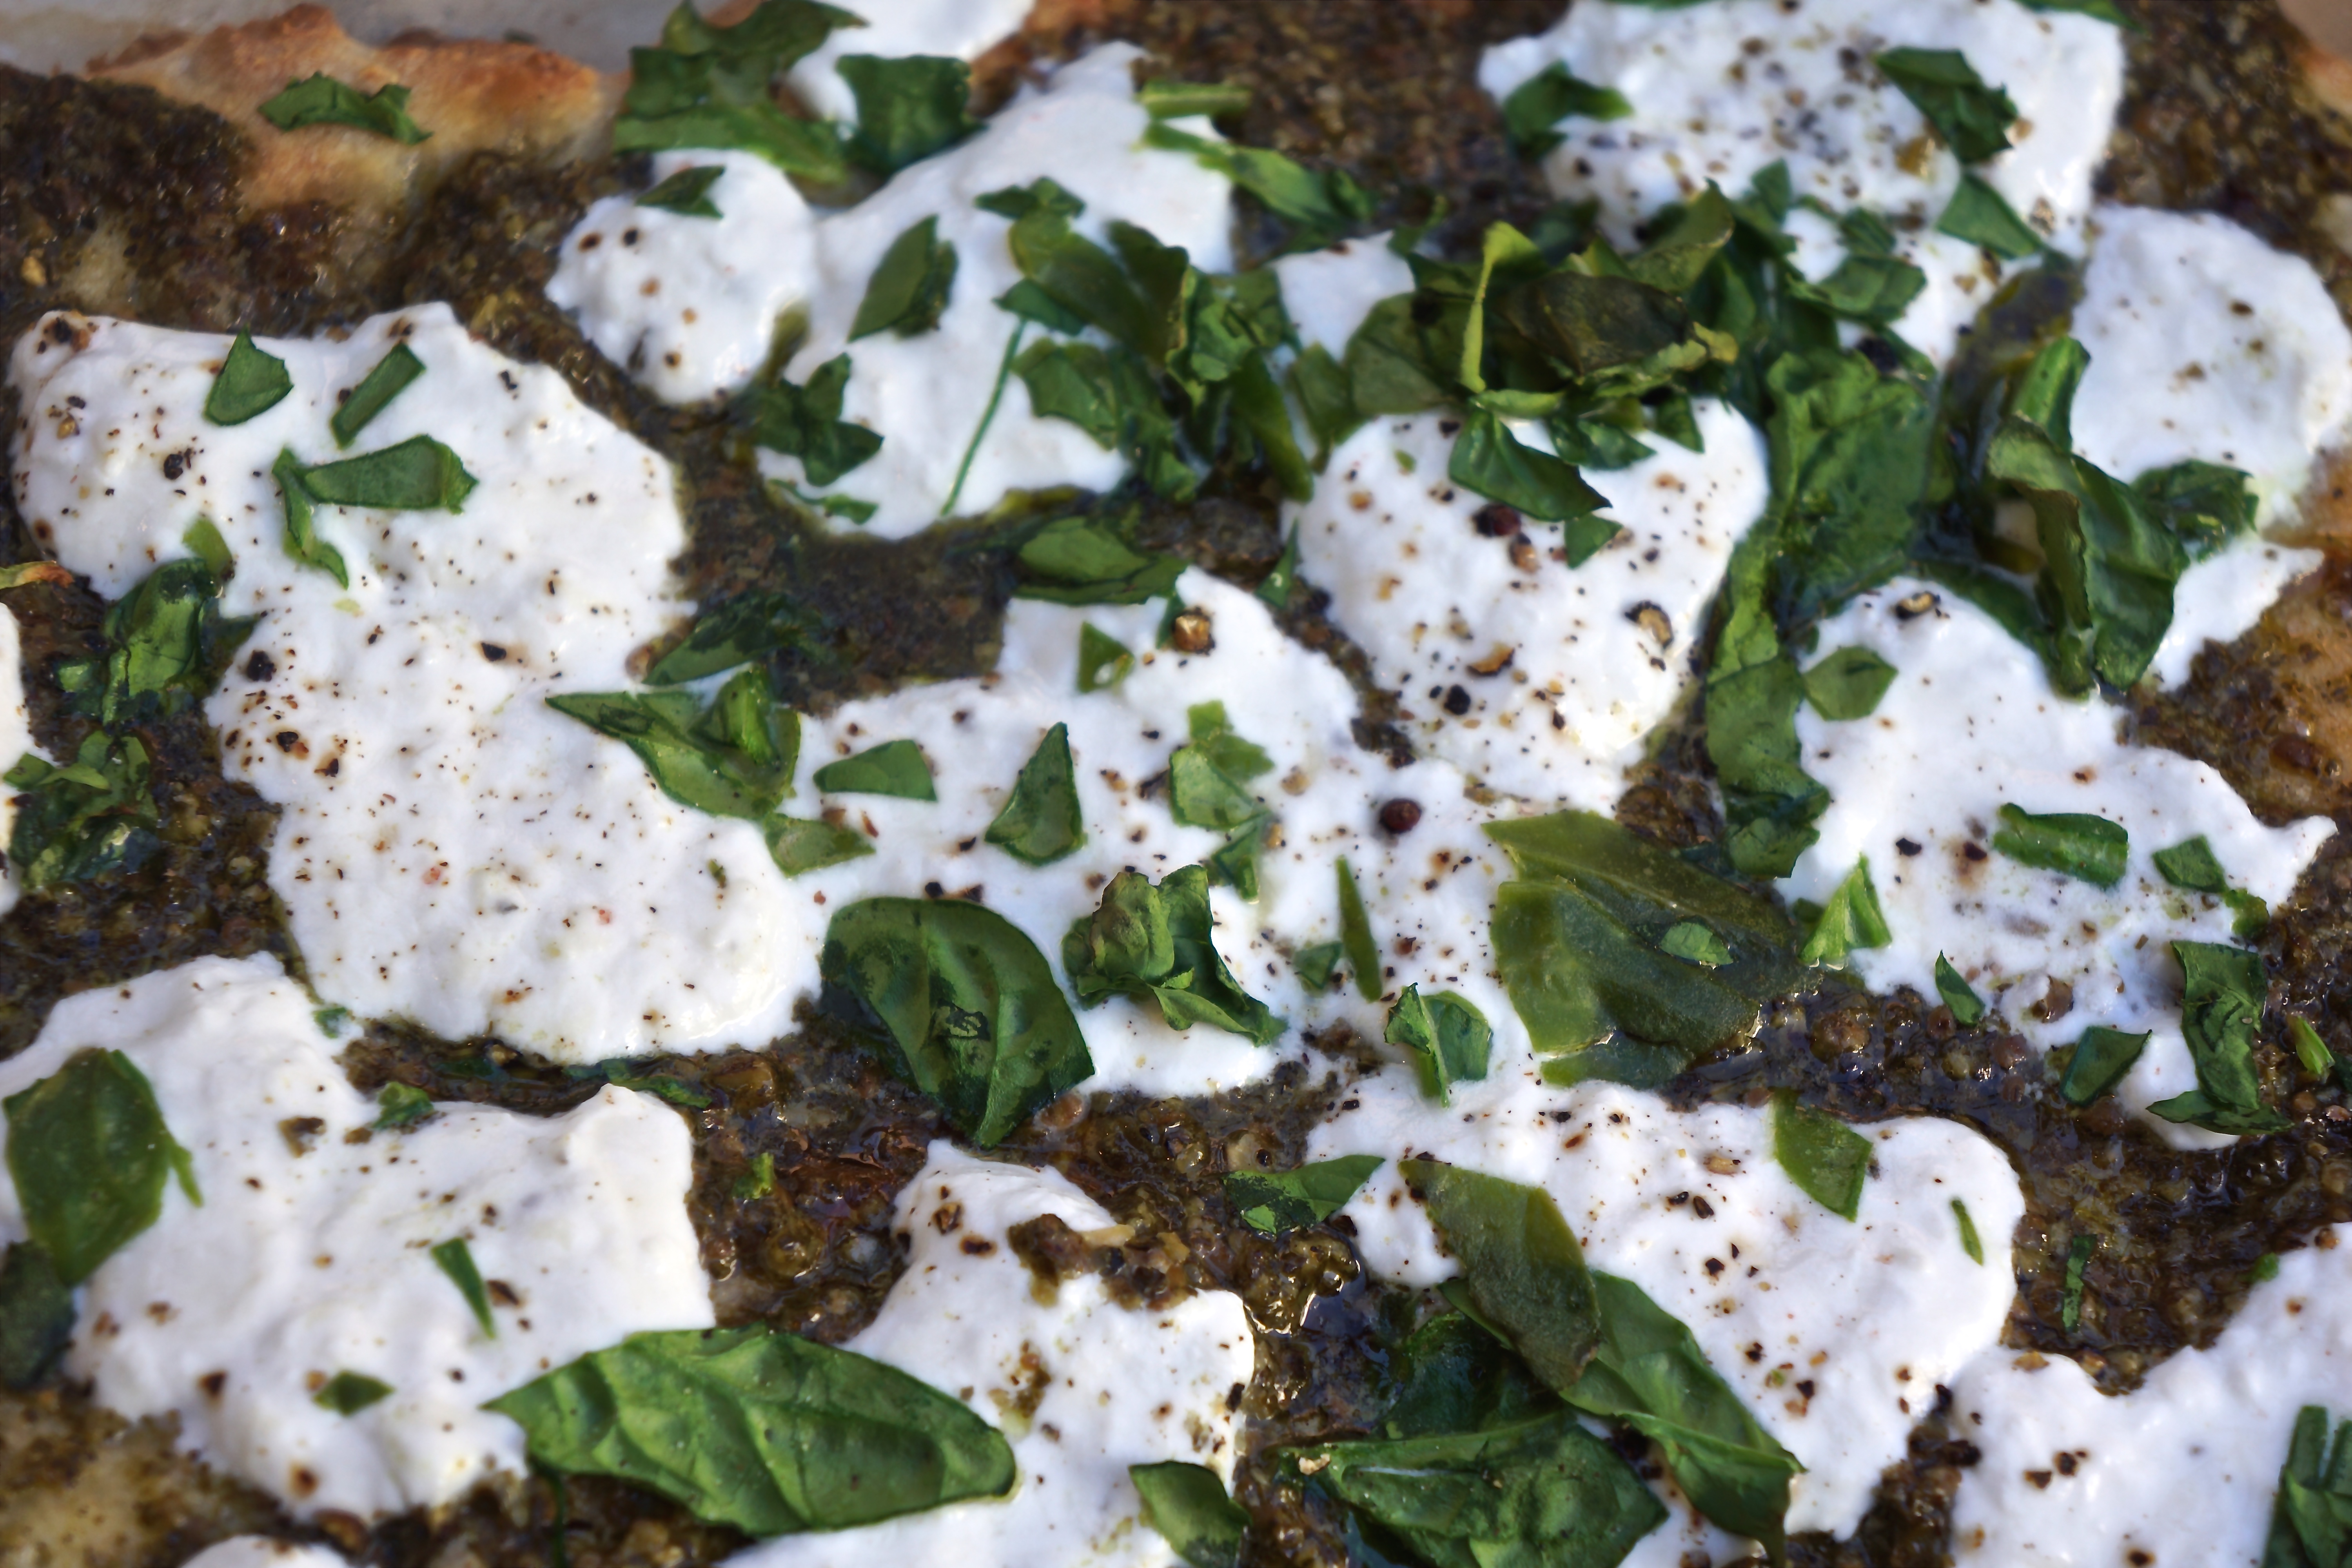
White Pizza

I love homemade pizza! I have often made it completely from scratch, even the dough. If you don’t have time to make the dough, which requires time for the dough to rise, this is a great alternative: Readymade raw pizza dough can be found in most supermarkets or at Trader Joe’s!

The secret to a great result is to ignore the instructions on the package and follow my method. Usually, the instructions don’t allow enough time for the dough to be the right temperature and you find yourself fighting with the dough. You don’t want to have a fight with your pizza dough. You want to gently coax it into the size and shape you desire. Brute force won’t work here!

Remember the rules:

– Dough must really be room temperature!

– Never fight with your dough!

Next, I heat the pan in the oven while I prepare the dough. This gives me the equivalent of using a pizza stone. I don’t have one and I don’t think you need to run out and buy one. Next, I partially bake the crust, which makes all the difference.

This recipe is for one of the most delectable pizzas you’ll ever eat. With the store bought pesto and store bought pizza dough, you’ll be making this all the time.

WHITE PIZZA

EVENT: DING-DONG! The Termites Are Gone!

YIELD: 1 Roughly 13 X 16” Pizza = 8 Servings


Ingredients

1 pound pizza dough thawed if frozen (I prefer Trader Joe’s pizza dough in the refrigerator department)

¼ cup store bought pesto, well drained

1/3 cup whole milk ricotta cheese

4 oz. burrata cheese, finely chopped

¼ cup fresh spinach, finely chopped

Fresh ground pepper

Equipment

Large baking sheet

Parchment paper

Directions

1. Mix ricotta cheese and burrata until well combined. Set aside.

2. Allow dough to thaw completely and sit at room temperature.

3. Place rack on lowest shelf of the oven. Put heavy baking sheet (14 X 17”) on the lowest rack. Preheat oven to 500 degrees — with baking sheet in the oven.

4. Stretch out dough on a lightly floured surface into a 13 X 16” rectangle and transfer to a tray lined with parchment paper. Prick the dough all over with a fork. Don’t worry if you don’t form a perfect rectangle or circle: The imperfect shape adds to the rustic charm.

5. Carefully slide the parchment sheet with the dough on it, onto hot baking sheet in the oven.

6. Bake until top is puffed and golden, approximately 6-10 minutes.

7. Carefully remove entire pan from oven. Pan is very hot!

8. If there are any large bubbles, prick with a fork. Push down gently.

9. Cover baked dough with pesto, spreading evenly.

10. Dot with ricotta / burrata mixture.

11. Sprinkle with chopped spinach.

12. Put pizza still on pan back in the oven and bake until cheese is hot, melted and bubbly, and the edges of pizza are deep golden.

13. Remove from oven. Top with freshly ground pepper. Cut and serve!


DSC07975 - Version 2

In my household, when it comes to this homemade rustic White Pizza servings, it’s every man for himself.

May 15, 2015
At Home with Friends

3 comments

Italian Sausages & Peppers

Italian Sausages and Peppers is a typical family style dish served in Italian homes at large family lunch. It seemed perfect for this meal.

I think of an Italian grandmother standing over the stove, putting this together. I didn’t have an Italian grandmother. But I’d like to imagine, if I did, this is what her dish would taste like.

Usually the sausages are pork and they have a fair amount of spices and heat. I use turkey sausages instead of pork. I use mild Italian sausages and add the extra heat and spice to the peppers. I don’t want people biting into a sausage that is too hot and spicy for them.

Also, I use fresh uncooked turkey sausages. I buy them at Bristol Farms Market in the meat department.

If you use fresh or raw sausages, you need to be sure to cook them thoroughly. If you’re not sure, cut one open. It should be juicy but not red or pink.

If you can’t find fresh Italian turkey sausages, you can use the type that are cooked and ready to eat directly from the package. I have found those at Costco. Reading the ingredients, you should see fennel seeds and red pepper flakes for an Italian flavor.

The secret to this recipe (don’t tell anyone) is the addition of balsamic vinegar. This gives you a bit of acid and depth of flavor that brings it all together. I don’t think my imaginary Italian grandmother did this, but she would love the flavor. If you have an Italian grandmother, try these and let me know what she thinks.

ITALIAN SAUSAGES AND PEPPERS

EVENT: DING-DONG! The Termites Are Gone!

SERVES: 6-8 People


Ingredients

8 links Italian flavored turkey sausages

4 tablespoons olive oil

4 tablespoons dried basil

1/8 teaspoon red pepper flakes

5 large orange, yellow or red bell peppers, cut into 1” – 1 1/2” slices

2 medium purple onions, sliced

1 tablespoon dried or fresh parsley

Salt and pepper

4 tablespoons balsamic vinegar *

Directions

1. In a large non-stick sauté pan, heat 1 tablespoon of olive oil and brown and cook turkey sausages. For raw / fresh sausages, this will take approximately 10-12 minutes. When sausages are thoroughly cooked, remove sausages from pan and transfer to a plate.

2. In the same sauté pan, add remaining 3 tablespoons of olive oil. When oil is warm, add the basil, red pepper flakes and sliced onions, salt and pepper. Cook over medium heat until the onions are soft. Then add the peppers. Cook until peppers are well cooked.

3. Add the balsamic vinegar and mix everything. Continue cooking until the liquid is slightly reduced.

4. Put the sausages together with any juice drippings that may have accumulated in the plate back into the sauté pan with the onions and peppers.

5. Toss everything together. The sausages should be completely cooked.

6. Cook about 2 minutes.

7. Top with dried or fresh parsley.

8. Pile everything on a large platter with a raised edge as there will be pan juices.

*A NOTE: I buy my balsamic vinegar at Costco.

May 13, 2015
At Home with Friends

1 comment

DING-DONG! The Termites Are Gone!

Last year just before the Moroccan Feast was to take place, I had an infestation of termites in my living room. Termites are very common in California. They like to eat wood, as wooden frames in doors or windows or in my case carved wooden beams in my living room. We tried an organic approach last year, which involved daily spraying and vacuuming the termite wings off the furniture.

Too much information?

I didn’t want a repeat. So, I decided to take the less organic and more aggressive approach, which involved vacating my house, tenting it and bombing it with a termite killing gas.

The puppies and I went to a hotel. I chose the Avalon Hotel in Beverly Hills because it was puppy friendly and in my hood. As the puppies and I checked-in, we were informed that we were actually staying in a section of the hotel that had been apartments, and one of the most famous residents was Marilyn Monroe. The puppies were not impressed; but they loved the room service.

Back at my house I had to remove all food items, herbs, everything in the freezer and refrigerator. I also had to move 150 orchid plants that live in pots on the side of the house.

Fortunately, I had lots of help putting everything back: I had lots of volunteers when I offered to feed them.

I got back to my house at 10:00 a.m. and everything was back in place by 1:00 p.m., and we were sitting down to a feast. The only thing I could really prepare ahead were the homemade cookies, which I baked and stored in my outside freezer.

The Italian Sausages and Peppers were made just before serving using fresh turkey sausages.

The Pizzas were made using pizza dough from the refrigerator department of Trader Joe’s that I bought that morning (White Pizza and Basil, Fontina & Sugar Plum Tomato Pizza).

There was a giant Multicolored Salad and Antipasto Platter that came together as everyone around me was working away.

I had planned on eating al fresco on the patio but the weather did not cooperate and we had a cloudy overcast chilly day. (Yes, in Los Angeles, 60 degrees is considered cold!)

That was the only challenge to the celebration. We tucked in to the feast as I happily exclaimed, “Ding-dong! The termites are gone!”

May 11, 2015
At Home with Friends

2 comments

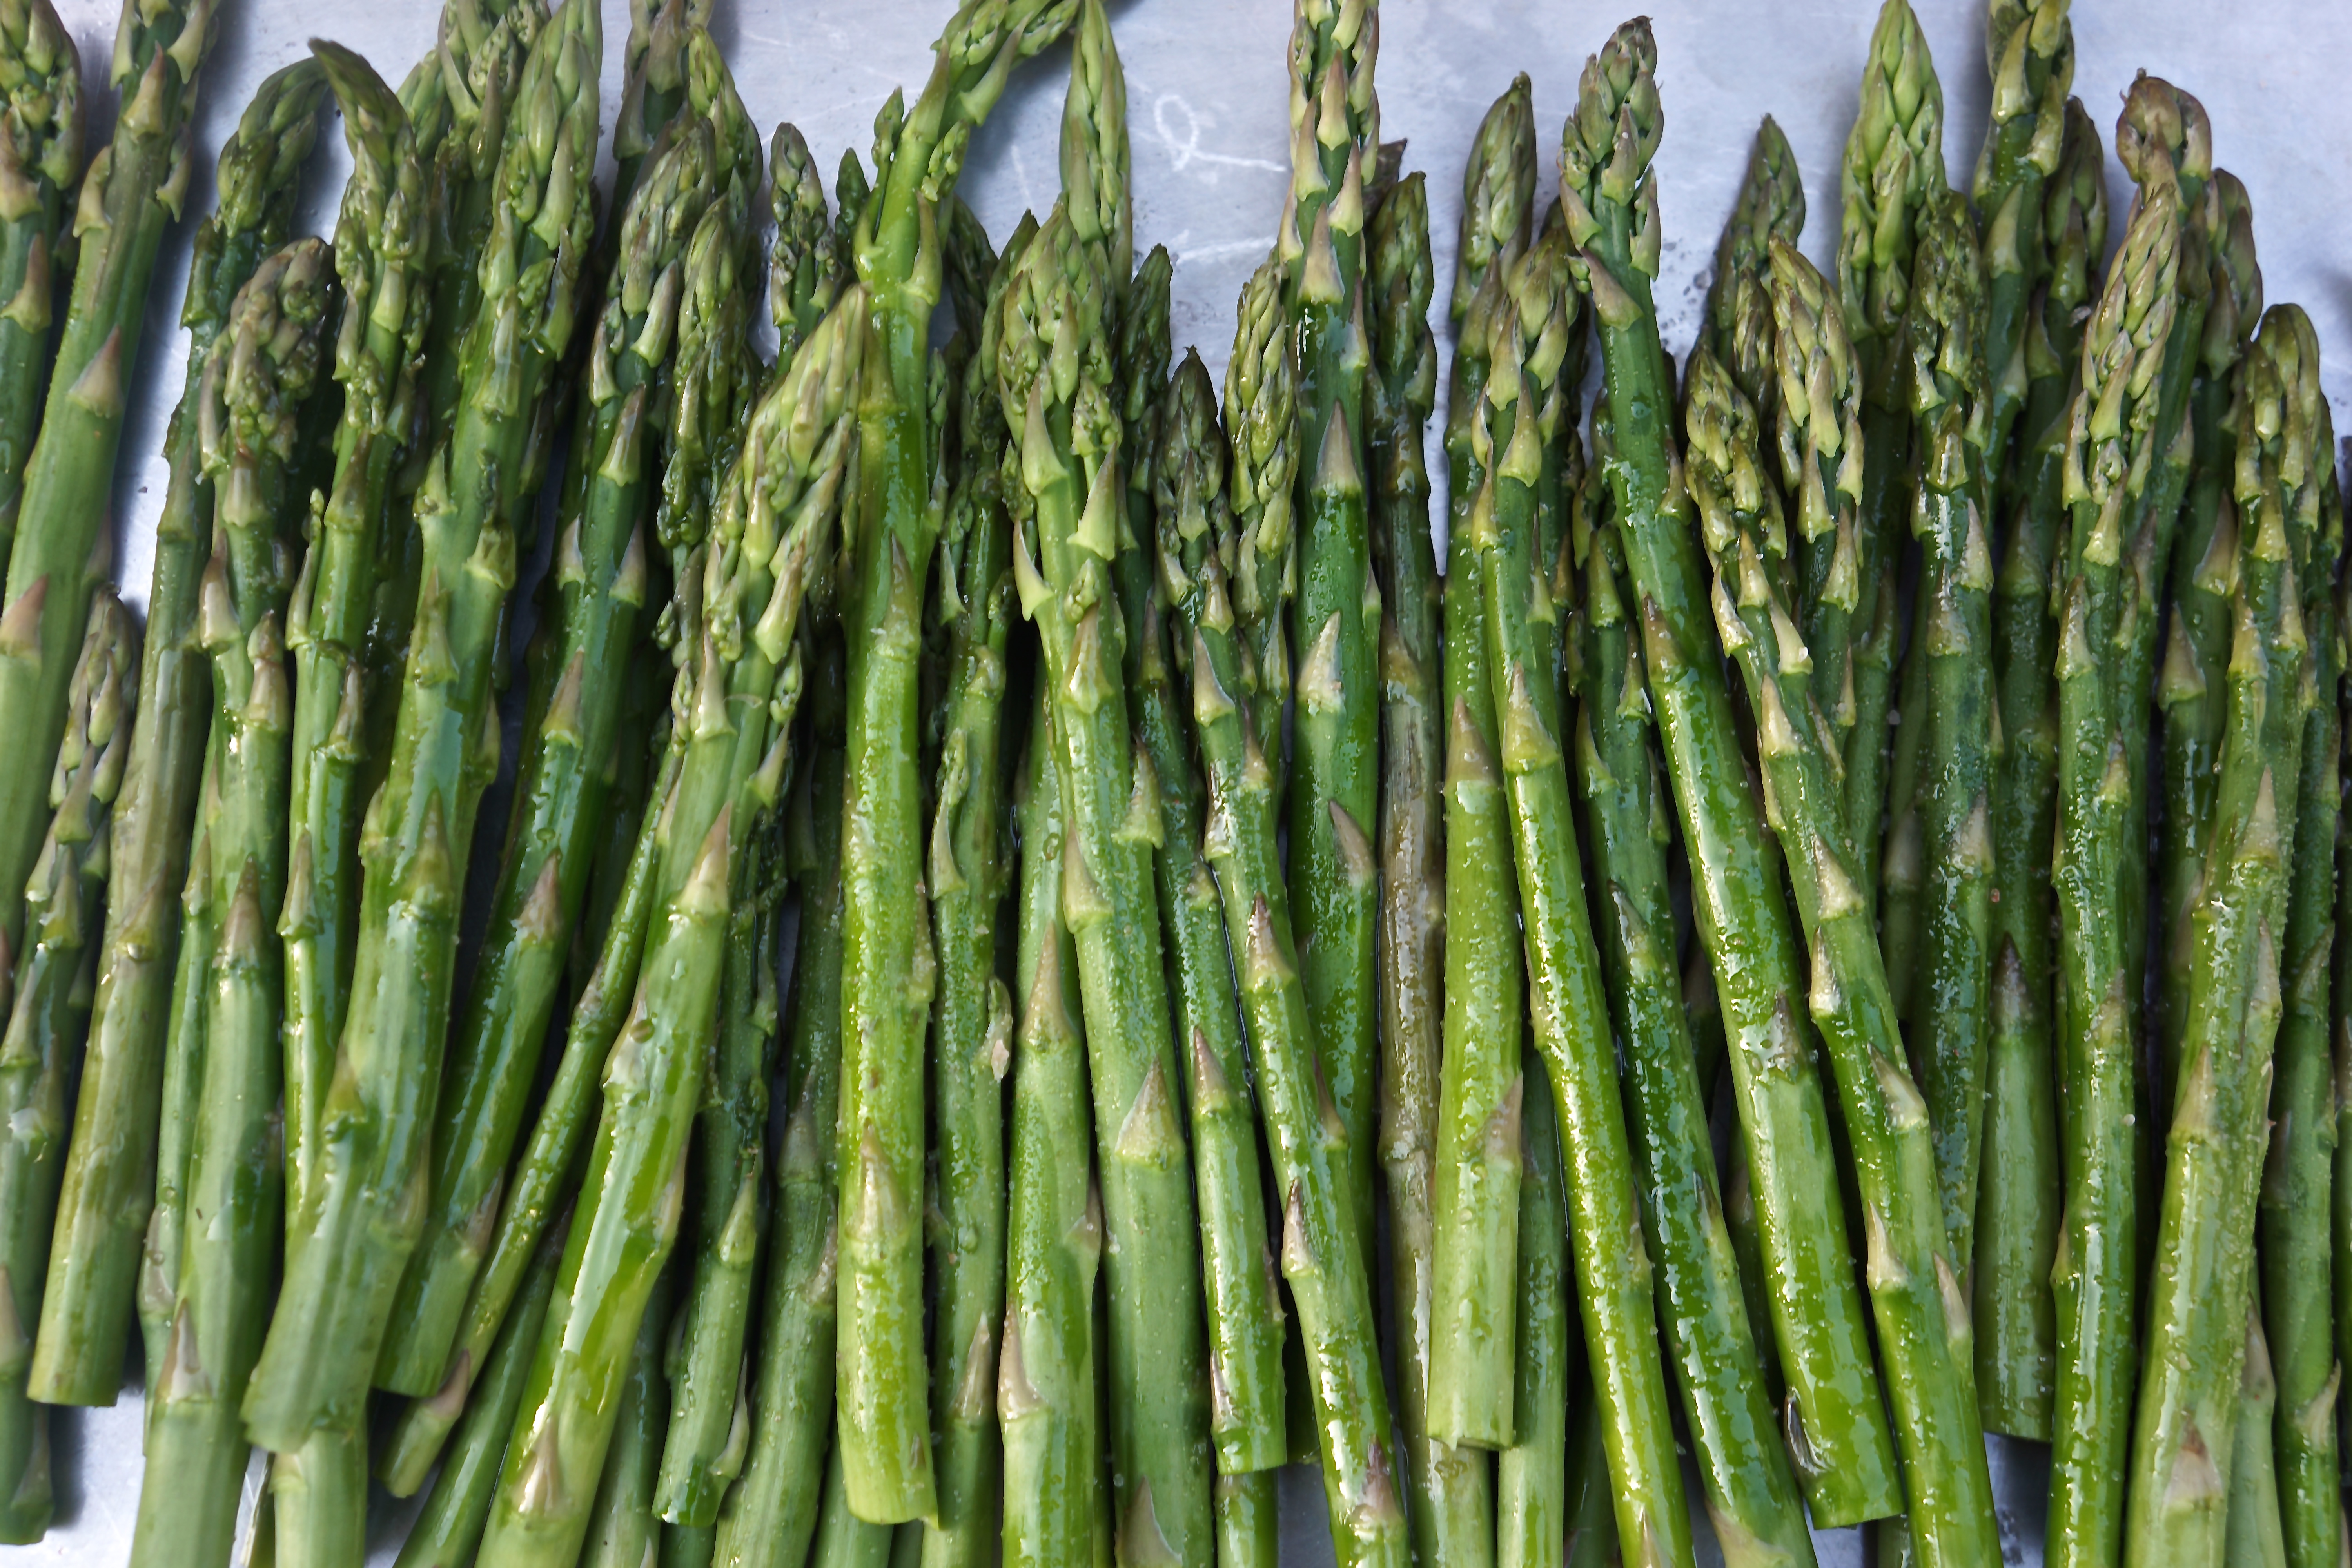
Roasted Asparagus & Zucchini

When I first met my friend Dano, he didn’t eat vegetables. He just didn’t like them.

Dano and I had many dinners at my kitchen table which usually included racks of lamb or short ribs or beef fillet with potatoes. I always snuck in some roasted vegetables and put them on my plate.

I never force anyone to eat or try anything. One night Dano tasted them and declared, “These are great! These aren’t vegetables, are they?”

I just smiled. Eight years later Dano was a vegetarian. Although I suspect there may be a rack of lamb in his future.

Everyone needs to know how to roast vegetables. It’s sooo easy! They always taste delicious and have been known to turn non-vegetable eaters to vegetarians (my friend Dano, for example).

I think some people are afraid of using the oven at a high heat setting. Don’t be afraid, go for it!

ROASTED ASPARAGUS & ZUCCHINI

EVENT: Weeknight Sit-in-the-Kitchen Dinner, ACT II

SERVES: Adjust Quantity to Number of Guests

Ingredients

Raw vegetables: zucchini and asparagus (2 zucchini per person and 4 asparagus per person)

Olive oil

Kosher salt

Fresh ground pepper

Equipment

2 rimmed baking sheets

Directions

1. Preheat oven to 425 degrees.

2. For asparagus: Snap off fibrous ends. For zucchini: Wash and stripe zucchini using small knife. Slice zucchini on the bias, making oval discs.

3. Place asparagus on a baking sheet and drizzle with olive oil.

4. Roll the asparagus around on sheet, making sure each asparagus is covered in oil.

5. Sprinkle generously with kosher salt.

6. Place zucchini discs in a medium bowl. Drizzle with 1 tablespoon of olive oil and toss to cover each piece with olive oil: It’s okay to add more oil.

7. Season with salt and pepper and then place on a rimmed baking sheet.

8. Place both sheets in the oven.

9. After 10 minutes, rotate the sheets top to bottom and front to back.

10. Actual roasting time will depend on the thickness of the asparagus, the zucchini disks and your individual oven.

11. After 15 minutes, take a piece out and taste. It should be cooked through but both vegetables should still be a vibrant green color.

12. If there are any leftovers, chop them into a green salad the next day.

May 8, 2015
At Home with Friends

5 comments

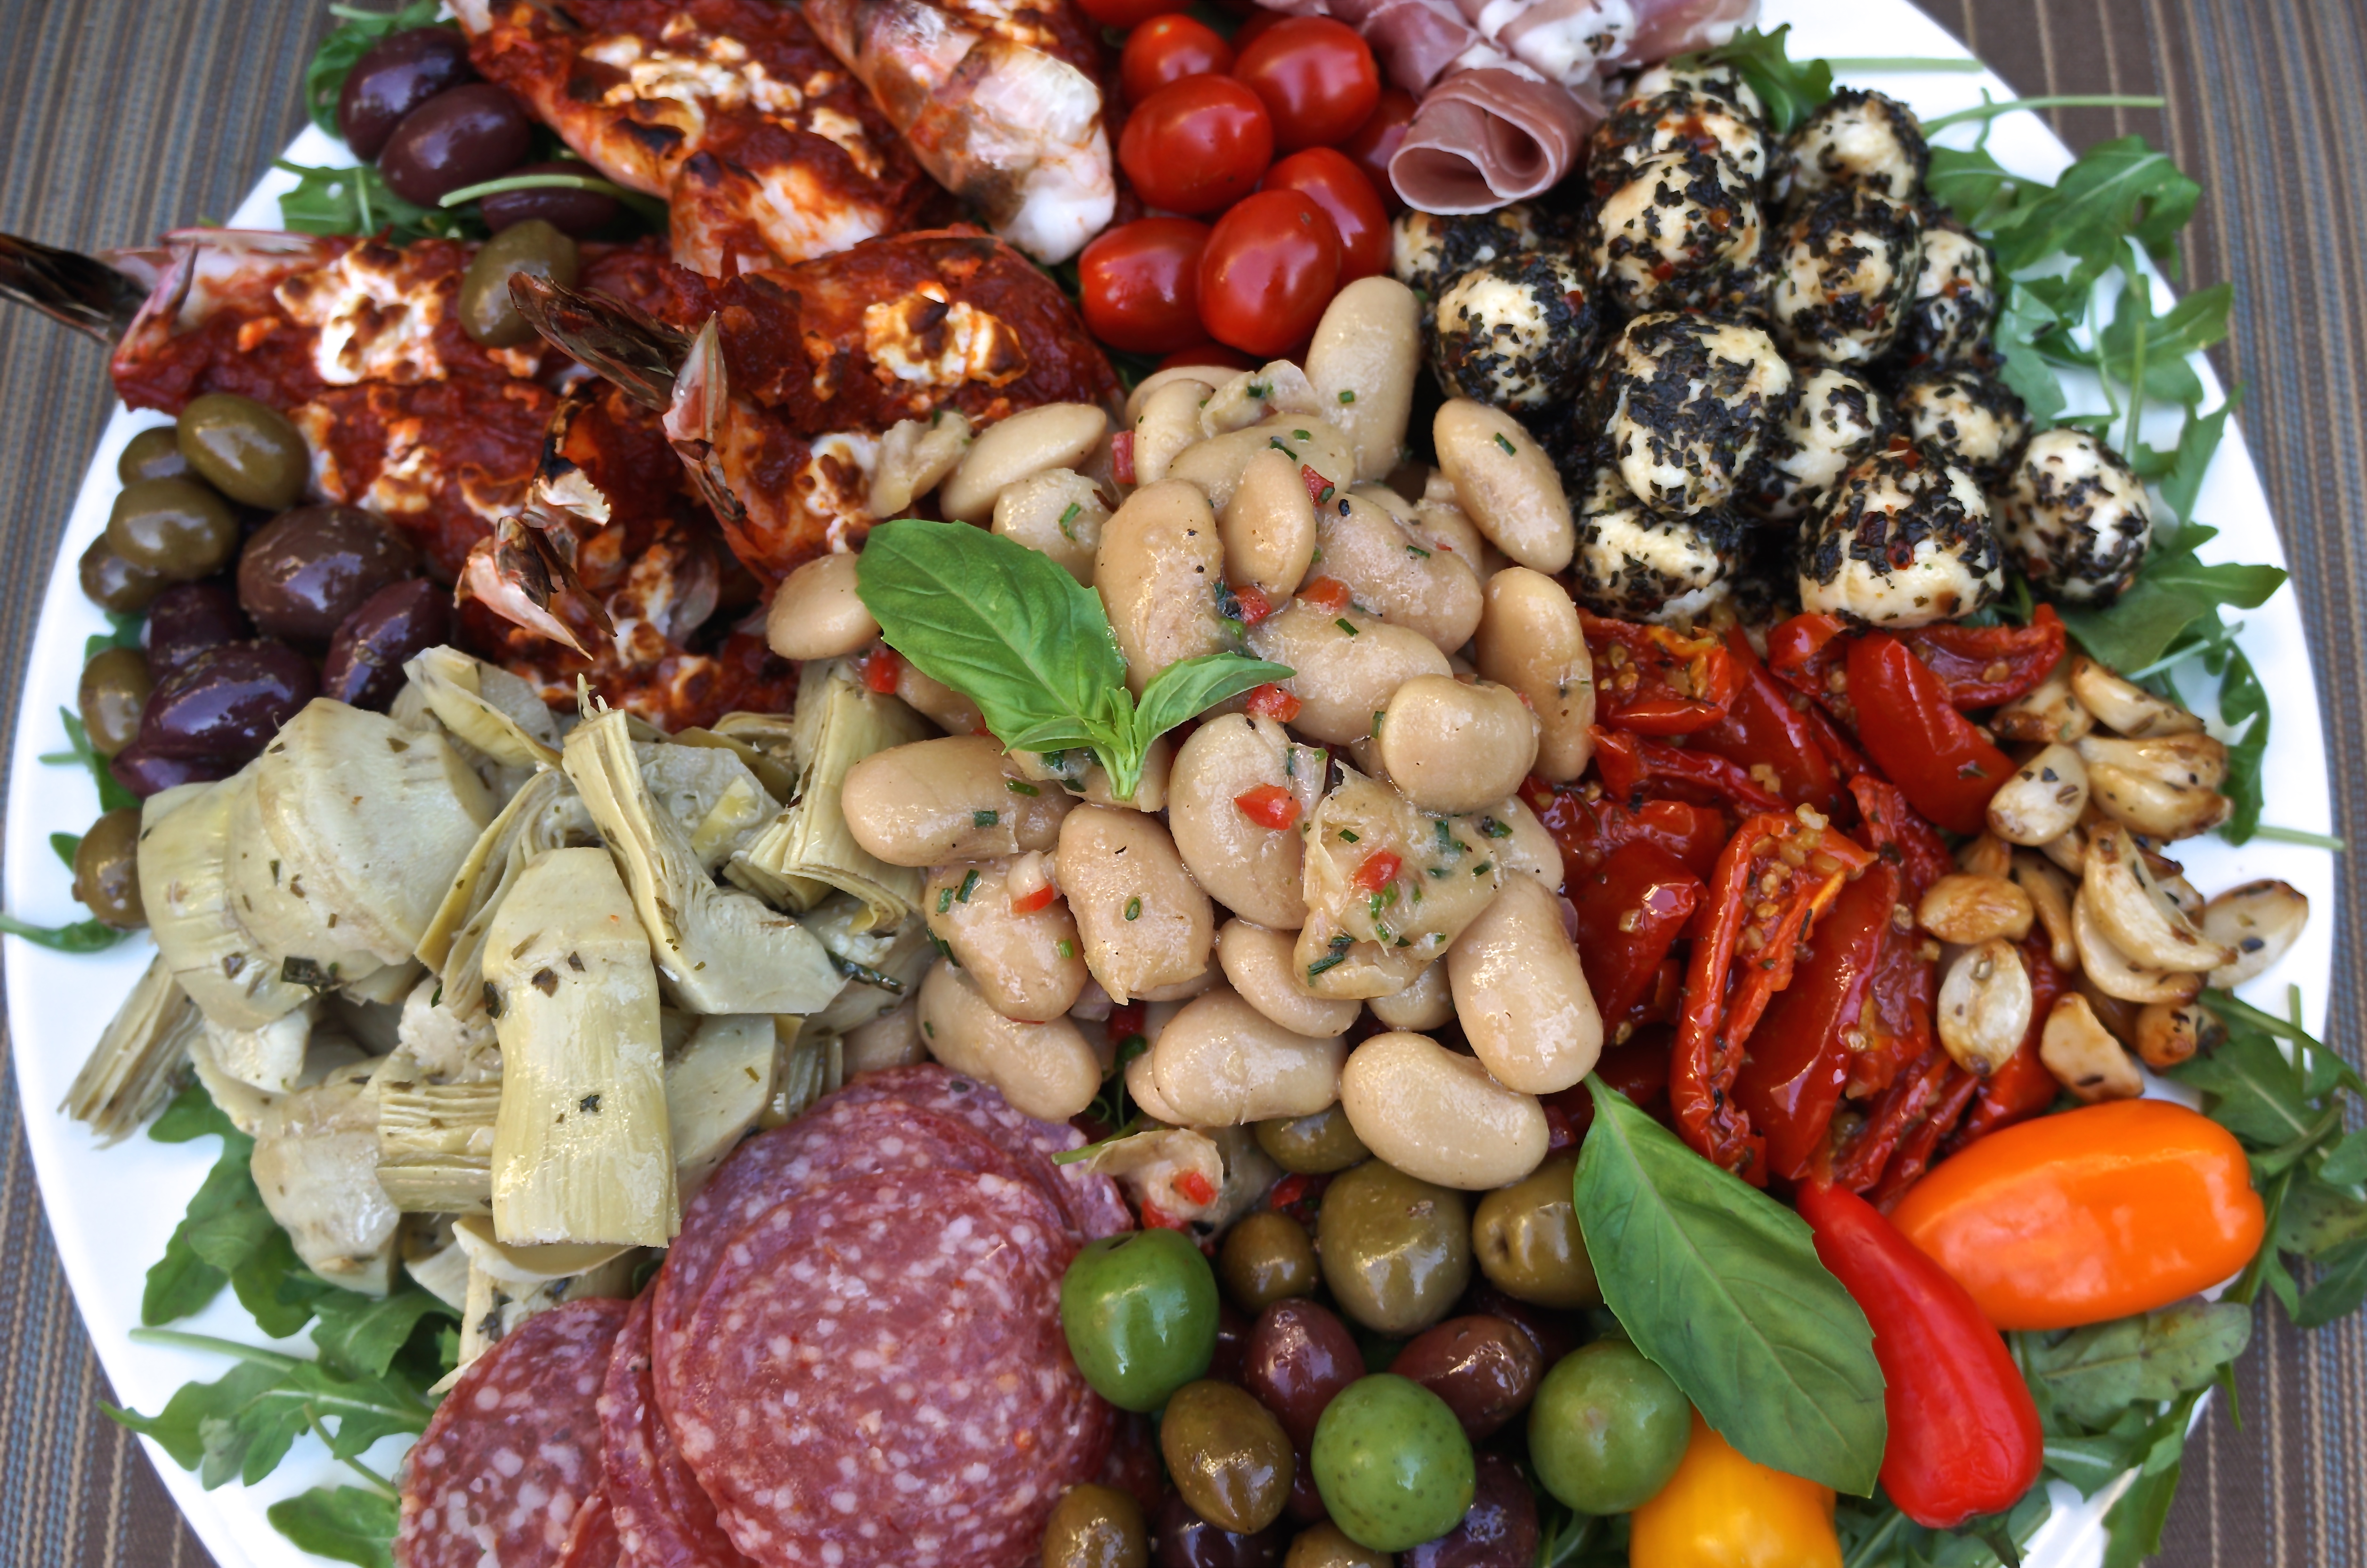
Antipasto Platter

When I was a kid, one of the restaurants we went to was an Italian pizzeria. There was a chef in the front, throwing and stretching pizza dough for all to see. We always ordered a huge family size pizza and I always burned my tongue on the hot melted cheese, too impatient to wait for it to cool.

I can still taste it. It had a heavy tomato sauce, dried oregano and a rubbery thick melted mozzarella cheese on top.

This wasn’t just a pizza joint and with our pizza we always ordered Italian salads. These were mixed green salads dressed with a red wine vinaigrette topped with a few exotic black olives, slices of Italian salami, garbanzo beans and cubes of white cheese, most likely provolone or mozzarella.

It seemed very exotic at the time. I was used to Jewish deli salami and black olives from California. I always loved this salad even though the dressing was way too acidic for a kid. There was something about the salami, marinated garbanzo beans, olives and cheese that was fantastic.

Years later when I traveled to Italy, I saw that most restaurants had a small buffet area set-up during lunch and dinner that had a gorgeous assortment of marinated beans, roasted peppers, beautiful olives, grilled zucchini, and multiple variations of eggplant. Just looking at the buffet as I walked past made my mouth water.

I loved this idea. It was not an all-you-can-eat American buffet. You asked the waiter to bring you an assortment as a first course, the waiter arranged his selection on a plate and presented it as a work of art.

It was beautiful, healthy and delectable. I’m inspired by this and reminded of those Italian salads when I create my antipasto platter.

With a bit of thought, imagination and creative shopping, you too can create a stunning antipasto platter.


With a bit of thought, imagination and creative shopping, you too can create a stunning antipasto platter.

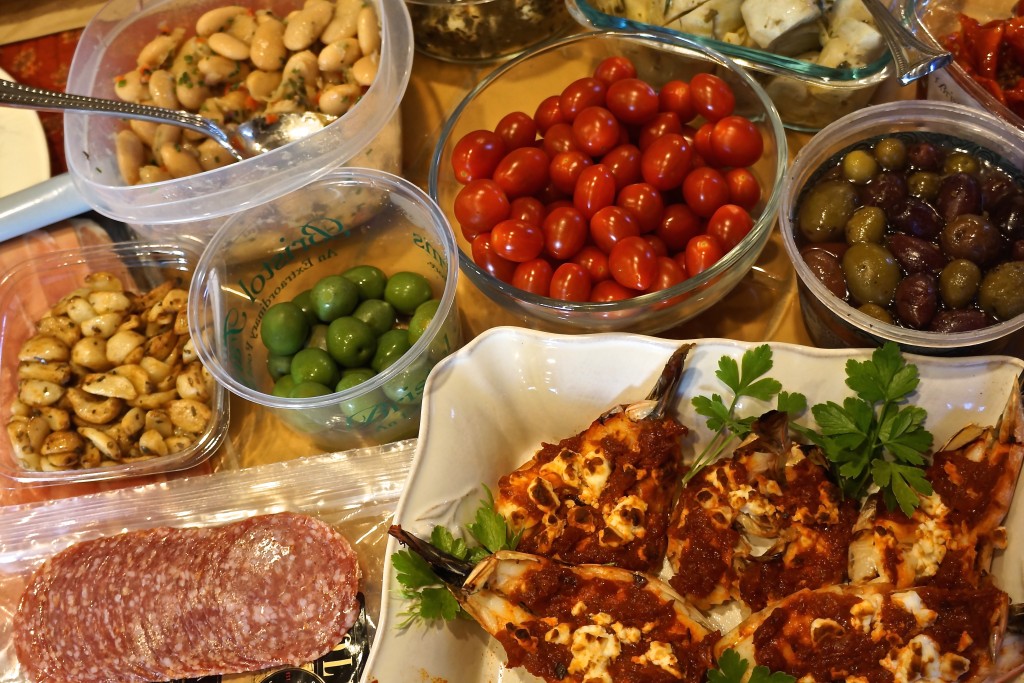
I always start with a base of fresh baby arugula or baby spinach. Then it’s time to get creative. Combine store bought with homemade. Usually, the day before or even hours before, I marinate beans and artichoke hearts. I always include some type of cheese, marinated mozzarella balls, fresh creamy burrata or even hunks of Parmesan Reggiano.

I usually add some type of meat unless all of my guests are vegetarian. Italian salami, thin sliced prosciutto are all good choices. (I buy the Italian salami and prosciutto at Costco.)

Add some really good imported olives, green or black, hot peppers, grilled vegetables, roasted peppers and any raw vegetables such as tiny tomatoes, carrots or cucumbers.

Since most items are dressed with olive oil or a marinade, you don’t have to dress the salad. A drizzle of extra virgin olive oil, a squeeze of fresh lemon or a tiny drizzle of aged balsamic vinegar and you’re all set.

May 6, 2015
At Home with Friends

2 comments

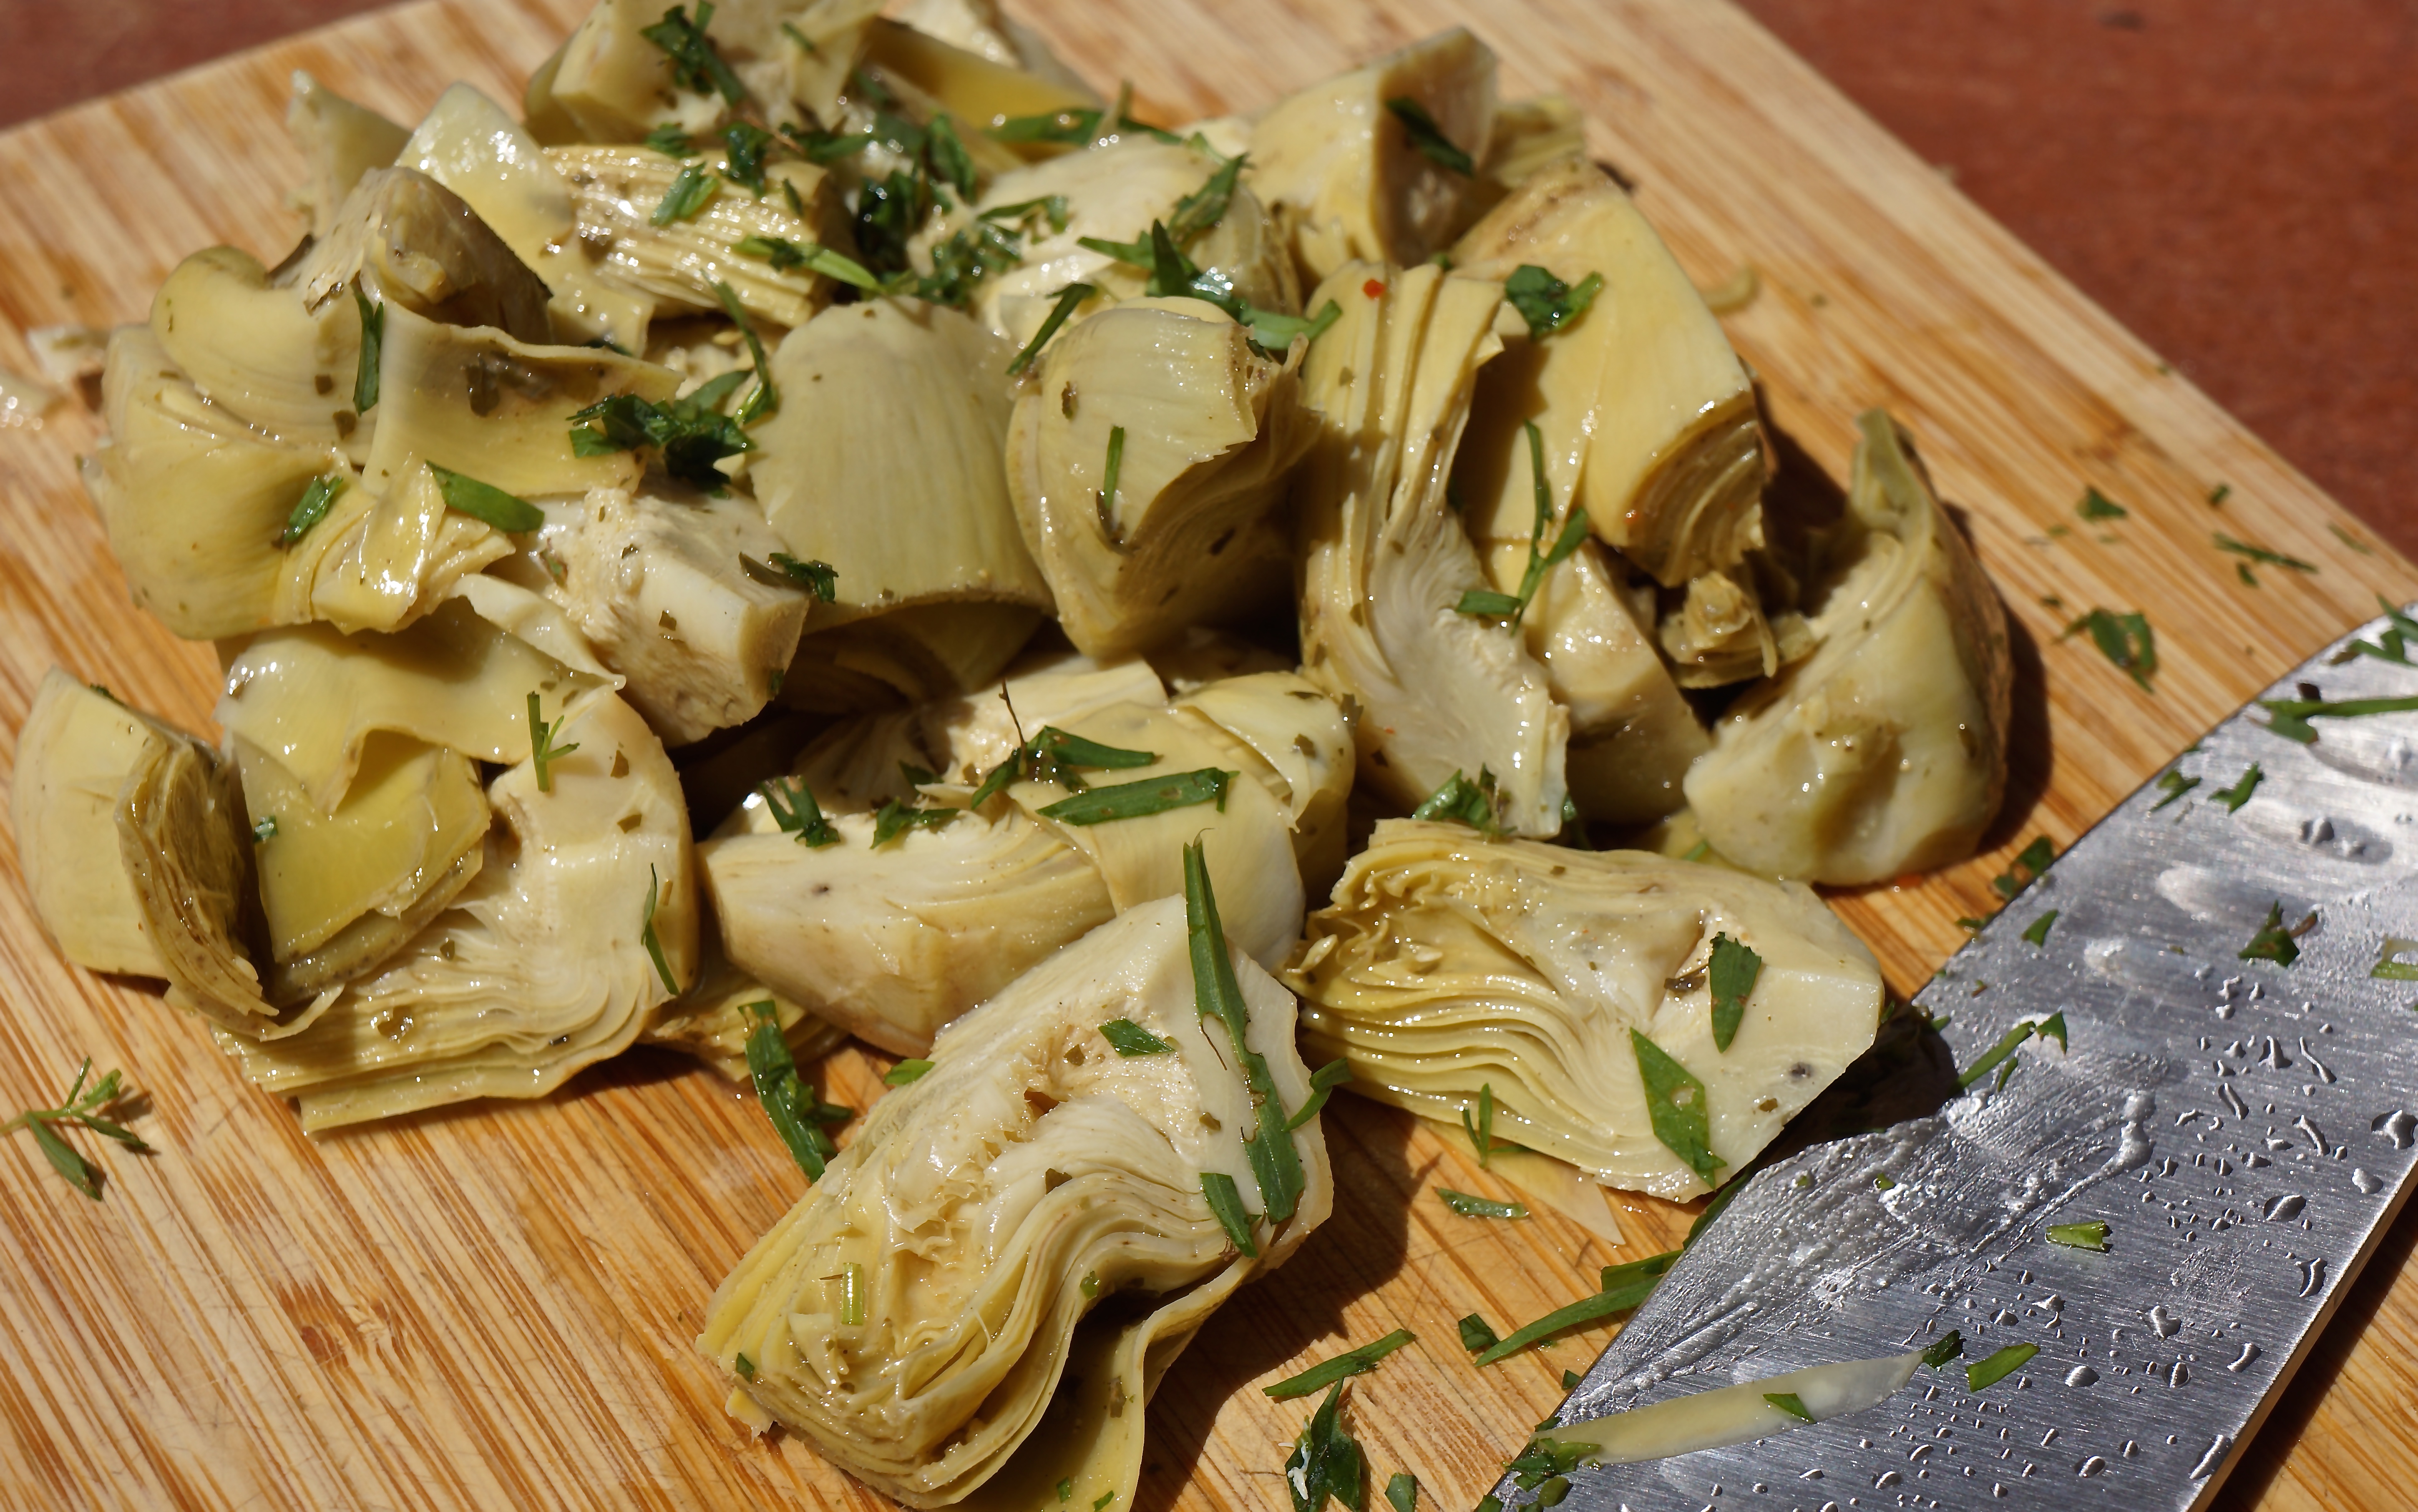
Marinated Artichoke Hearts with Tarragon

I always keep jars of artichoke hearts packed in water in my pantry. I can incorporate them into a vegetable puree, a green soup, an artichoke pesto or in this case as part of my antipasto platter.

I prefer artichoke hearts packed in water over those packed in oil. I don’t like the type of oil used or the flavor of the spices they add to those packed in oil. Buy the ones packed in water and you can season them any way you like. (I buy mine at Cosco.)

My favorite seasoning to use with artichoke hearts is tarragon. Tarragon has a slightly bittersweet flavor with an aroma similar to anise or licorice. I grow it in my garden so it’s always available. It’s important to use really fresh tarragon.

Don’t substitute dried tarragon: It will not taste the same.

Since I keep the artichoke hearts in the pantry and tarragon in the garden, the only other thing I need is extra virgin olive oil and some fresh lemon, salt and pepper.

It’s another simple recipe that relies on the finest ingredients.

MARINATED ARTICHOKE HEARTS WITH TARRAGON

EVENT: Weeknight Sit-in-the-Kitchen Dinner

SERVES: 6-8 People as Part of Antipasto Platter

Ingredients

1 jar (33 oz) artichoke hearts packed in water

1 1/2 teaspoon finely chopped fresh tarragon

2-3 tablespoons extra virgin olive oil

Zest of 1 lemon

1/2 teaspoon fresh lemon juice

Salt and pepper to taste

Directions

1. Drain artichoke hearts.

2. Cut hearts into fourths or eighths.

3. In a large bowl combine artichokes, olive oil, tarragon, lemon juice. Mix gently until all artichoke hearts are covered in oil and bits of tarragon.

4. Top with lemon zest. Add salt and pepper to taste.

5. Store covered in refrigerator.

6. Remove from refrigerator and allow to come to room temperature before serving. This keeps several days covered in refrigerator.

May 4, 2015
At Home with Friends

1 comment

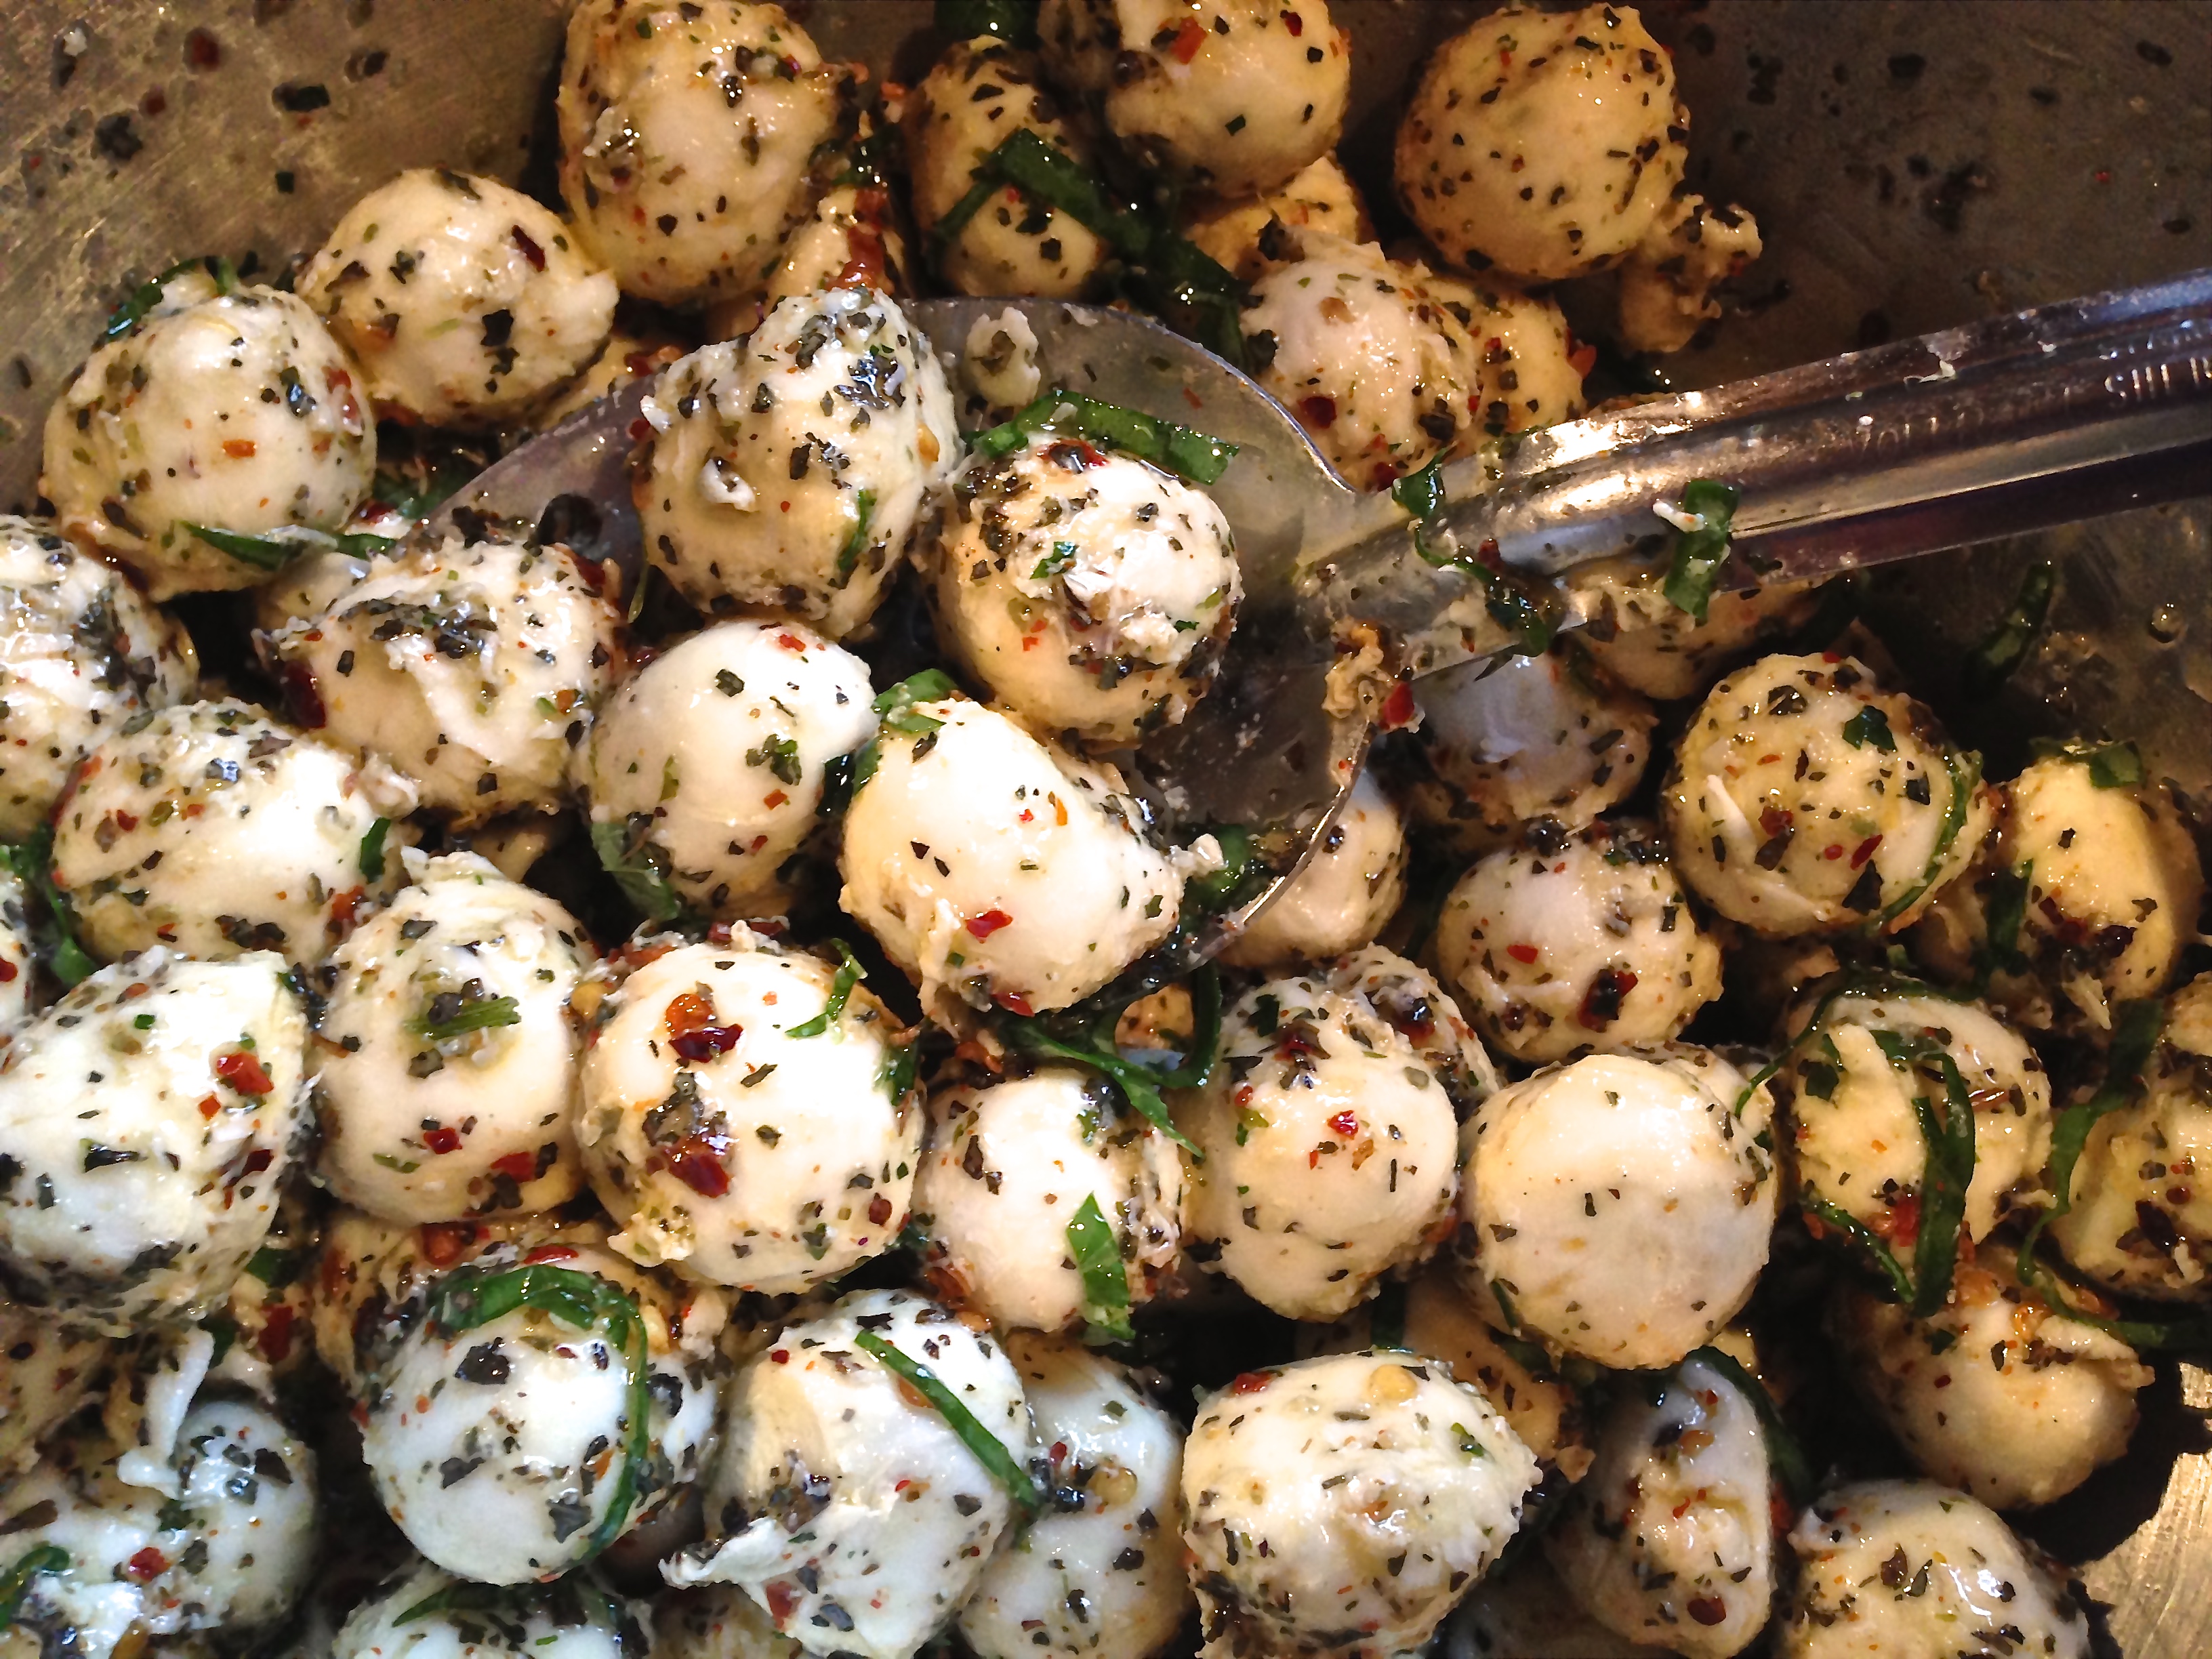
Mozzarella Balls with Basil and Red Pepper Flakes

I always include these as part of any antipasto platter. They are bite size portions and compliment the other antipasto selections.

Sometimes these are called bocconcini and are sold packed in watery whey; sometimes they are sold packed in olive oil.

However you buy them, they will work in this recipe. You can make any quantity and leftovers are great the next day tossed in a salad or as the filling in an omelet.

Because this is such a simple recipe, it’s important to use the best extra virgin olive oil you can find and the freshest basil. It makes a difference in the taste.

The prep time is less than 5 minutes, and it can be done the day before or just before the guests arrive.


MOZZARELLA BALLS WITH BASIL AND RED PEPPER FLAKES

EVENT: Weeknight Sit-in-the-Kitchen Dinner

SERVES: Calculate at Least 2-3 Mozzarella Balls per Person


Ingredients

Mozzarella balls in water or oil *

1 bunch fresh basil

1/4 – 1/2 teaspoon red pepper flakes

2-3 tablespoons extra virgin olive oil

1 teaspoon dried basil

Salt and pepper to taste


Directions

1. Drain the mozzarella balls in a colander.

2. While they are draining, slice the basil: To preserve the delicate flavor, stack all the basil leaves and roll them lightly into a cigar shape. Slice the leaves perpendicular to the cigar roll.

3. In a large bowl, gently combine the mozzarella balls, olive oil, fresh basil and red pepper flakes, and dried basil.

4. Toss to coat each ball thoroughly. Add salt and pepper to taste. Add more pepper flakes if you prefer more heat.

5. Store in refrigerator overnight. Remove and allow them to come to room temperature before serving.

* A NOTE: I buy the mozzarella balls at Costco.

May 1, 2015
At Home with Friends

2 comments

Sautéed Spinach

Sautéed Spinach is quick, easy and delicious.
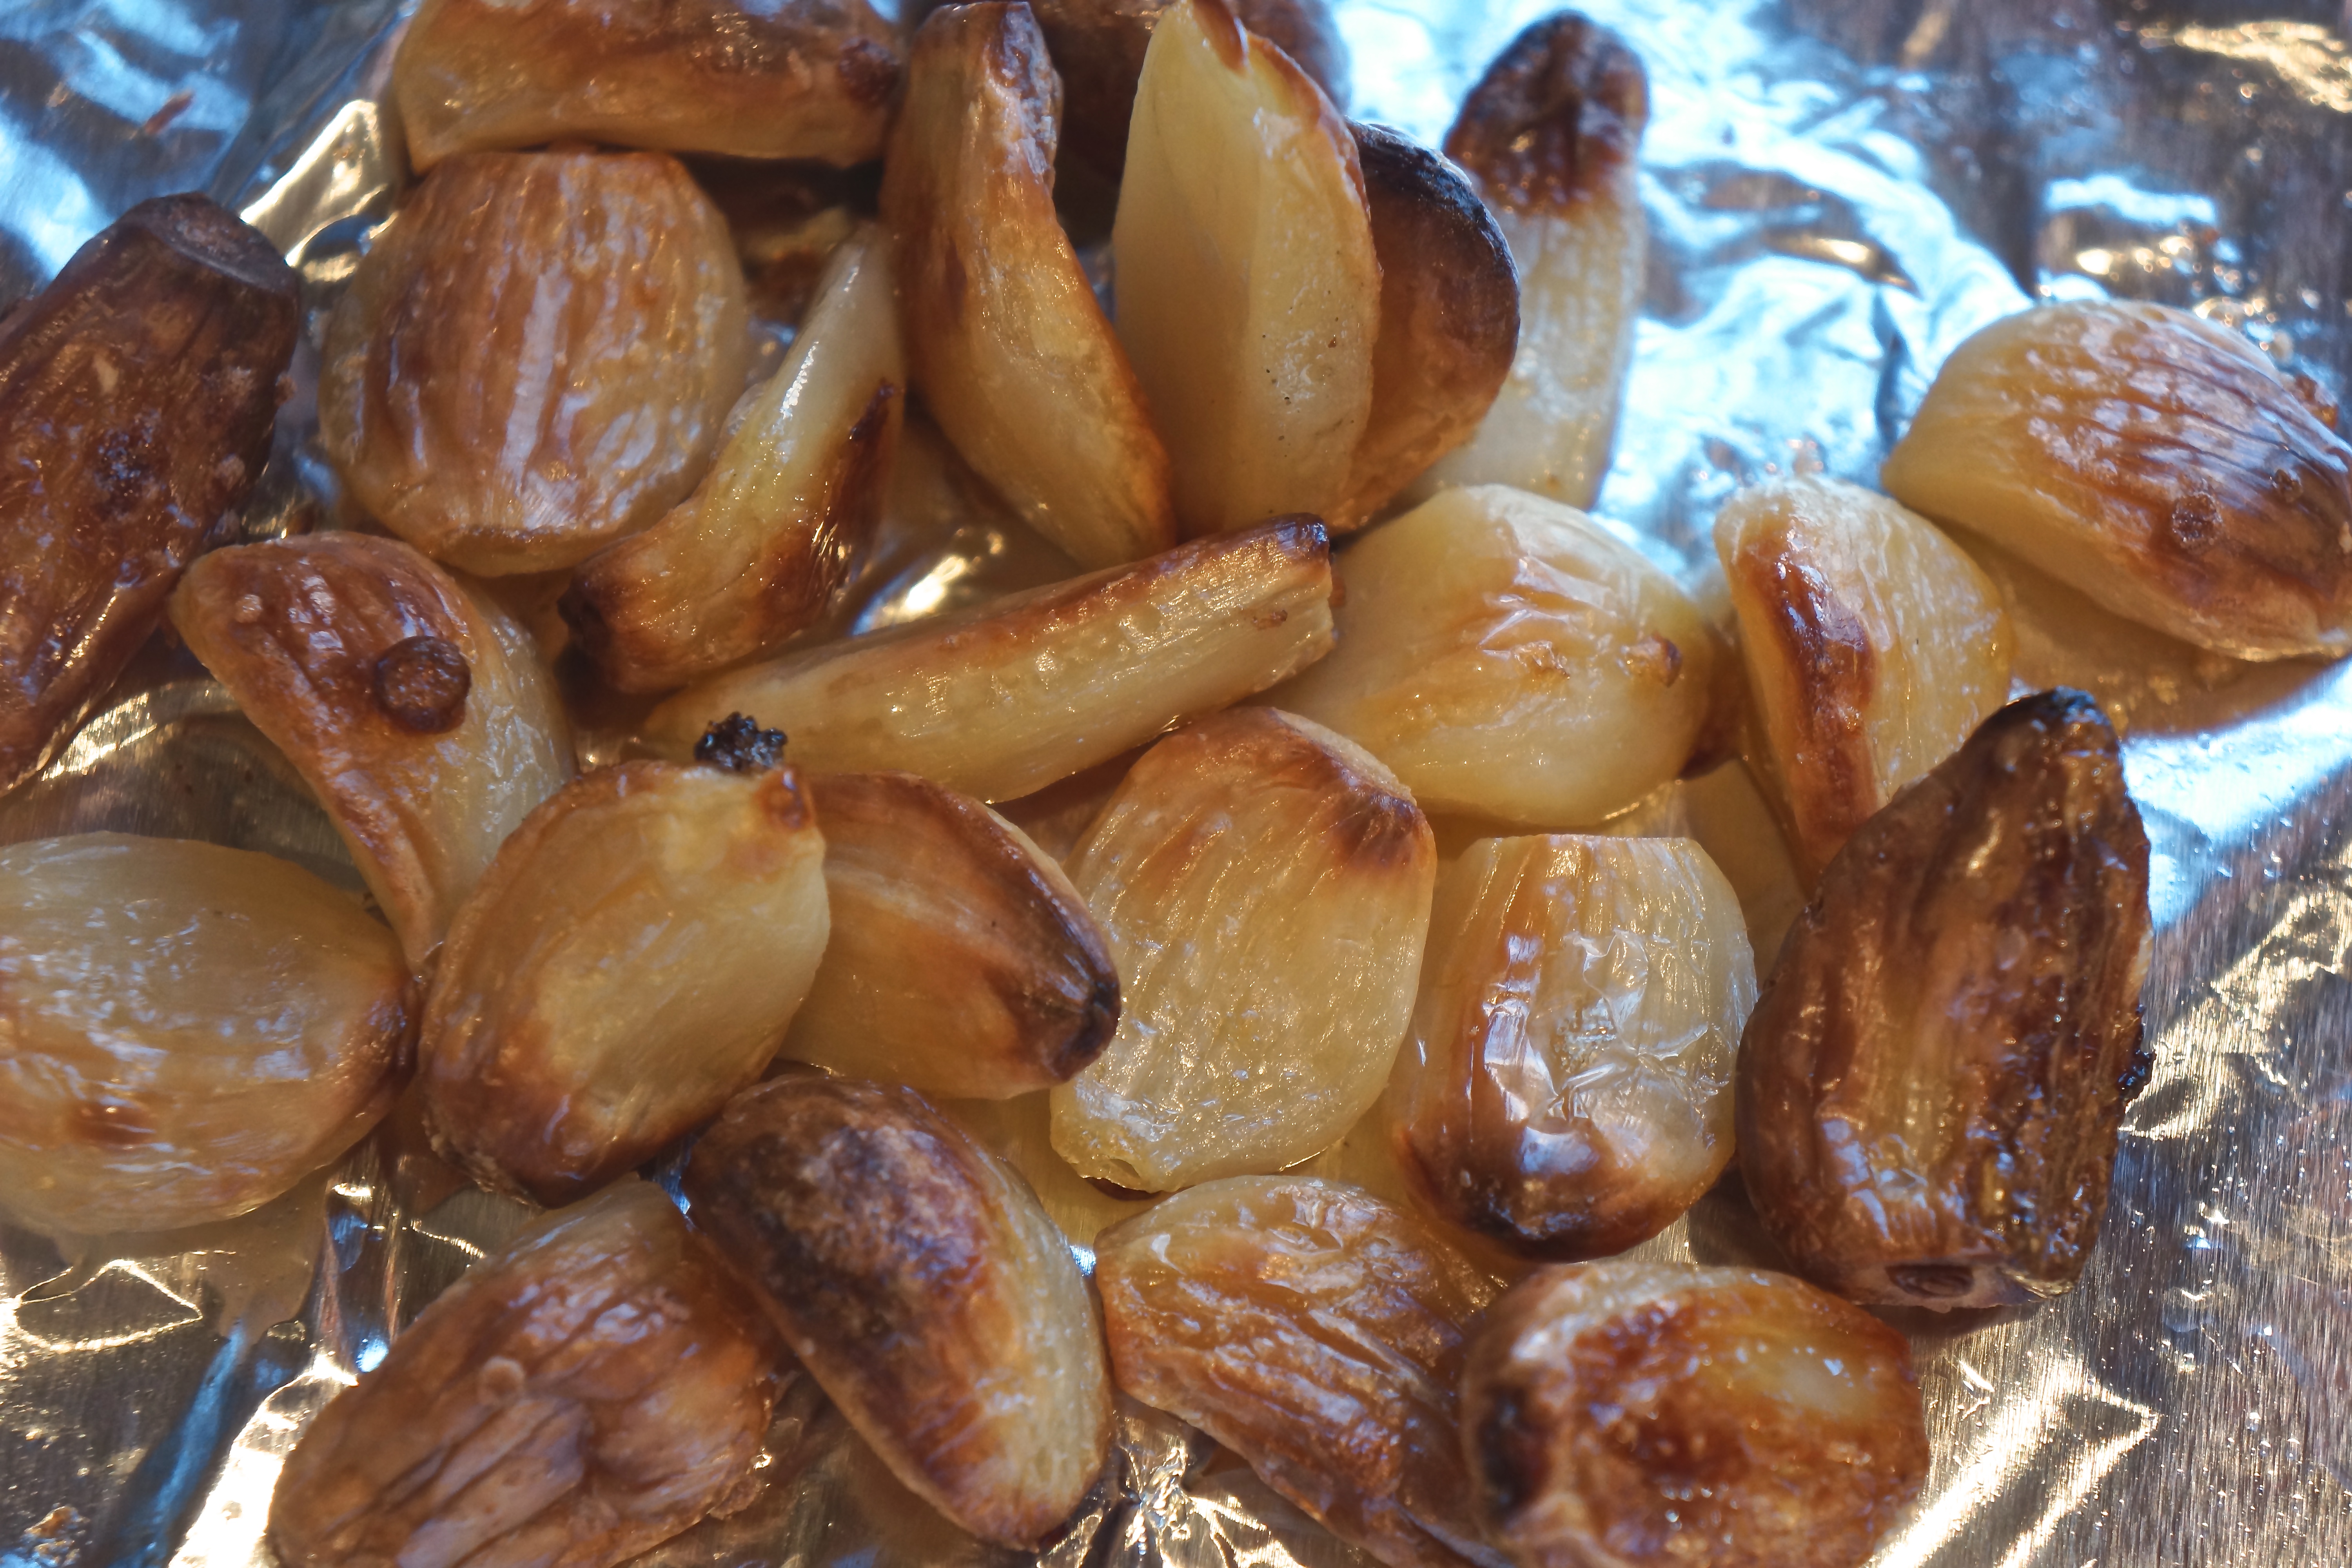
This takes on a depth of flavor because I sauté the spinach with oven roasted garlic. I roast several dozen cloves of garlic at once and keep them on hand for vegetable sauté, homemade pizzas, or for garlic lovers, spread it directly on a toasted baguette.

OVEN ROASTED GARLIC

EVENT: Weeknight Sit-in-the-Kitchen Dinner


Ingredients

2 ½ dozen cloves garlic

1 tablespoon olive oil (more for storage)

Equipment

Baking sheet lined with aluminum foil


Directions

1. Preheat oven to 400 degrees.

2. Peel 2 ½ dozen cloves of garlic.

3. Toss peeled garlic with 1 tablespoon olive oil.

4. Put on lined baking sheet and bake for 10-15 minutes, just until garlic starts to brown.

5. Remove from pan. Allow to cool.

6. Add 1 tablespoon olive oil and store in refrigerator. Can be stored for 2 weeks.


SAUTEED SPINACH

EVENT: Weeknight Sit-in-the-Kitchen Dinner

SERVES: 4 People


Ingredients

3 bags of spinach (6 oz each) *

4-6 roasted cloves garlic, slivered

2 tablespoons extra virgin olive oil

1 ½ teaspoon salt and pepper

Directions

1. In a large skillet, heat oil until hot.

2. Add slivered garlic. Sauté for approximately 1 minute.

3. Add oil to the spinach, stirring constantly until the spinach is wilted and turns bright green (1-2 minutes).

4. Remove from heat. Add salt and pepper to taste.

5. Serve immediately.

* A NOTE: I buy the spinach at Costco.