first

December 7, 2015
At Home with Friends

3 comments

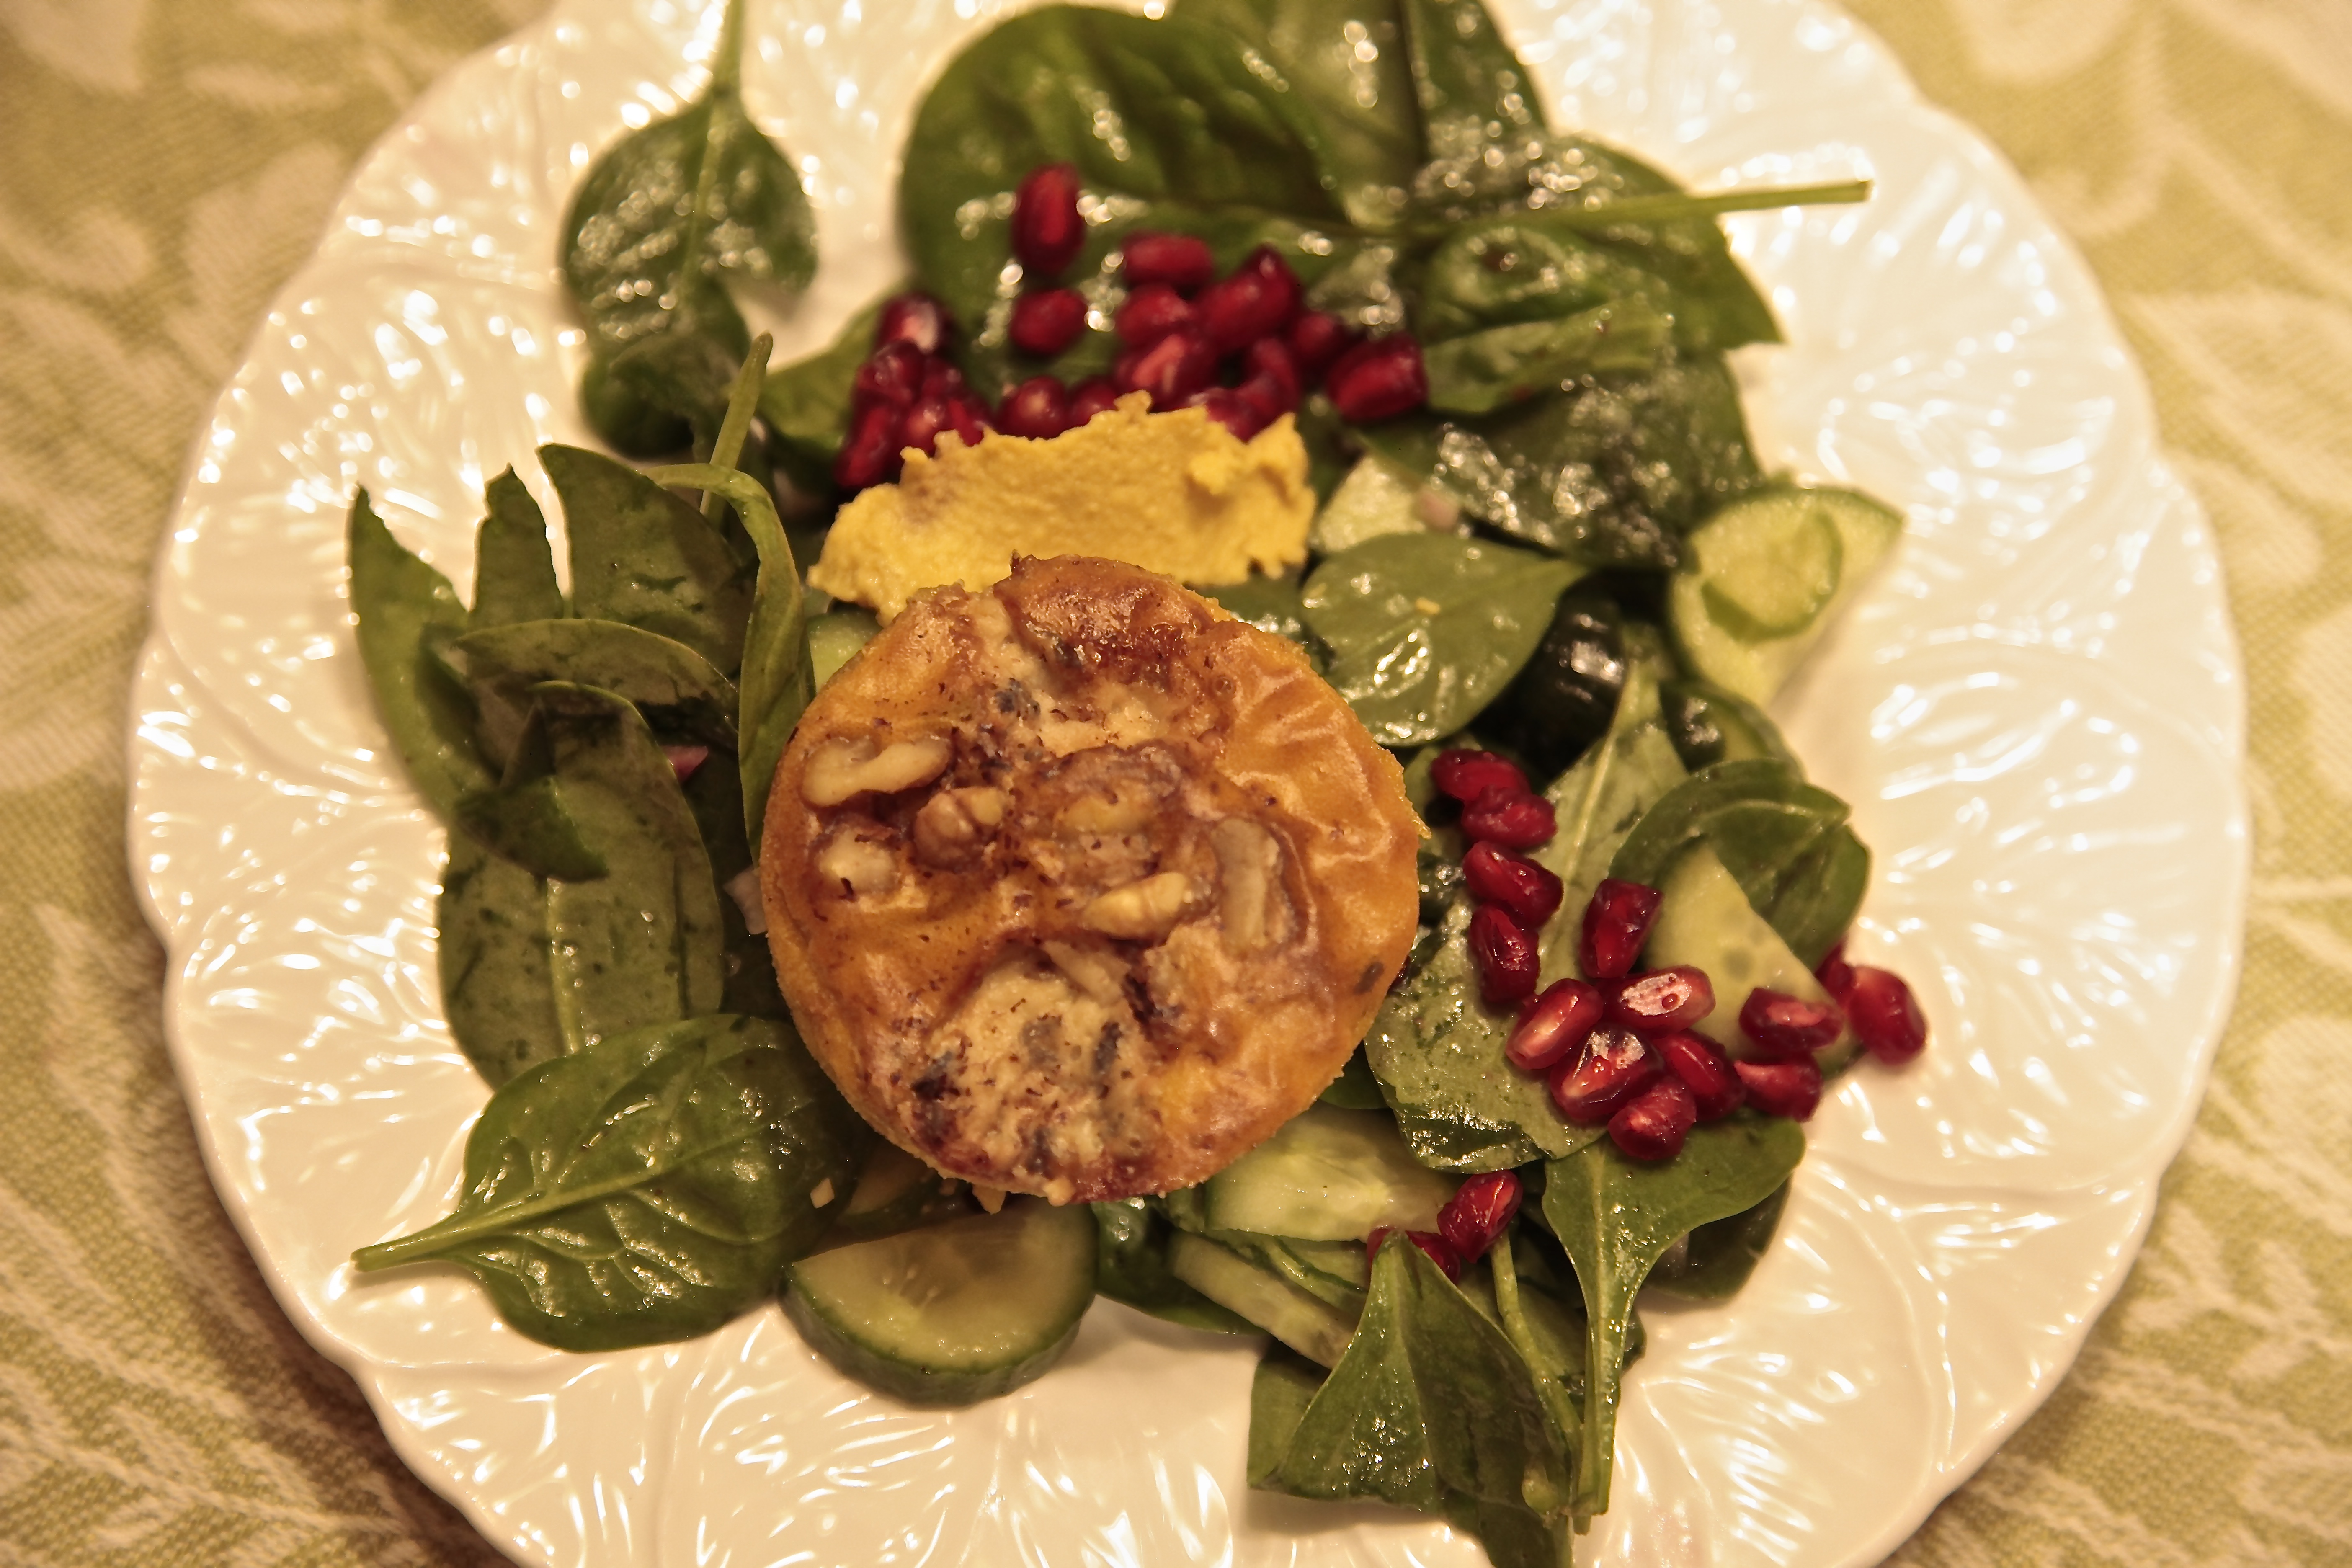
Pumpkin Cambozola Walnut Custards with Spinach Salad

I always start the Thanksgiving Feast with a bright fresh salad before the dense, carb-heavy main event. I use autumnal flavors and colors. Sometimes, it’s persimmons, sometimes it’s pomegranates, sometimes it’s golden beets. This year, it was individual Pumpkin Cambozola Walnut Custards on top of baby spinach, garnished with vibrant pomegranate seeds.

The Custards are simple to make and combine canned pumpkin puree with rich, creamy cambozola cheese, toasted walnuts and hint of thyme and toasted walnuts. If you can’t find cambozola cheese, you can use gorgonzola but it’s more assertive in flavor.

Serve these the day you make them. The trickiest part of the recipe is unmolding the custards. If you have a small offset spatula, it’s a breeze; OR you could serve them in the ramekins as a stand alone first course.

Serve these over a simple spinach salad garnished with pomegranate seeds and dressed with your favorite vinaigrette.

Pumpkin is expected at Thanksgiving, but it’s so versatile, it’s not just for pie.

PUMPKIN CAMBOZOLA WALNUT CUSTARDS WITH SPINACH SALAD
EVENT: Thanksgiving
SERVES: 6 People — 6-oz. ramekins, or 12 People — 3-oz. ramekins

Ingredients
1 15-oz. can pumpkin
3 large eggs
2 large egg yolks
1/2 cup heavy cream
3 1/2 ozs. cambozola cheese or gorgonzola generous 1/2 cup
2 tablespoons chopped walnuts (toasted)
1 teaspoon fresh thyme, finely minced
1/2 teaspoon salt
Pepper to taste
Unsalted butter for ramekins
Fresh nutmeg

Equipment
12 3-oz. ramekins or 6 6-oz. ramekins
Microplane
Offset spatula

Directions

1. Place a rack in the center of the oven and preheat to 350 degrees.

2. Butter the ramekins and set aside.

3. Put a kettle of water on to boil.

4. Line the bottom of the baking dish with a double layer of paper towels and place all the ramekins in the pan.

5. Place the pumpkin, eggs, egg yolks, heavy cream and thyme in a food processor and pulse until well blended.

6. Season with salt and pepper.

7. Transfer mixture into a measuring cup or bowl with pouring spout to make handling easier.

8. Pour mixture evenly into ramekins. Divide the cambozola or gorgonzola among the custards, do the same with the walnuts.

9. Using a microplane, grate fresh nutmeg over the top of each custard.

10. Pour enough hot water into the roasting pan to come halfway up the sides, being careful not to get any water in the ramekins.

11. Bake the custards 35-40 minutes until a knife inserted in the middle comes out almost clean. Check as soon as 25 minutes. Transfer the entire pan to a cooling rack and let them cool completely.

12. Using a small offset spatula, gently and carefully remove the custards and place on top of the salad.

GAME PLAN: THANKSGIVING

Thursday Night

6:00 P.M.

4 Weeks Before

  • Invite guests.
  • Think about Menu and style of Thanksgiving. (Will you be doing most of the preparation on your own or is yours a group effort? Do you want to do most of the meal and ask people to bring a dessert or salad, or their favorite Thanksgiving dish?)
  • Buy all non-perishables including alcohol.
  • Decide logistics: Where to set up bar, buffet, etc. Do you need extra tables and chairs?

3 Weeks Before

2 Weeks Before

1 Week Before

  • Finalize menu and confirm guest list.
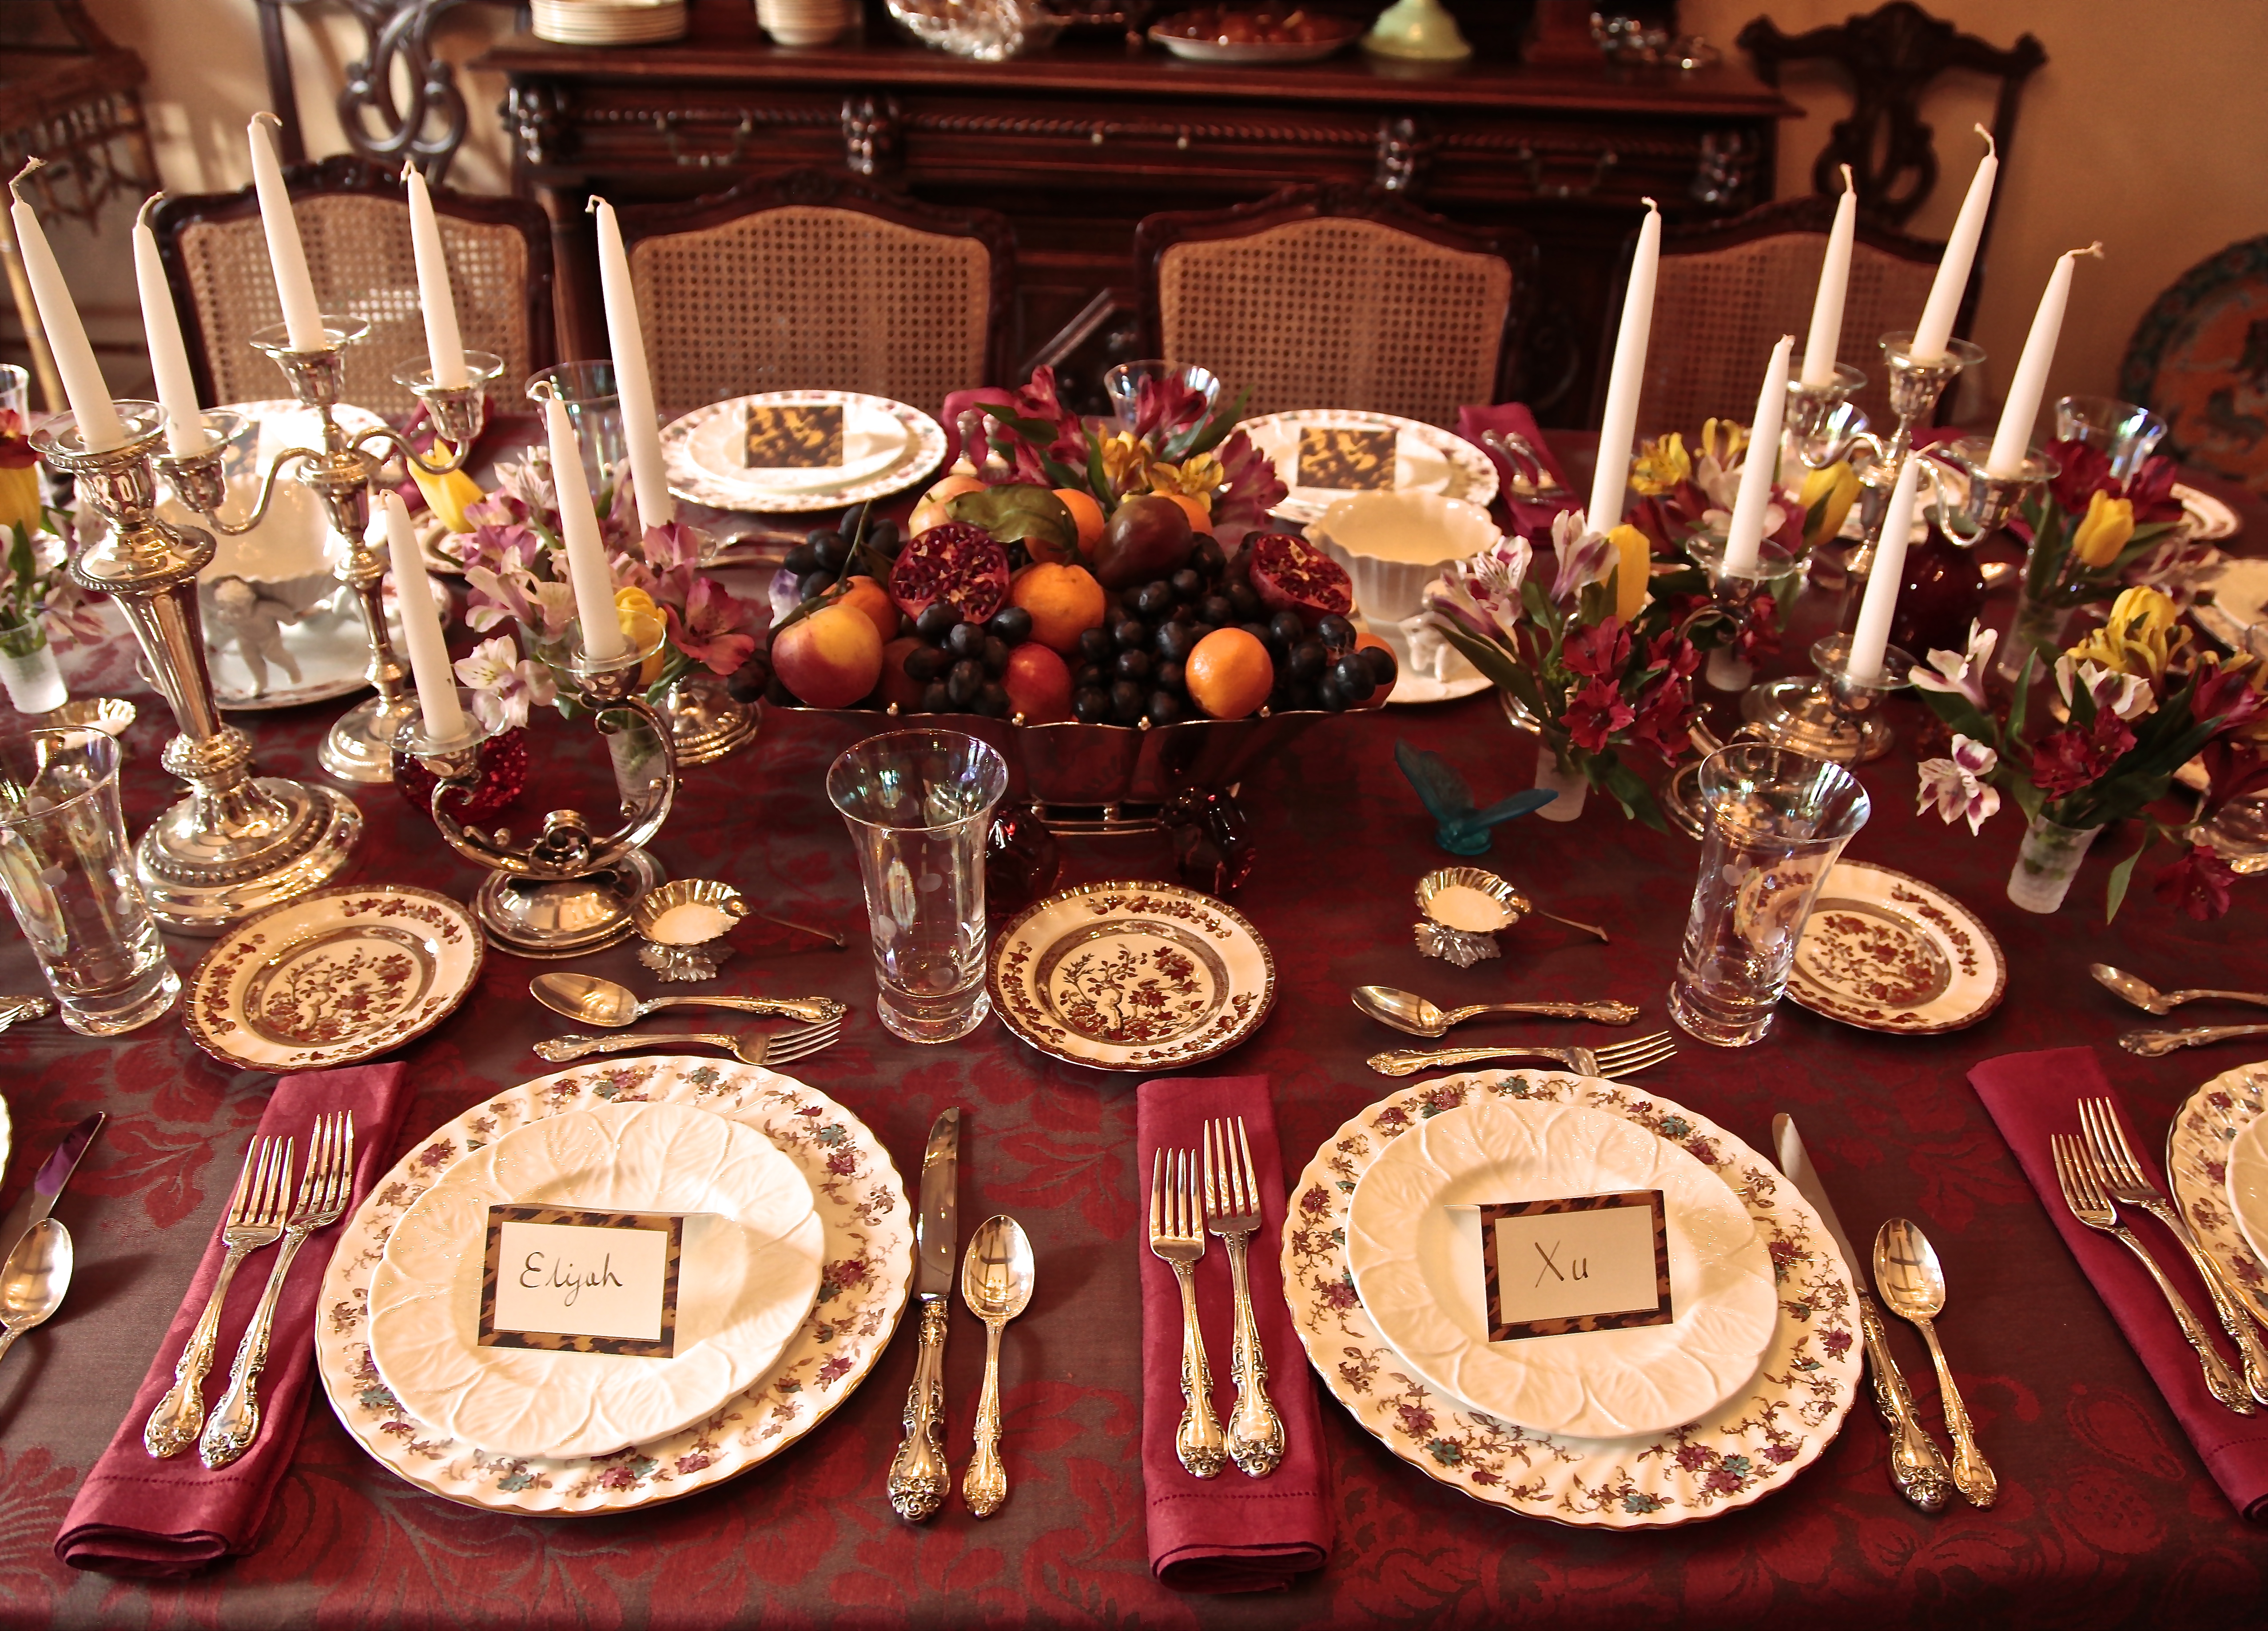
  • Set table: If you’re doing a formal sit-down dinner, it’s not too early to set the table. Traditional Thanksgiving involves a lot of last minute food preparation, so set the table now!

Sunday Before

  • Do all grocery shopping.
  • Wash all the vegetables and fruit.
  • Buy and arrange flowers. If your house isn’t too hot, flowers will keep if you replenish water, or wait until Monday to arrange flowers.

Monday Before

Tuesday Before

Wednesday Evening

Thursday

December 3, 2015

December 3, 2015

November 30, 2015
At Home with Friends

no comments

Thanksgiving

Thanksgiving is my favorite holiday of the year. I have wonderful memories of my mom “pulling out all the stops” for Thanksgiving.

The entire family got up early that morning and my father was busy chopping onions and apples for the stuffing while I broke up the toasted French bread and the cornbread that my mom had baked the night before.

The turkey went in the oven and the table was set, but that was just the beginning. In addition to turkey “with all the trimmings”, my mother made wafer thin pork chops baked with sliced apples and a New York strip steak roast for the non-turkey lovers (like my father).

There were homemade pumpkin pies, pecan pies and apple pies. There were canned cling peaches stuffed with sweetened coconut surrounding the turkey platter. There were stuffed mushrooms surrounding the sliced New York strip roast and there was homemade, chunky, spicy apple sauce to accompany the pork chops.

There was even a gorgeous jello mold: lime jello mixed with crushed pineapple, sliced almonds and heavy cream. When I think of it, I can still taste the cool sweetness of that jello mold, the crushed pineapple, the creaminess of the whipped cream and the surprise crunch of the sliced almonds. This was not part of dessert, but served with the main meal. It’s one of those things I will probably never make but will always cherish the memory.

It was all served buffet style and the platters were perfect. It was about abundance, family tradition and of course great food. Extended family, aunts and uncles and cousins came to our house. Everyone enjoyed. The pressure of Christmas and gifts and holiday madness was not yet upon us.

Years went by, the cousins grew up, my father passed away and my mother stopped doing Thanksgiving.

After a few years, I found I missed the tradition and asked my mom to cook Thanksgiving with me at my house. I got out all the sterling silver flatware and platters that had been passed down to me and we prepared Thanksgiving together in my kitchen.

It was the start of a new tradition. Instead of extended family, the table was made up of close friends and Thanksgiving orphans. Over the years, I have continued to welcome Thanksgiving orphans and even some Thanksgiving virgins to my home. (This year, there were two.) I “pull out all the stops” and I know my mother is watching it all and beaming with pride.

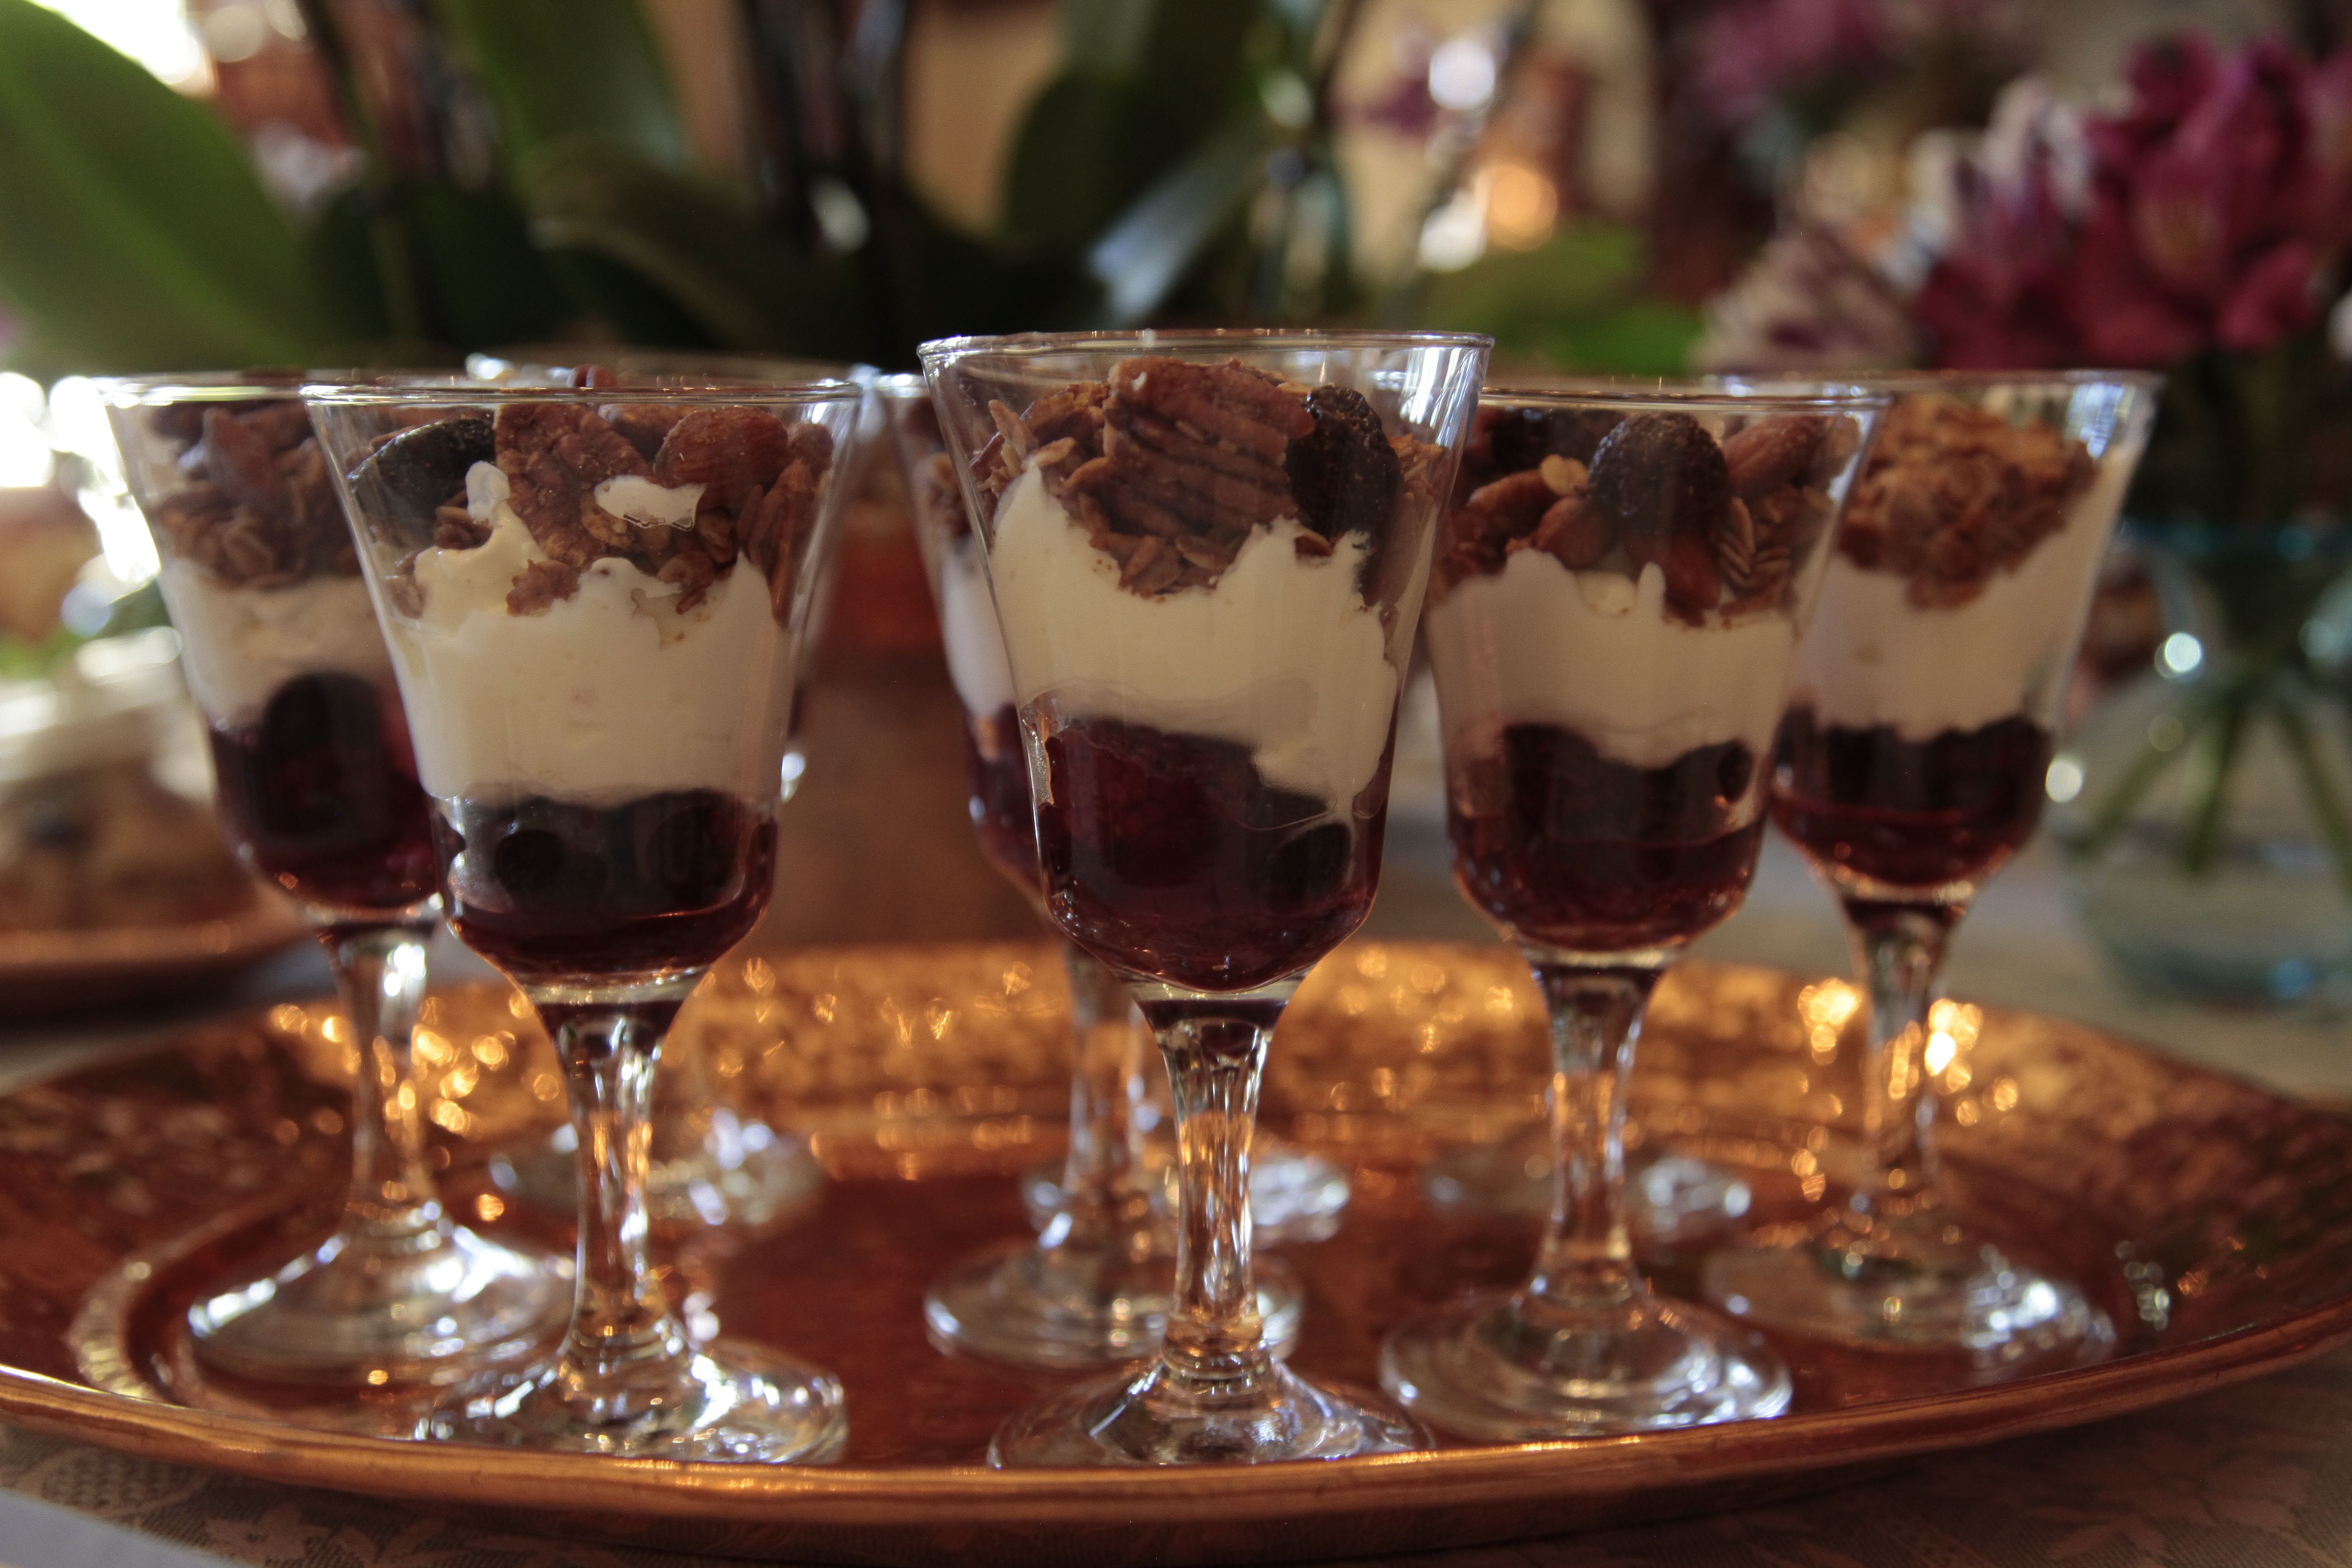
My menu doesn’t include any lime jello but I do use mom’s recipe for Stuffing and Candied Yams. I update the traditional dishes with Savory Pumpkin Custards, Stuffing Muffins and Gingerbread, Pumpkin Mousse Trifle.

Instead of apple and pecan pies, I made an Apple, Raisin, Pecan Spice Cake; Espresso Brownies; Dried Cranberry, White Chocolate Chip Cookies; Crinkled Pears and some fresh berries to round out the desserts.

My dinner starts with an exquisite Cheese Platter; Ham, Gruyere and Chive Loaf and a glass of champagne. In fact, the champagne flows throughout the night. A pretty great way to celebrate Thanksgiving!

November 23, 2015
At Home with Friends

2 comments

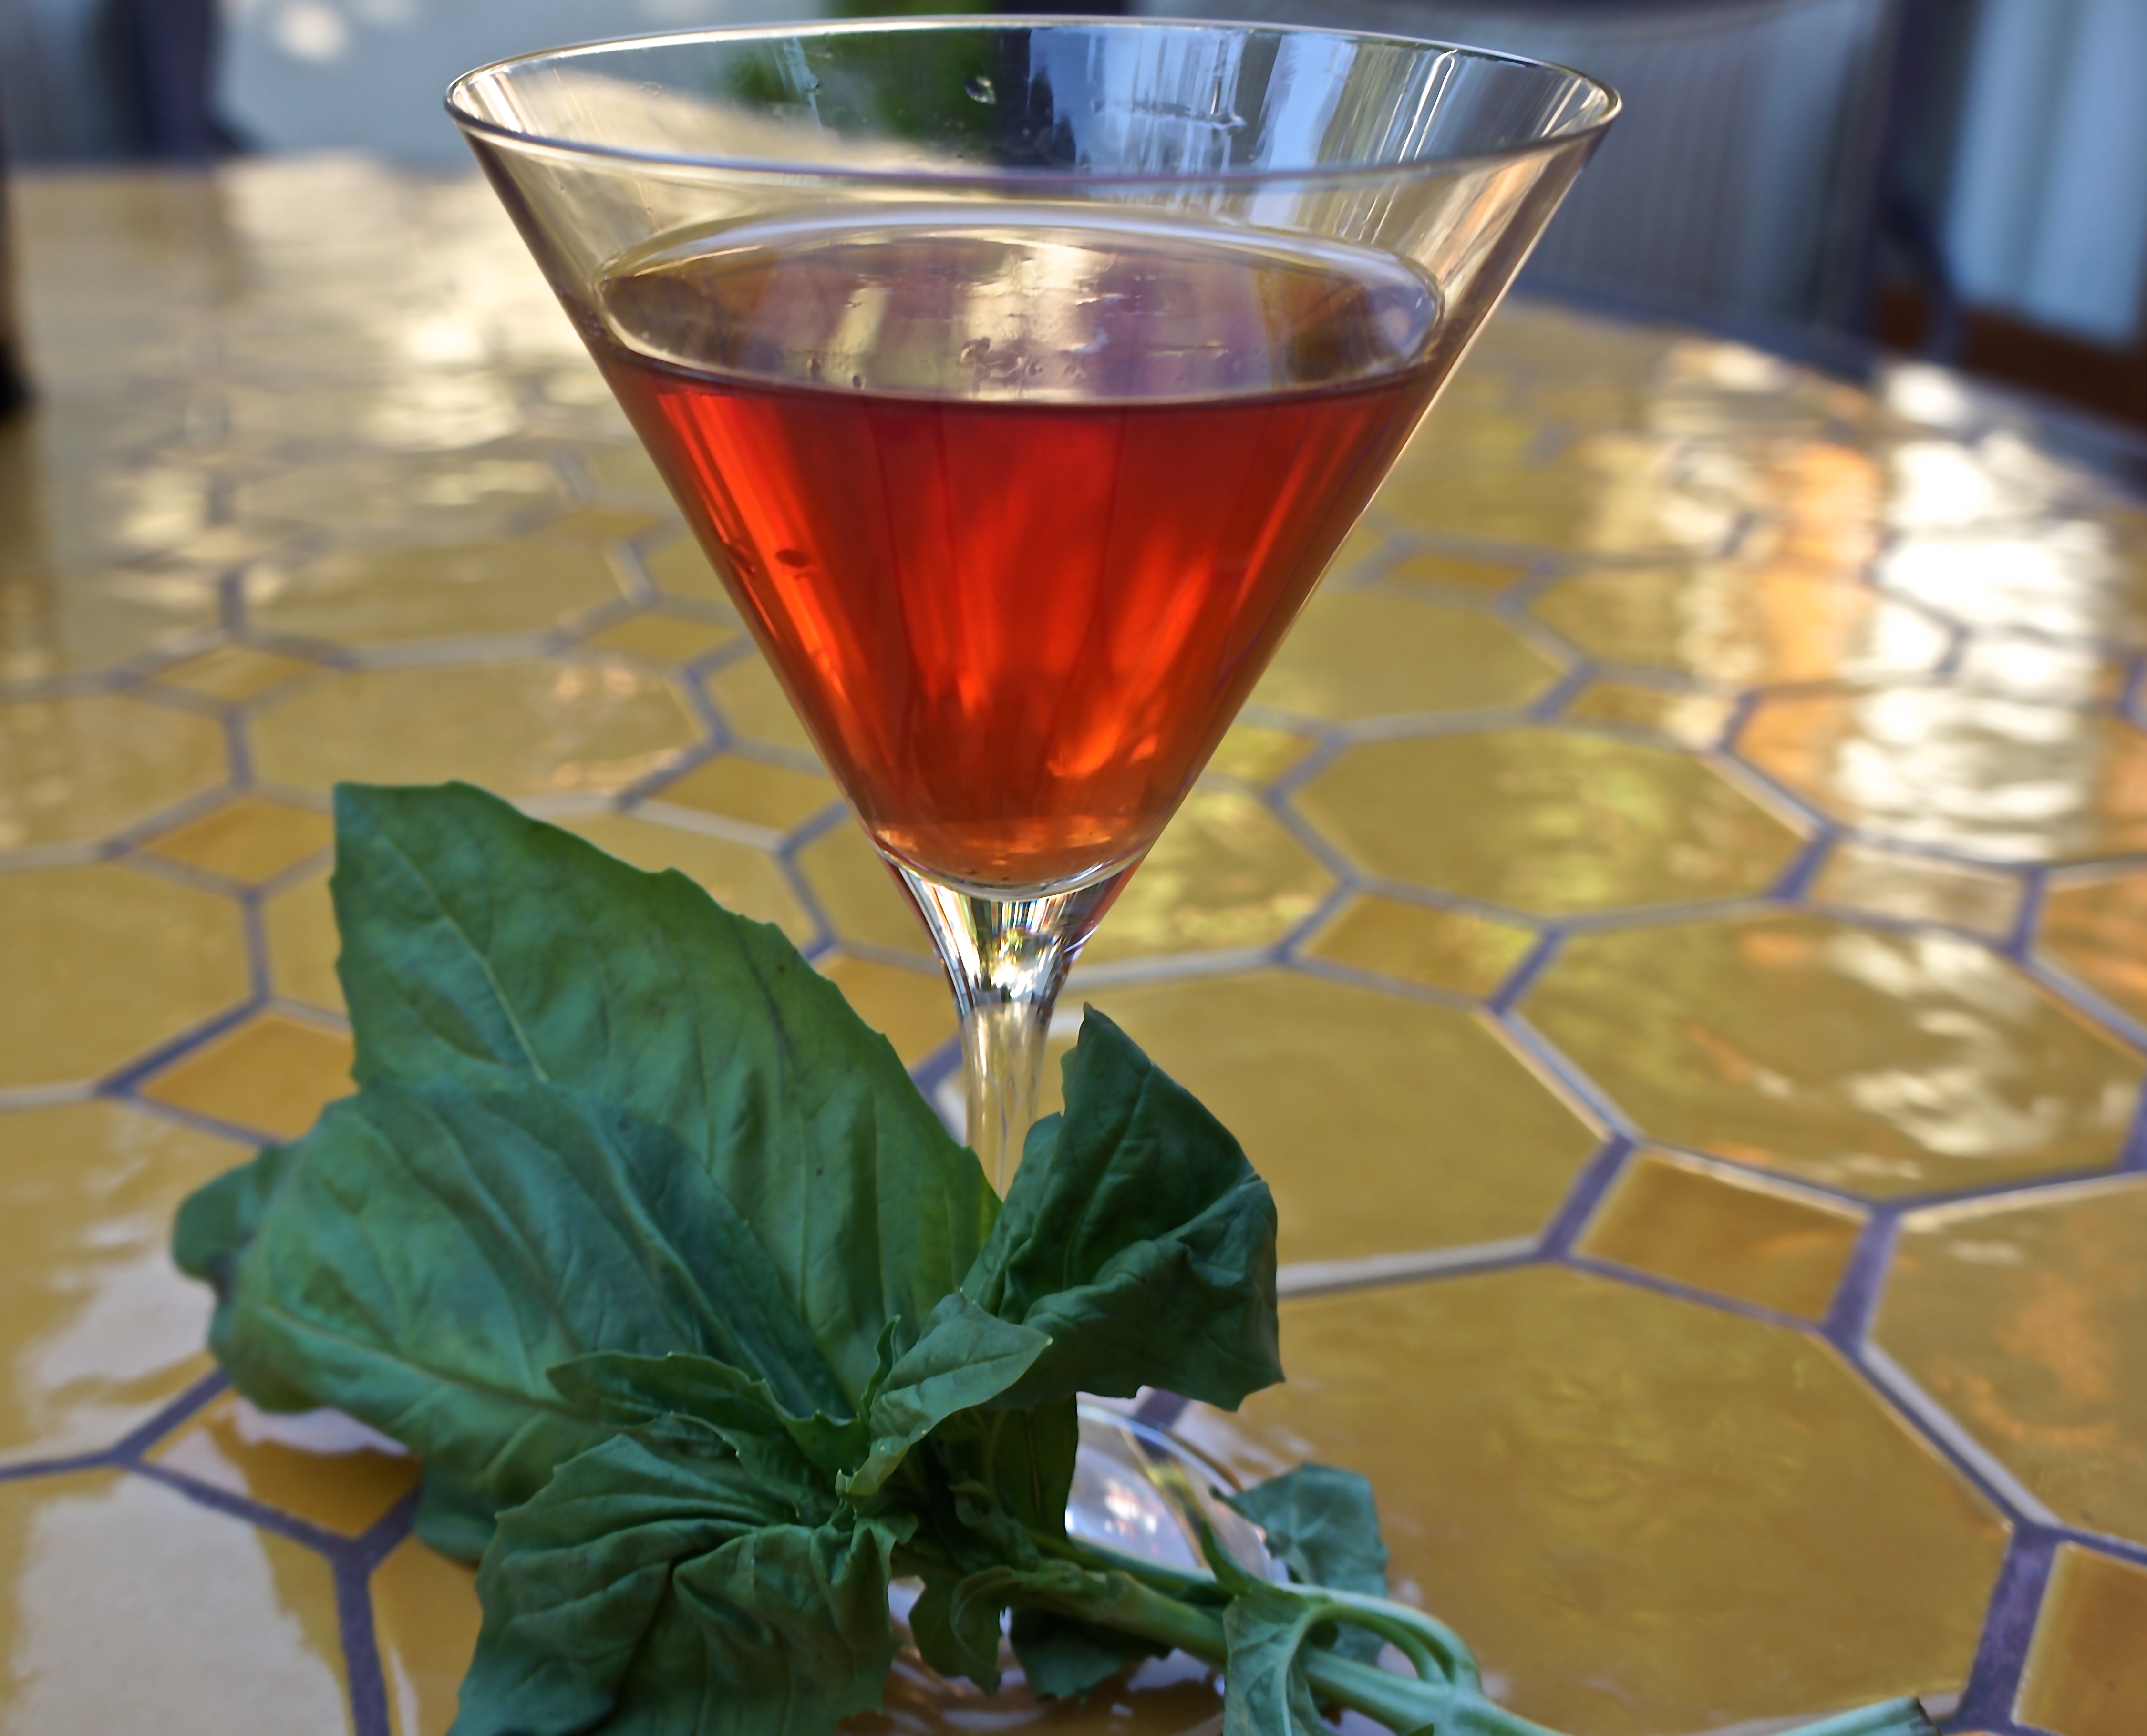
Basil Pomegranate Martini

Santi, my favorite bartender, created this on the spot using Pom Wonderful Concentrated Pomegranate Juice and fresh basil from my garden. While he made these one at a time, I asked him for a recipe to make a pitcher of them.

This is what he came up with. If you don’t have Santi, you can make a pitcher, keep it in the fridge and finish in a cocktail shaker just before serving. I used Pom Wonderful Concentrate which we diluted according to directions on the bottle. If you buy regular pomegranate juice, you save this step.

BASIL POMEGRANATE MARTINI

EVENT: 2nd Annual Apps & Alcohol

YIELDS: 6 Martinis

Ingredients

2 cups (16-oz.) medium vodka

1 cup Cointreau

1 cup pomegranate juice

1/2 cup lime juice

Generous handful organic basil leaves

Equipment

Cocktail shaker

Directions

1. Combine vodka, Cointreau, pomegranate juice and lime juice in a pitcher. Refrigerate until ready to serve.

2. Fill cocktail shaker 2/3 full with ice, add a few basil leaves, add pomegranate juice / vodka mixture. Shake well to bruise the basil.

3. Strain over martini glass and serve.

November 19, 2015
At Home with Friends

5 comments

The Ultimate Cheese Platter

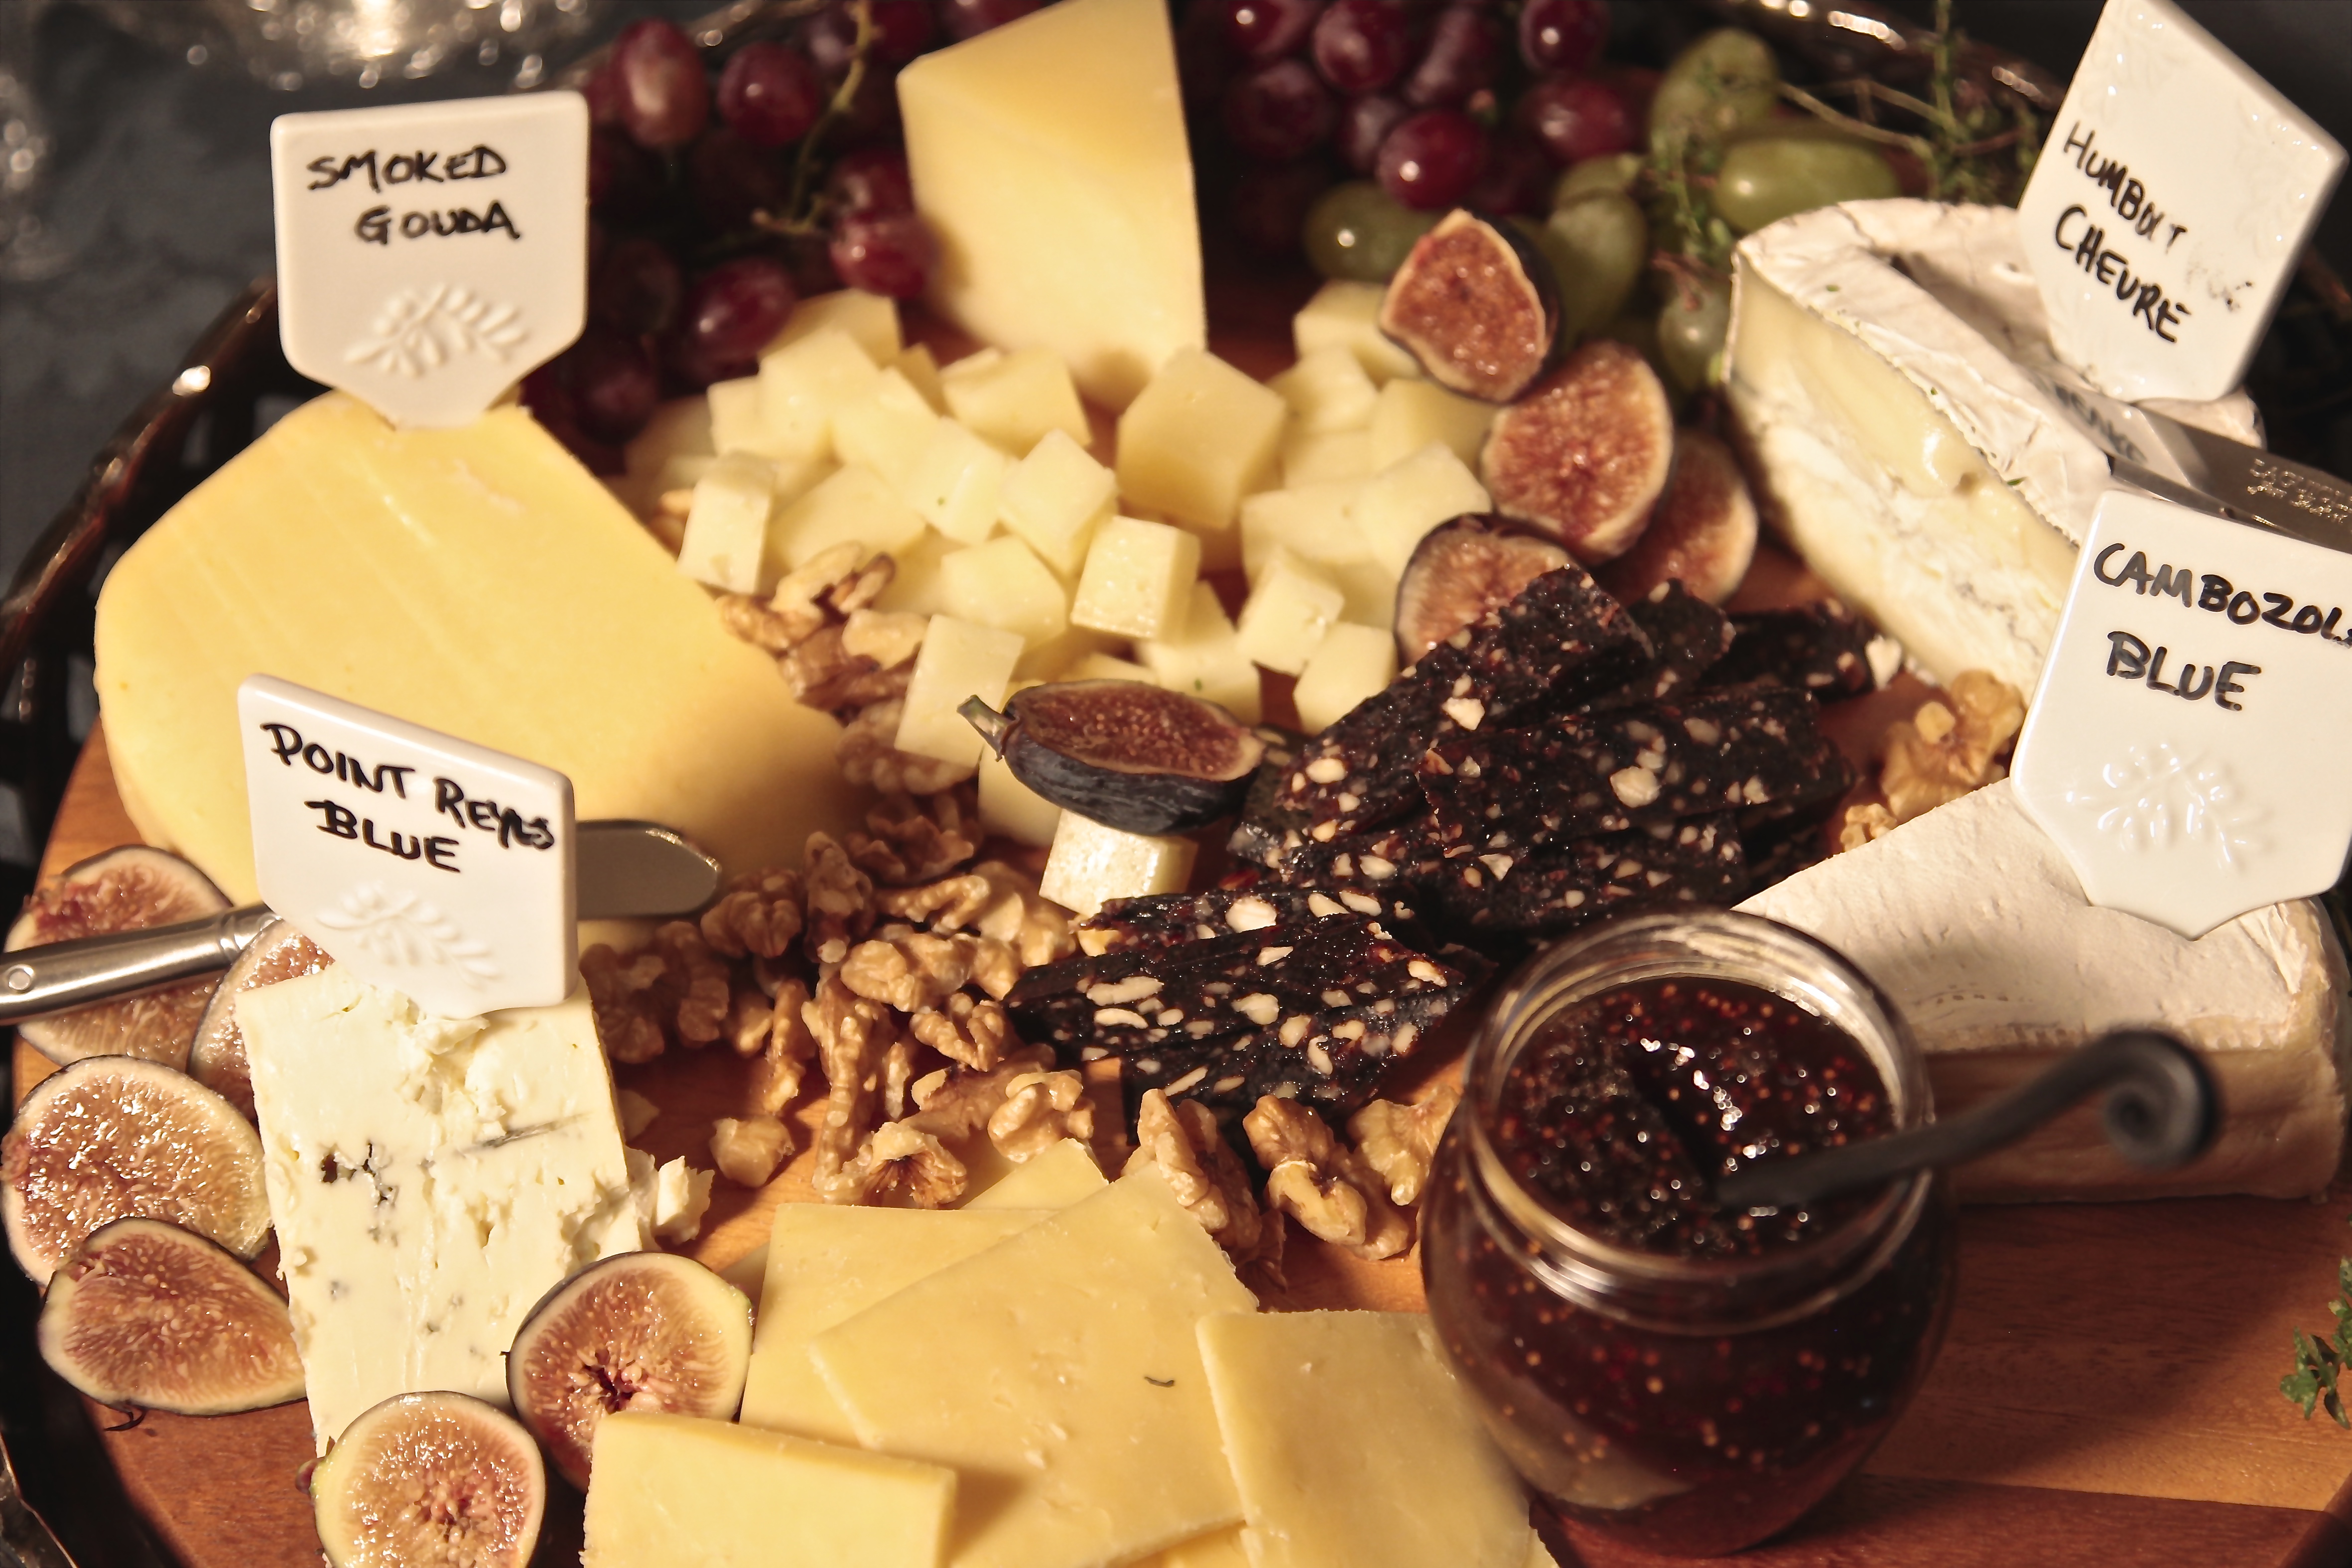
If you slice up some generic Swiss and put a hunk of orange cheddar on a plate, odds are no one will eat it and you’ll be eating lots of cheese omelettes and baking cheese bread to use up the leftovers. Nothing wrong with cheese omelettes or cheese bread, but wouldn’t you rather present a cheese platter that people rave about? Wouldn’t you rather create the Ultimate Cheese Platter? I would.

The Ultimate Cheese Platter is the one people can’t stop eating. That’s what I created for the 2nd Annual Apps & Alcohol Party. And by the way, I bought all my cheese at Costco. I have a few tricks for making it fabulous and here is what they are.

First, make sure you have a variety of cheeses. I don’t just mean orange and yellow. I mean include some cheese made from goat’s milk, sheep’s milk as well as cow’s milk. Include cheeses that are hard, like a Dubliner, and soft and spreadable. There should be a variety of flavors from mild to nutty, to rich, to pungent, to strong.

Second, cheese must be room temperature to have any flavor. Take the cheese out of the fridge at least 2 hours or more before the party and build your platter.

Third, think about balancing and complimenting flavors. Think about what tastes good with the cheeses you’re serving. I added walnuts, fresh figs, fig jam (available at my Amazon Affiliate Store) and of course grapes to my platter. You could also add sliced apples or pears, any dried fruits and any kind of nuts. The sweetness of the jam, the crunch of the nuts, the wetness of the grapes and the texture of the fresh figs all compliment the cheeses I chose.

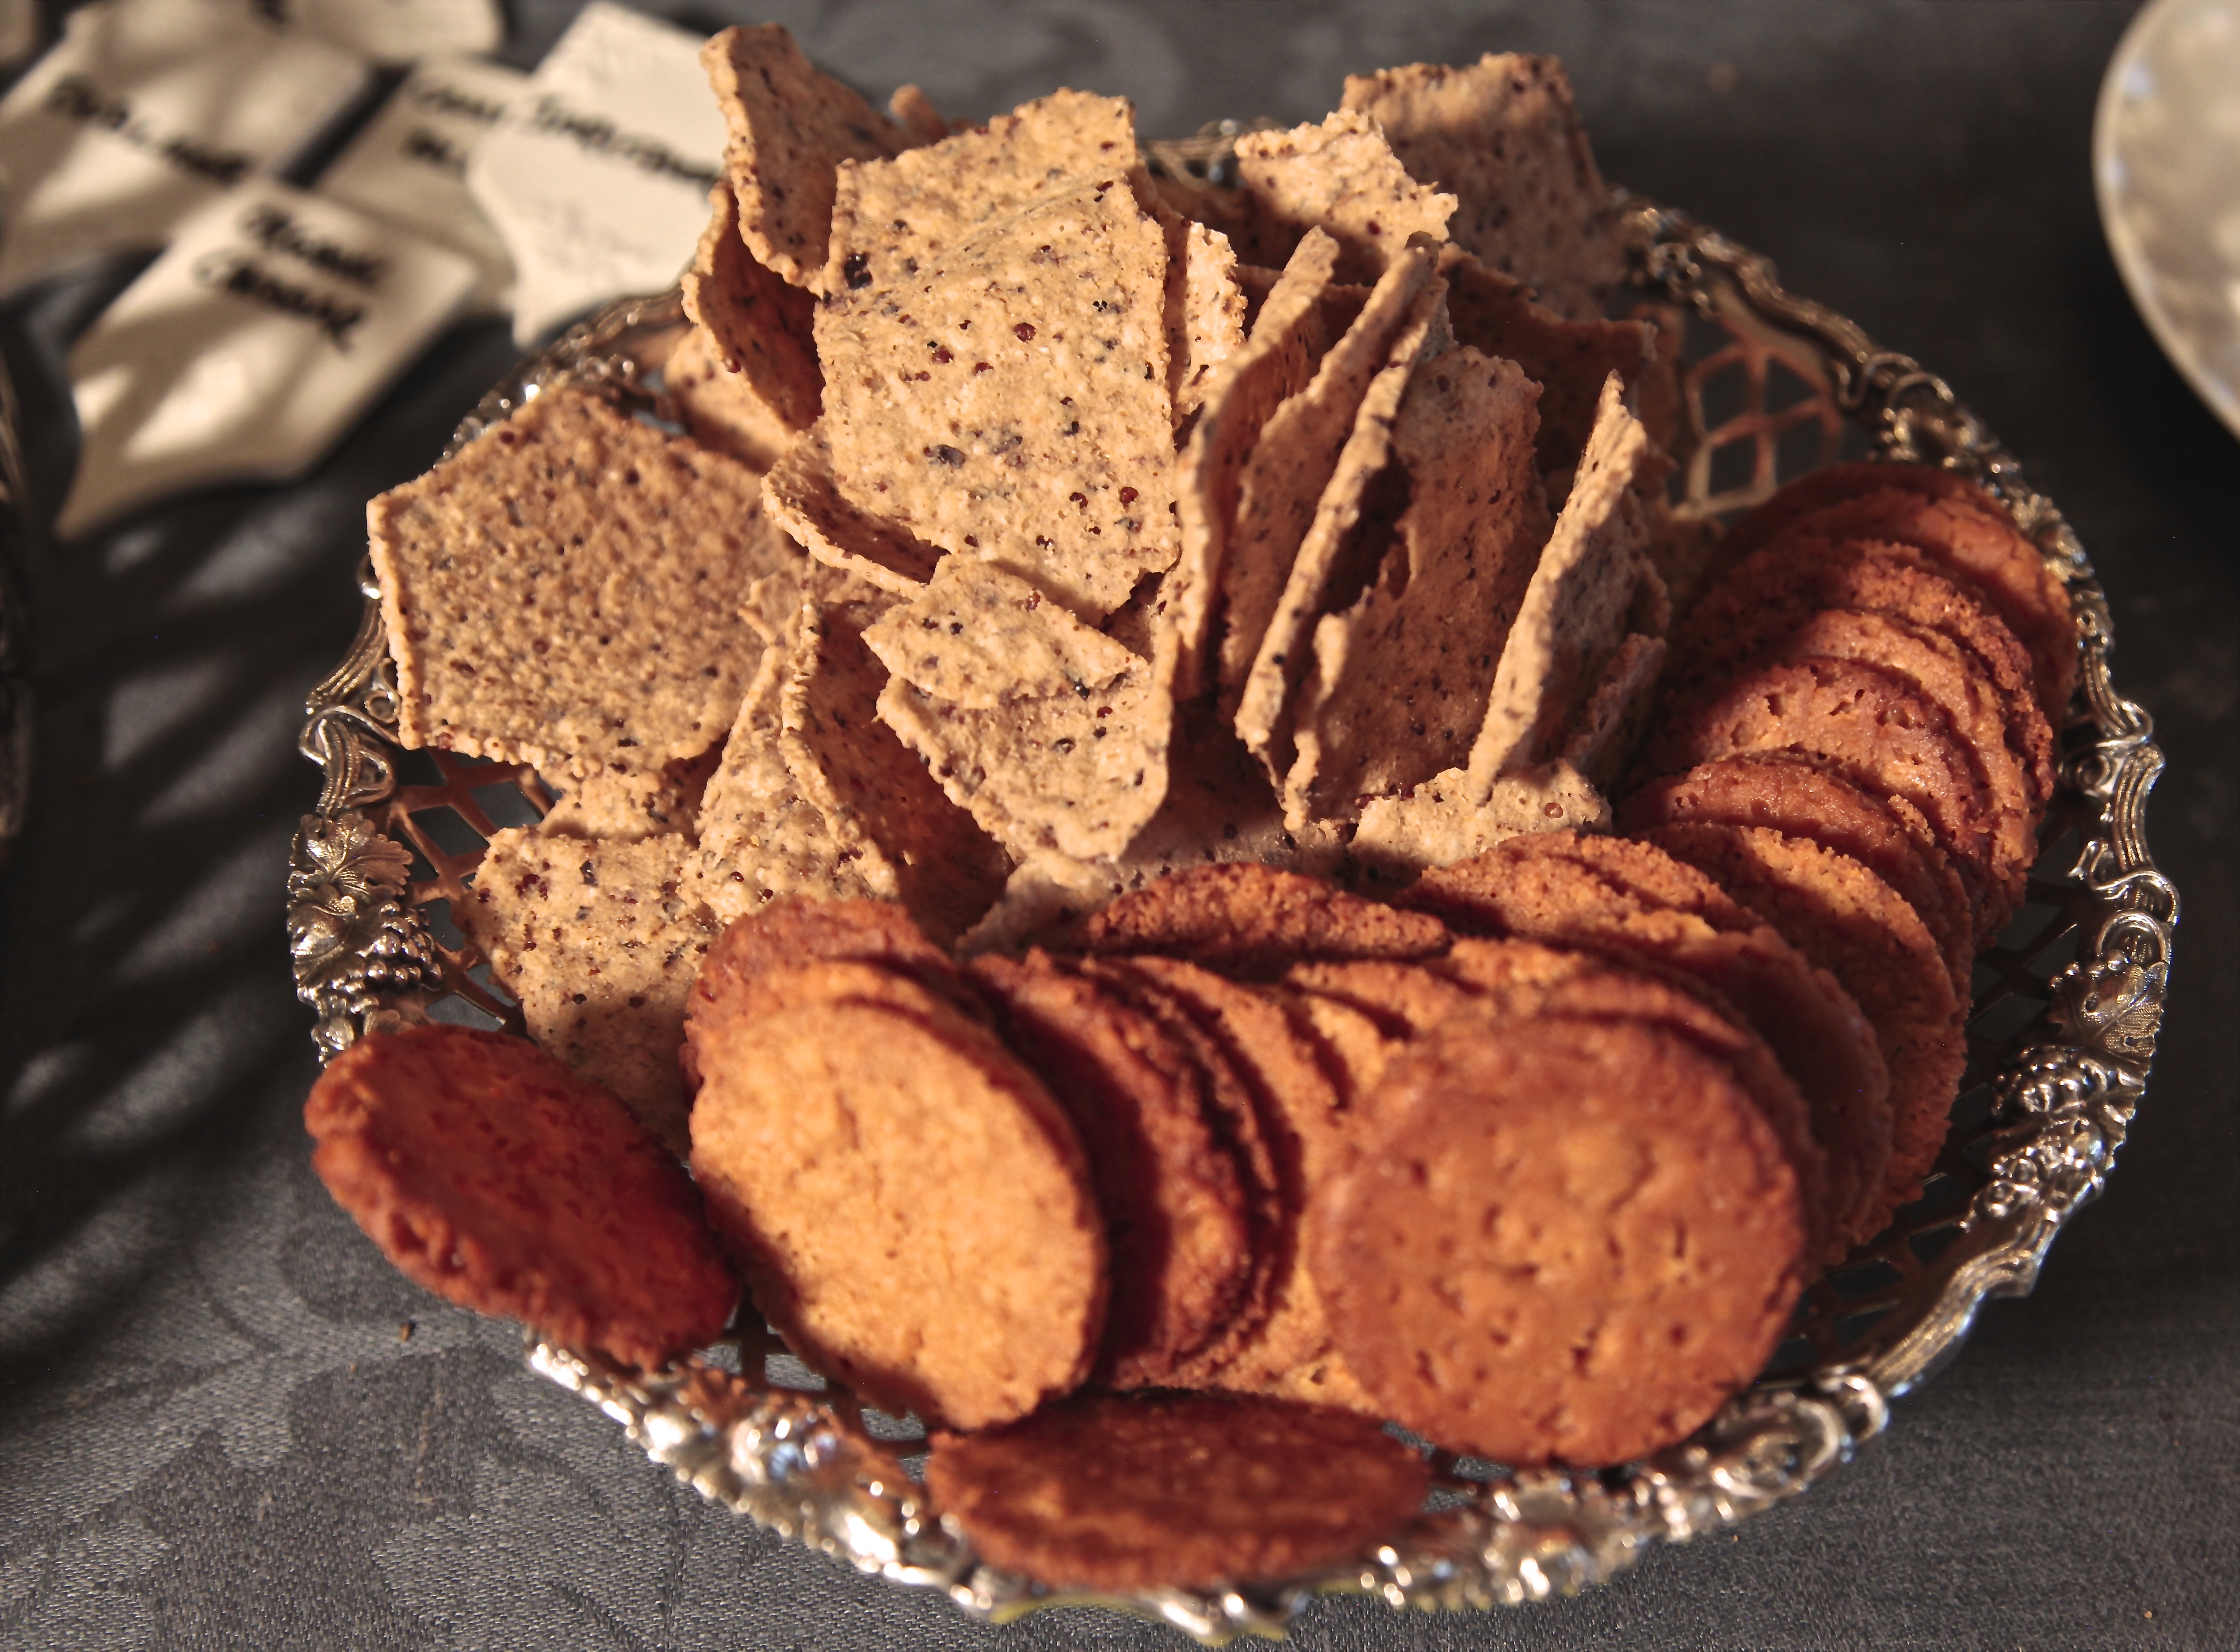
Fourth, make your platter user friendly. To do this, you need to label the cheeses so people know what they’re eating. I have a set of porcelain labels (available at my Amazon Affiliate Store) but your could make flags using toothpicks. Also, have spreaders for the soft cheese, cut up some of the harder cheese in cubes and have a cheese slicer for the others. Of course, an abundance of crackers and sliced bread is a must.

No matter how enticing the platter looks, if there are no spreaders, no crackers, no bread and people don’t know what they are eating, you’ll have lots of leftovers.

Here are some of the cheeses I served and the ones I use all the time:

Cypress Grove Humboldt Fog (aged goat’s milk):

This is a rich, creamy goat cheese that has a blue line running through the center. The line is odorless, tasteless edible vegetable ash.

Cambozola (cow’s milk):

This is an indulgent combination of French ripened triple cream cheese and Italian gorgonzola. It’s the flavor of blue cheese mixed with triple cream.

Dubliner (cow’s milk):

This is an aged hard cheese similar in texture to a cheddar. It’s somewhat nutty and definitely mild. I cut slices for ease.

Manchego (sheep’s milk):

This is a hard cheese from Spain that has a nutty, tangy and slightly caramel flavor. I cut this in cubes.

Point Reyes (cow’s milk):

This is a creamy blue cheese with a sweet, fresh flavor with a medium punch of blue.

You could also add:

Jarlsberg (cow’s milk):

This is a semisoft cheese with a buttery mild flavor. It’s a great neutral and people know this. I prefer it melted, but it’s a safe choice for a platter.

White Cheddar (cow’s milk):

This is a hard cheese with a slightly crumbly texture. It gets sharper as it matures. It is never orange, but ranges from white to pale yellow.

Triple Creme Brie (cow’s milk):

This is a classic soft ripened cheese with an edible rind. It’s extra creamy in texture and great with dried fruit or jam, smooth and spreadable.

Be adventurous! Add something unusual and watch your guests devour it.

November 16, 2015
At Home with Friends

3 comments

Raita

YIELDS: Approximately 1 Cup

Ingredients

3/4 cup full fat Greek yoghurt

1/2 cup chopped, seeded and peeled cucumber

2 tablespoons chopped fresh cilantro

1/4 teaspoon ground cumin

Directions

1. Mix all ingredients on medium bowl.

2. Store in airtight container in refrigerator.

November 16, 2015
At Home with Friends

3 comments

Lamb Sliders with Caramelized Onions & Raita, & Roasted Jalapenos

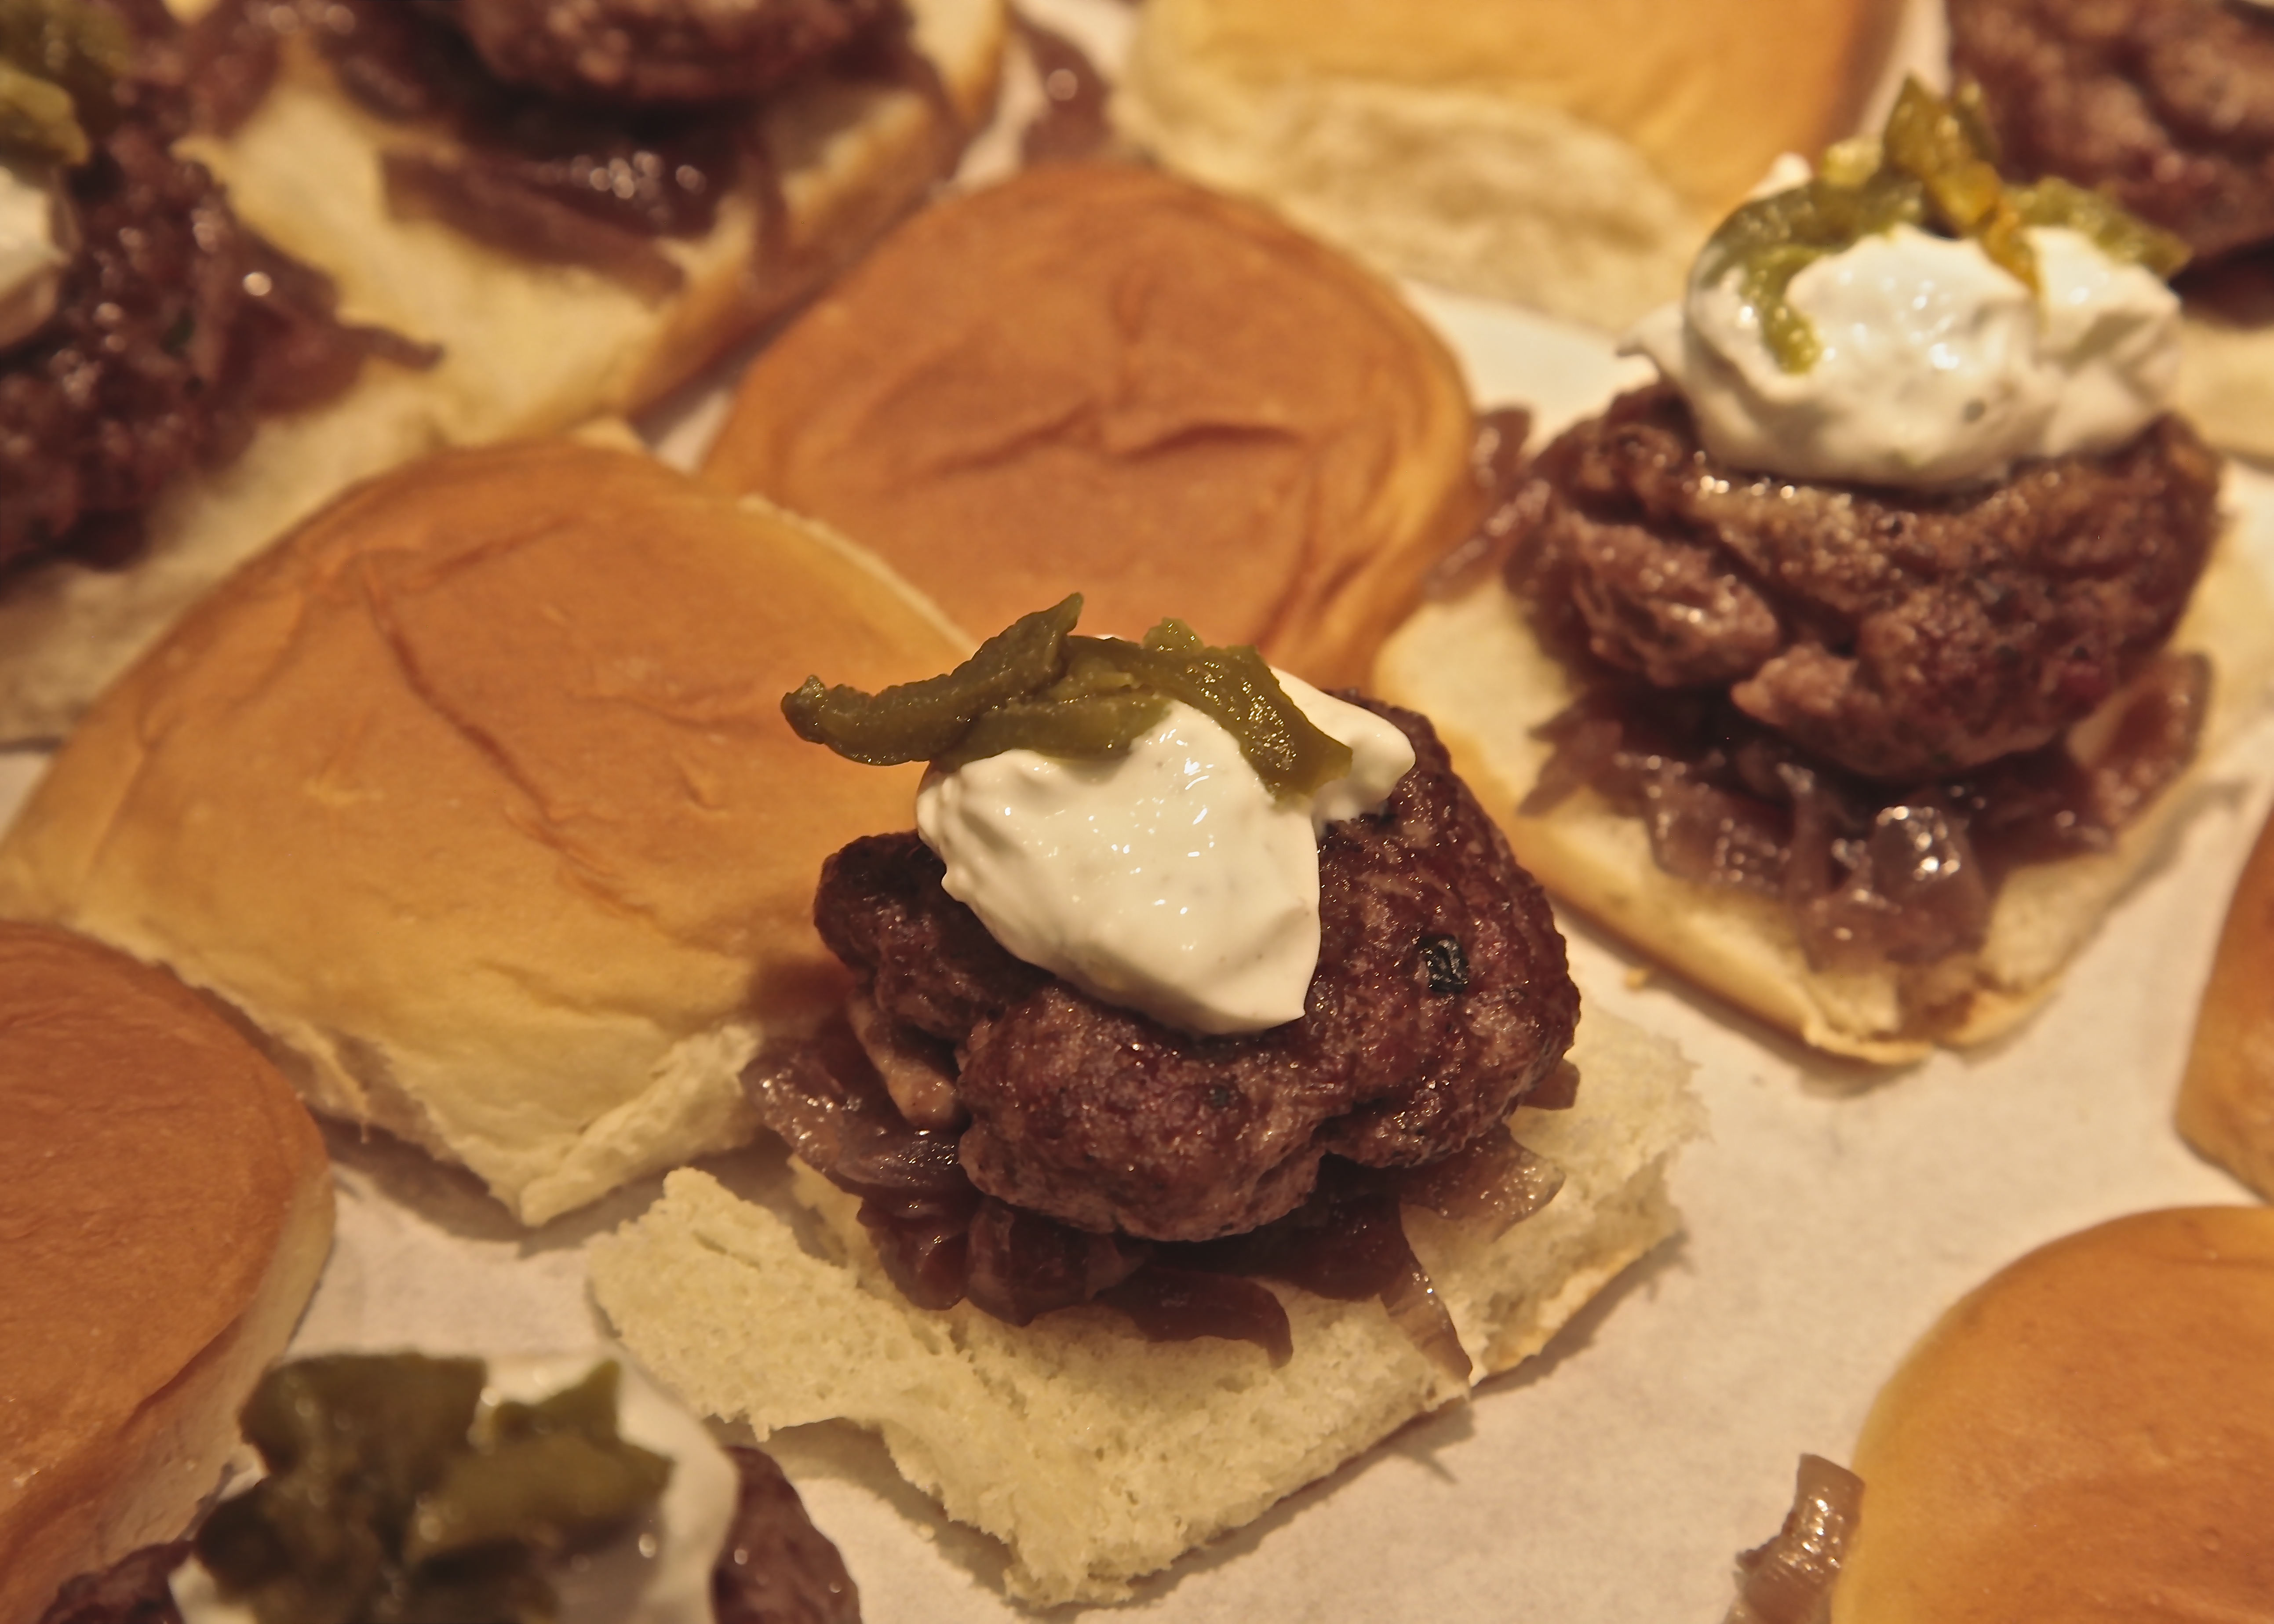
The Fish Sliders from Game Night were such a hit that I decided to try another slider recipe. This time, I used ground lamb well seasoned with salt and pepper and minced fresh oregano from my garden. These Lamb Sliders were served with Caramelized Onions, Roasted Jalapeno Peppers and yoghurt Raita.

Once again, I used the mini King’s Hawaiian rolls with 1/3 of the bread removed.

The secret to making juicy, delectable lamb burgers is to pan sear them so they get slightly caramelized and finish them in the oven. You can pan sear early in the day, keep them in a low oven and finish cooking and assemble just before serving.

Also, you can make the Raita, roast the jalapenos and caramelize the onions several days before the party.

There is a luscious richness to the lamb. The caramelized onions add a sweetness, the jalapenos a touch of heat and the Raita — a coolness and crunch that brings everything together.

For the recipe, I am just giving you a formula to calculate how much ground lamb you will need, allowing approximately 2 ozs of lamb per burger. Of course, you can always make them larger, which you might just want to do once you taste them.

LAMB SLIDERS WITH CARAMELIZED ONIONS & RAITA, & ROASTED JALAPENOS

EVENT: 2nd Annual Apps & Alcohol

YIELDS: 8 Mini Lamb Sliders, 2 ozs per Burger

Ingredients

For the roasted jalapenos:

Fresh jalapeno peppers (not canned)

For the sliders:

1 pound ground lamb

Kosher salt

Freshly ground black pepper

1 teaspoon finely minced fresh oregano

2 tablespoons olive oil

8 King’s Hawaiian mini rolls

Directions

Make the roasted jalapenos:

1. Set the oven to 425 degrees.

2. Slice the jalapenos in half.

3. Place the jalapeno peppers, skin side up, on a lightly oiled baking sheet and roast until skins are slightly blackened.

4. Removed from heat and immediately place in a sealed plastic bag.

5. Allow them to steam about 5 minutes to loosen the skin.

6. Wearing plastic gloves, remove the peppers from the bag and remove the skins. They should easily come off.

7. Remove seeds if you want less heat and chop peppers. Set aside.

Make the sliders:

1. Combine the lamb, salt, pepper and oregano.

2. Form the mixture into 8 patties, approximately 2 1/2” round and 2” thick.

3. Remove 1/3 of the bread from the center of each roll.

4. In saute pan, heat olive oil and gently brown the patties. Keep in warming oven, at 200 degrees.

5. Remove to a warming oven just before the party.

6. Remove Raita, jalapenos and caramelized onions from the refrigerator and allow them to come to room temperature.

7. Just before party, raise heat to 325 degrees to finish burgers.

8. Assemble burgers as shown in pictures. Enjoy!

November 12, 2015
At Home with Friends

2 comments

Parmesan Crackers

I am always on the lookout for great tasting gluten free crackers.

I’ve made Parmesan crisps by spreading mounds of freshly grated Parmesan cheese on paper-lined baking sheets. This resulted in delicate thin Parmesan crisps but required careful handling and attention to detail.

I had a cup of leftover grated Parmesan cheese and decided to try an experiment. These are so simple that I’m almost embarrassed to post the recipe, but I can’t resist sharing my results. You can tweak it by adding cayenne pepper for some heat or whole cumin seeds for crunch and a sophisticated flavor.

If you’ve got some leftover Parmesan cheese and a muffin pan — try these!

PARMESAN CRACKERS

EVENT: 2nd Annual Apps & Alcohol

YIELD: 12 Crackers

Ingredients

1 cup finely grated Parmesan cheese

1/4 teaspoon cayenne pepper (optional)

1/2 teaspoon cumin seeds (optional)

Equipment

12-hole muffin pan

Non-stick spray

Directions

1. Preheat oven to 375 degrees.

2. Spray muffin pan with non-stick spray.

3. Divide grated Parmesan cheese evenly between 12 muffin cups.

4. Bake approximately 15 minutes until crackers are dark golden color.

5. Remove pan from oven. Allow to cool in pan 10 minutes. Using an offset spatula, remove from pan.

6. Store in airtight container.