first

October 6, 2014
At Home with Friends

no comments

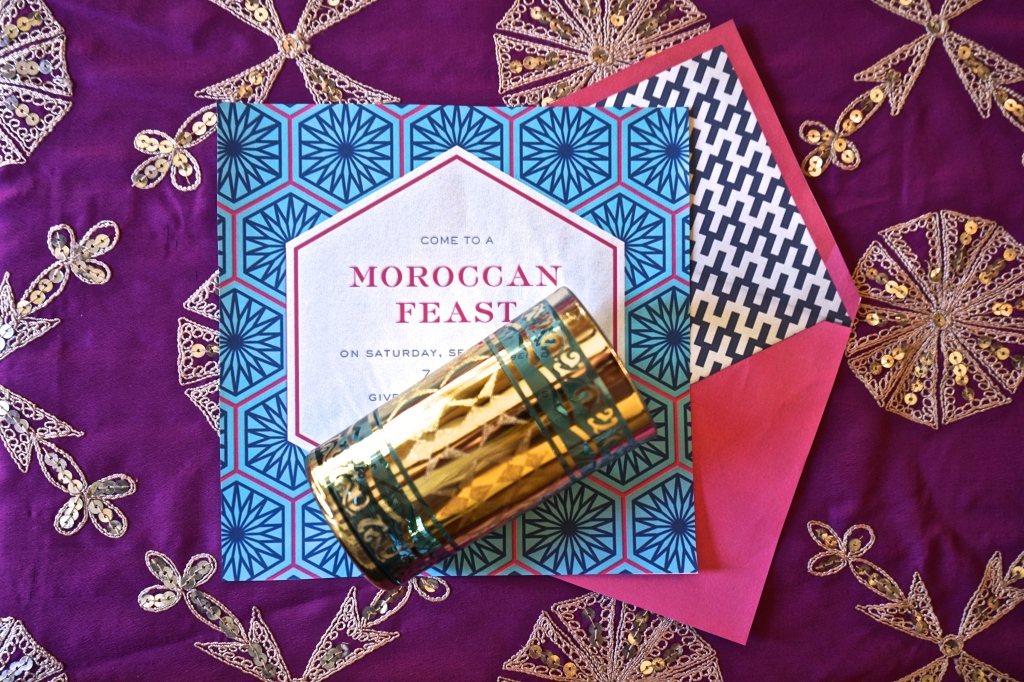
Moroccan Feast Party – The Food


Moroccan food has called to me over the years. The first time was actually in Hollywood. Years ago, there was a famous Moroccan restaurant called Dar Maghreb. The interior was very exotic and it was famous for the fact that you sat on cushions on the floor and ate with your hands. It was definitely only a special occasion destination.

They featured bastilla (pigeon pie made with chicken) that you pulled apart, huge platters of couscous and tiny glasses of mint tea poured from oversized brass tea pots held at least three feet above the glass. Very dramatic! I went there with my parents for a birthday celebration and I was totally enthralled. My mother was not so enchanted. She was and is still a very proper lady who never ate with her hands and definitely didn’t sit on the floor. But my mom was a good sport, didn’t make a fuss, didn’t complain, but we never went back.

The next time I had Moroccan food was in Fez, Morocco. It was at least 15 years later and I was traveling with someone who was most definitely not a foodie. He insisted that we eat most of our meals in hotels which still featured menus heavily influenced by French cuisine. The food was awful! One evening, I persuaded him to venture outside his comfort zone and we went for a Moroccan feast.

We were seated on the floor on huge cushions around a communal table with several other guests. The first thing to arrive was a large bastilla (phyllo dough pigeon pie). Based on my vast experience, I showed the others how to tear off a piece of the pie. When huge platters of couscous were served, I showed the others how to use pieces of bread and scoop up bits of couscous and other delectable morsels.

This was Moroccan food: exotic, flavorful, colorful and a feast for all the senses! I was intoxicated by the food and when the belly dancer invited me to get up and join her, I did just that. Too bad I don’t have a selfie of that!


The food remained something foreign, exotic, never something I would think of preparing myself. Years passed and I was making a birthday dinner for a friend and asked him for menu ideas, and he said, “Moroccan food”. I said, “Of course”. As I remember it, the menu was Americanized Moroccan except for the bastilla which I was determined to get right. Pigeons weren’t available, so I used chicken instead.

The most memorable part of the evening for me was when one of the guests took a bite of the bastilla (same recipe I will use for this party) and his eyes became moist and he said, “My grandmother was from North Africa and this tastes just like she used to make”.

Channeling a Moroccan grandmother, this recipe became a keeper. There is so much more to say about this amazing cuisine but let’s get on with the feast itself, the details will be revealed layer after layer, just like the food.

October 1, 2014
At Home with Friends

1 comment

How to Build Your Dinnerware Collection

If you’ve been following my blog and come to the parties, you’ve probably figured out that I like dishes. I’ve been acquiring them for years and I am always adding to my collection. One of my dear friends wanted help in building her dinnerware collection. I thought about where to begin and realized that I followed a few rules.

My first rule is that I only buy what I love, what I’m drawn to or what makes me smile. I never worry about matching everything exactly. It won’t make for an interesting table and it’s no fun.

My second rule might surprise you: If you’re starting from scratch, start with all white dinner plates. This may sound odd when you see how much color is always on my table. But I still use the first set of white bone china I bought 20 years ago. I mix them with everything from solid colors to flowers. A secret most restaurants know is that food always looks great on a white plate!

My third rule is that whenever relatives offered me their old dishes, I said, “Yes.” Even if I thought my great aunt’s flowery dishes were too old-fashioned, I mixed them with other patterns and used them just for dessert or salad.

My fourth rule is that I always look for bargains. I shop at Costco, World Market, Amazon and flea markets. Also, I am a big fan of eBay. Lots of people have inherited their aunt Susie’s dishes that they are eager to sell. Local thrift stores (especially if they are connected to local charities) are great sources of beautiful dishes. Also, if you have a local auction house specializing in estate sales, they usually sell dishes at a deep discount. Don’t worry if they don’t have a complete set. You just need at least 8 of something to add to your collection.

The photos that accompany this post illustrate all my rules. I know you are used to seeing photos of delicious food you are dying to try. I realize empty plates are not so exciting but you can see the first set of white bone china I bought and how I mix it with casual plates for the Moroccan Feast (my next party) and how I will mix it with vintage bone china for a more autumnal dinner.

Also, all of these dishes (except for my original white china) were purchased either on Amazon, at thrift stores, eBay and at flea markets.

Build your collection and send me photos please!


September 29, 2014
At Home with Friends

2 comments

What’s on My Table Apps & Alcohol

The inspiration for the table setting came from an $8.00 green dish I found at a flea market. I turned the dish over and saw that it was made by Bordallo Pinheiro, a type of Majolica ceramics. I loved the rich green color and started buying them whenever I found them.

If you want a dramatic table when serving buffet style, vary the heights of the serving plates. The simplest way to do this is to use risers. (You can find a version of these at my Amazon Affiliate Store.) I fell in love with the table cloth fabric at a closeout sale at a fabric store. I bought a few yards and made my own tablecloth. In case you’re wondering, this is upholstery fabric which makes a great tablecloth. The planters are all in a similar brown / taupe tone. The orchids are all from Trader Joe’s.

If you like my table, it’s easy to recreate. Collect serving dishes in one color, planters in another and use metal risers to create drama.


Here is what’s on my table:


September 26, 2014
At Home with Friends

1 comment

Apps & Alcohol Beverages

Because peaches were so ripe and juicy, I included them throughout the menu, especially in the drinks.

The Peach Old-Fashioned is a riff on a Classic with a few changes. While most Old-Fashioned recipes include some version of a simple syrup, this recipe omits this and uses muddled fresh peaches in its place. It’s important to use really good bourbon. Feel free to substitute your favorite. Also, I always use Angostura Bitters. They are consistent and bring all the flavors together. The peach liqueur is the secret ingredient.

The Peach Martini is inspired by a sparkling peach martini I had at Neiman Marcus in Beverly Hills. Light and refreshing, it was the perfect combination of fresh peach flavor, peach vodka and champagne.


PEACH OLD-FASHIONED

EVENT: Apps & Alcohol

Ingredients

Fresh ripe peaches

Peach liqueur

Angostura Bitters

Bulleit Bourbon

Water

Directions

  1. Muddle 2-3 slices of fresh ripe peaches with a dash* of Angostura Bitters and a splash of water in a mixing glass.

  2. Stir well and add 1 oz. peach liqueur and 2 ounces of Bulleit Bourbon.

  3. Serve over ice in old fashioned glass.

* A NOTE: A dash is several drops. This is what you get from a single shake of a bottle that has an integrated dasher top.


PEACH MARTINI

EVENT: Apps & Alcohol

Ingredients

Absolut Apeach Vodka

Peach schnapps

Peach liqueur

Pineapple juice

Champagne

Sliced peaches for garnish

Directions

  1. For each drink, fill a cocktail shaker with ice, add 2 oz. Absolut Apeach Vodka, 1 oz. peach schnapps, 1 oz. peach liqueur, splash of pineapple juice and shake well.

  2. Pour into a chilled martini glass and top off with champagne, and garnish with a slice of fresh peach.

September 24, 2014
At Home with Friends

4 comments

Fig Pesto Torte

This makes a wow presentation. As good as it looks, it tastes even better. The combination of savory (pesto) and sweet (figs) combine for a magical taste. This recipe makes a large 10-inch torte so it’s great for a big party. Also it’s better if you make it at least 2 days ahead.

You can make your own basil pesto (the recipe is in last month’s post for Savory Goat Cheese Cake with Pesto) or use readymade pesto. If you opt for store-bought pesto, drain off some of the oil so it’s not too wet. Also, while fresh figs are preferred, if they are not available or have no flavor, it’s okay to use dried Calimyrna figs. I’ve made it using fresh and dried. What’s important is that the figs have good flavor. Don’t use hard, dried out figs. Look for moist, delicious figgyness.

When you serve this, cut a small slice and put it on a plate next to the torte. No one likes to take the first slice ever. If you don’t do this, you may have a lot leftover. But that’s not necessarily a bad thing…


FIG PESTO TORTE

EVENT: Apps & Alcohol

SERVES: 16-32 as Appetizer

Ingredients

For crust:

1 cup finely ground wheat crackers or pretzel crisps (1 cup crumbs total)

1/2 cup toasted walnuts, ground fine *

2 tablespoons melted unsalted butter

For filling:

1 1/4 pounds cream cheese, room temperature

1/2 cup sour cream, room temperature

3 large eggs

1/4 teaspoon salt

1 1/4 cups homemade basil pesto or prepared basil pesto *

16 large fresh or dried Calimyrna figs, cut into 1/4-inch slices

For glaze:

1/2 cup fig preserves (available at my Amazon Affiliate Store)

1 1/2 tablespoons apple cider vinegar

Equipment

10-inch springform pan

Directions

Make crust:

1. Preheat oven to 325 degrees. Butter a 10-inch springform pan or butter bottom and line sides with strips of reusable parchment paper (See my Amazon Affiliate Store).

2. In a bowl, mix together all crust ingredients and press into bottom of springform pan.

3. Bake in oven approximately 10 minutes or until lightly browned. Set aside to cool.

Make filling:

1. In a bowl of an electric mixer, combine both cream cheese, sour cream, eggs and salt until creamy and smooth.

2. Assemble torte.

3. Pour 1/2 filling into crust.

4. Top with dollops of pesto and use small spatula to spread evenly.

5. Top pesto with sliced figs.

6. Top with remaining filling.

7. Bake on middle rack of oven for 1 hour and 10 minutes or until top is golden brown and set. Cool on wire rack. Chill torte covered several hours or up to 2 days ahead.

8. Glaze topping.

9. In small sauce pan, combine apple cider vinegar, fig preserves and bring to simmer. Then cool.

10. Spread torte with preserves mixture.

11. Run a knife around edges of pan and remove side.

12. Carefully transfer torte to serving platter.

13. Serve at room temperature.


TIP: Make this 2 days ahead.

* A NOTE: I buy prepared basil pesto and walnuts at Costco.


September 22, 2014
At Home with Friends

3 comments

Almond Meringue Bites

I really love meringue cookies. These are some of my favorites because they are so easy to assemble and quick to bake.

Unlike a traditional meringue which is usually baked for 1 1/2 – 2 hours, these are done in approximately 30 minutes. When first made, they are crunchy on the outside and a bit chewy in the center. If you make them ahead and freeze them, the freezer dries them out a bit and they end up crunchy in the middle. Either way, this is a crunchy bite of goodness.

By the way, these are also gluten free… Does this make them health cookies?


ALMOND MERINGUE BITES

EVENT: Apps & Alcohol

SERVES: Yield 4 Dozen Cookies


Ingredients

8 oz. blanched almonds

2 cups powdered sugar

1/8 teaspoon salt

4 egg whites from large eggs

1/4 teaspoon cream of tartar

1 teaspoon almond extract

1 teaspoon vanilla extract

1/2 cup granulated sugar

1/4 teaspoon grated lemon zest

Equipment

Parchment lined baking sheets

Directions

1. Preheat oven to 300 degrees.

2. Combine almonds, powdered sugar and salt in food processor. Pulse until mixture is finely ground.

3. In bowl of electric mixer, beat egg whites and cream of tartar until soft peaks are formed.

4. Add the vanilla and almond extract and sugar, and continue beating until egg whites are very stiff.

5. Using small cookie scoop, scoop batter onto the lined baking sheets approximately 1 inch apart.

6. Bake for 25-35 minutes until cookies are golden.

7. To cool, carefully remove entire parchment sheet and place it on a cooling rack.

8. When totally cool, store in an air tight container for several weeks.

9. Carefully wrap cookies — 2 cookies, bottoms together — in individual plastic wrap and store in an air tight container in freezer for up to 2 months.

September 19, 2014
At Home with Friends

3 comments

Macerated Peaches

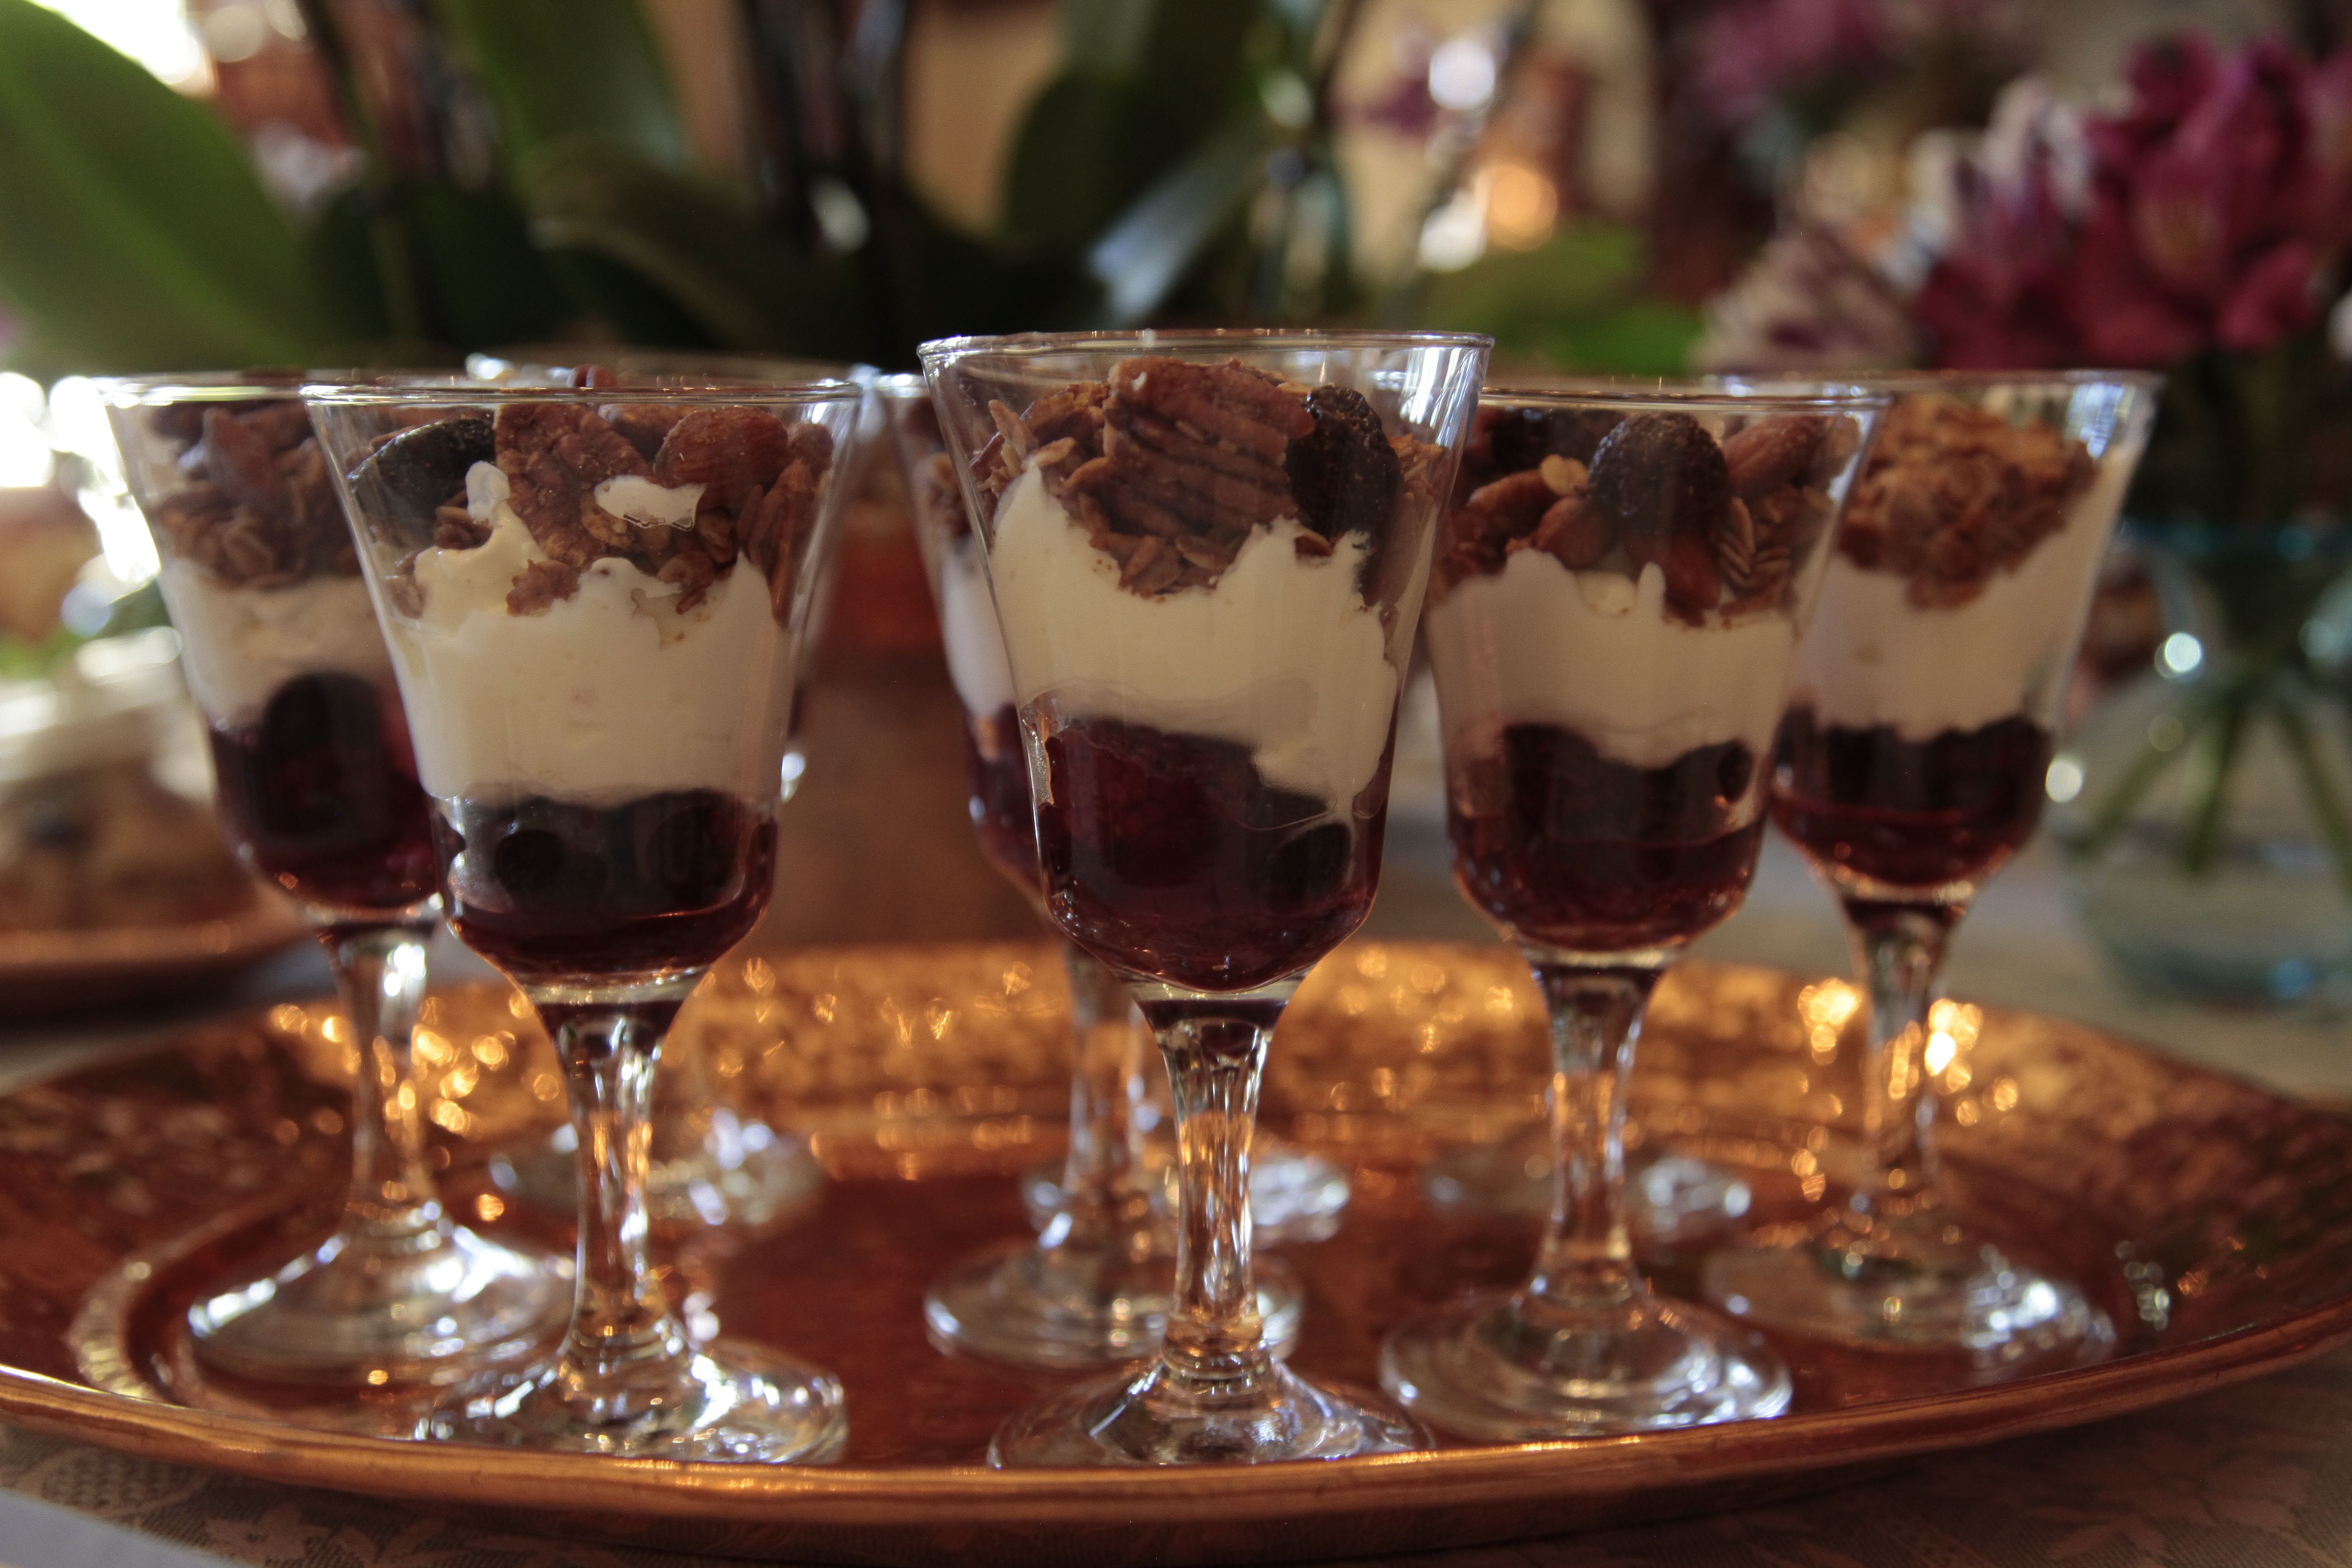
I always include fresh fruit in my dessert selections. I use what’s in season and whatever has the most succulent juicy flavor. Mouth watering white peaches were in the market when I was shopping for this party. They were great on their own but became totally delectable when macerated in a divine but delicious peach wine.

Did you know macerate simply means marinate but when referring to fruit, the term changes? Macerate or marinate, use juicy peaches and a really fine peach wine.

To serve, toss in a few blueberries. So delicious!


MACERATED PEACHES

EVENT: Apps & Alcohol

SERVES: 20 People


Ingredients

6-8 peaches

1/2 cup Rinquinquin or other French peach wine

Directions

1. Wash and slice peaches.

2. Place a single layer in a large airtight container.

3. Pour wine over peaches. Soak and macerate overnight in refrigerator.

4. Allow to come to room temperature to serve.

5. Top with a few berries and small dollop of whip cream.

September 17, 2014
At Home with Friends

3 comments

Crisp Sugar Cookies

I always include cookies as part of my desserts. They are fun to make and perfect for guests who just want a bite of something sweet. I usually have them out on the sideboard, in my dining room, from the start of the party so people can sneak a nibble whenever they want.

These are simple sugar cookies that people went crazy for. I don’t know whether it was the crunchiness or the purple sanding sugar, but my friends couldn’t stop eating them.

Sanding sugar is one of those magical things to keep in the pantry. It elevates any simple cookies into something that looks like it came from a fancy bakery. Buy some in a bright color (available at my Amazon Affiliate Store), use it and see what happens.


CRISP SUGAR COOKIES

EVENT: Apps & Alcohol

SERVES: Yield Approximately 3 Dozen Cookies


Ingredients

3 cups all-purpose flour

1 teaspoon baking soda

1/4 teaspoon salt

1 3/4 cup granulated sugar

1/4 cup light brown sugar

1 cup (2 sticks) unsalted butter, room temperature

2 large eggs

1 tablespoon fresh lemon juice

Sanding sugar (available at my Amazon Affiliate Store)

Equipment

Baking sheets lined with parchment paper

Directions

1. Preheat oven to 350 degrees.

2. Whisk together flour, baking soda and salt.

3. Put both sugars in bowl of an electric mixer and mix on medium speed 30 seconds.

4. Add butter to sugars and mix until well combined about 1-2 minutes.

5. Add in eggs one at a time, then lemon juice.

6. Mix in flour mixture 1/3 at a time, scraping down bowl each time.

7. Using a small ice-cream scoop (1 teaspoon), scoop dough onto parchment sheets. Leave 2 1/2 – 3” between cookies. These will spread during baking.

8. Using a small piece of parchment paper, gently press on each cookie scoop to flatten dough.

9. Top each cookie completely with sanding sugar.

10. Bake approximately 15-18 minutes rotating sheets front to back and top to bottom, halfway through.

11. If you want softer cookies, remove from oven when cookies are golden color. For crisp cookies (my preference), bake until light brown.

12. Cool on wire racks.

13. When completely cooled, store in air tight container for several days, OR make ahead and store in air tight container frozen up to 1 month.

14. If freezing, place single layers in container, with wax paper between layers. These are very crisp cookies, so handle with care.

September 15, 2014
At Home with Friends

4 comments

Pignoli Cookies

I fell in love with pignoli cookies while in Italy. Pignoli is Italian for pine nuts. In Italy, they make them very tiny, the size of a nickel or a quarter.

Make sure the almond paste you buy is soft. If you get it home and it is really hard, you may have difficulty getting it pulsed in food processor. If that happens, use a box grater and grate on the large holes and proceed with recipe. These are crunchy on the outside but chewy on the inside. If you like almond or marzipan, you’ll love these.

Traditionally these are made with just almond paste, egg whites and pine nuts. My recipe increases the egg whites and adds almond meal. This adds more fiber and protein. Almost a health cookie? These can be made ahead, carefully wrapped and stored in an air-tight container for 2 months… Mine don’t last that long.


PIGNOLI COOKIES

EVENT: Apps & Alcohol

YIELDS: 4 1/2 Dozen

Ingredients

2 packages almond paste (7 oz. each)

1 1/4 cup sugar

4 large egg whites

3 1/2 – 4 cups pine nuts *

2/3 cup almond meal

Equipment

Baking sheets lined with parchment paper

Directions

1. Preheat oven to 350 degrees.

2. Slice almond paste into 3/4-inch slices and place in food processor. Pulse 3-4 times to break up paste.

3. Add sugar. Pulse until well mixed.

4. Add almond meal. Pulse 5 times.

5. Remove almond paste / sugar mixture to large bowl.

6. In bowl of free standing mixer or using a hand held mixer, beat the egg whites to soft peaks.

7. Stir 2 tablespoons of egg whites into almond paste / sugar mixture. Gently fold in remaining egg whites.

8. Place pine nuts in a shallow bowl.

9. Roll the almond paste mixture into 1-inch balls. Don’t worry, dough is very wet.

10. Press each ball into the nuts and coat evenly.

11. Place on baking sheet approximately 1” apart. Bake 15-17 minutes, rotating sheets front to back, at least 12 minutes.


* A NOTE: Costco is an excellent place to purchase pine nuts!